
Pascaline
I received the question whether I would be able to reproduce a broken part for a Pascaline replica. I’m always up for a challenge, and I’d like to share with you how the machining was done.The input wheels for a Pascaline are a kind of early version of a telephone dial- a 10-pronged star-shaped part fit within a ring, so it can be rotated with a stylus. It turned out that, on the Pascaline replica in question, one of these brass stars had been replaced with a plastic cast part, that of course broke when the machine was operated. So - how to replicate a brass 10-pronged star? This is what arrived on my desk as a model:

It is 28mm across, the central part is 14mm, it has a 3mm 0.5mm pitch thread in the middle, and is held onto the machine by the square brass nut lying on top.
I started with a piece of 4mm brass plate, out of which I sawed a square of sufficiently large size.


The next step was drilling it 2.6mm for the 3mm thread, and tapping it M3x0.5.
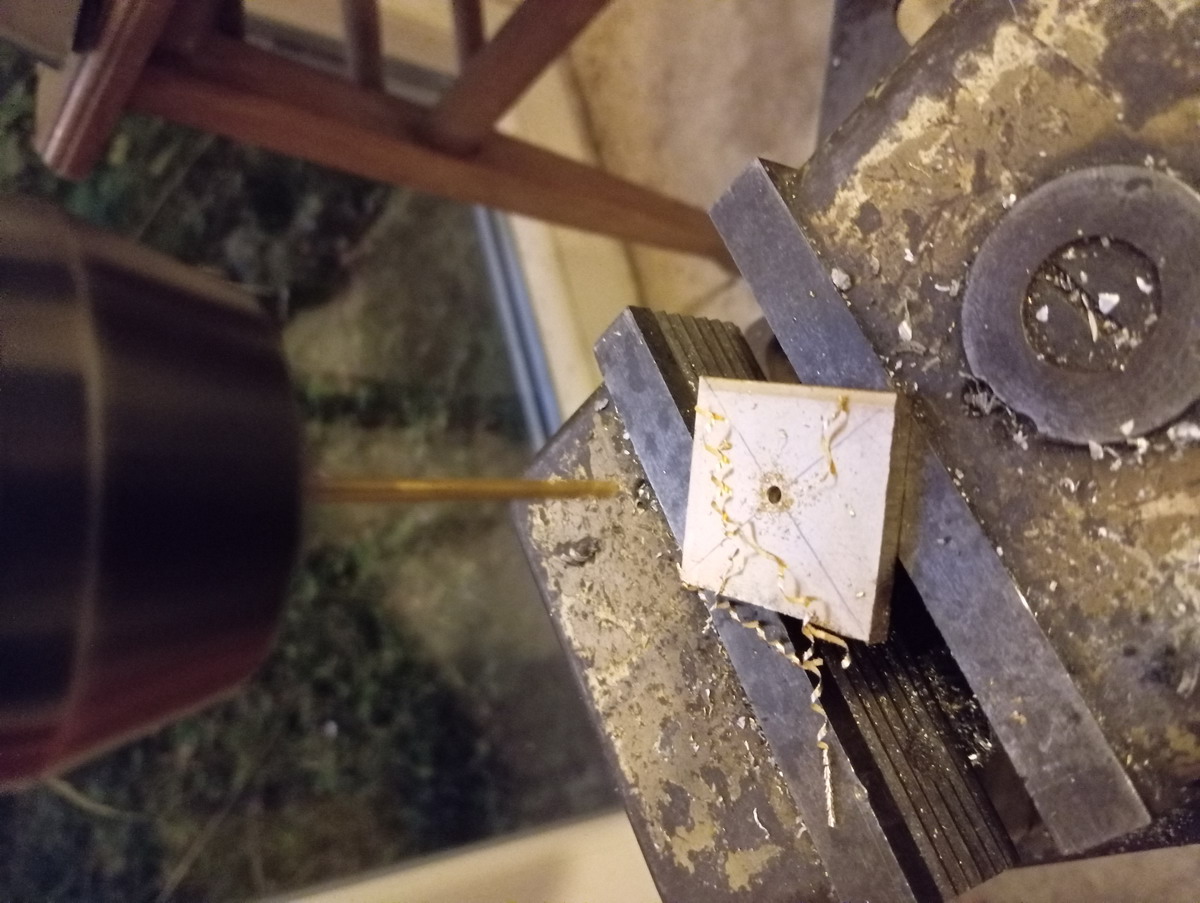
Then a steel mandrel was turned with the same thread, to screw the square brass piece on top.


It was locked with a nut, and turned circular.

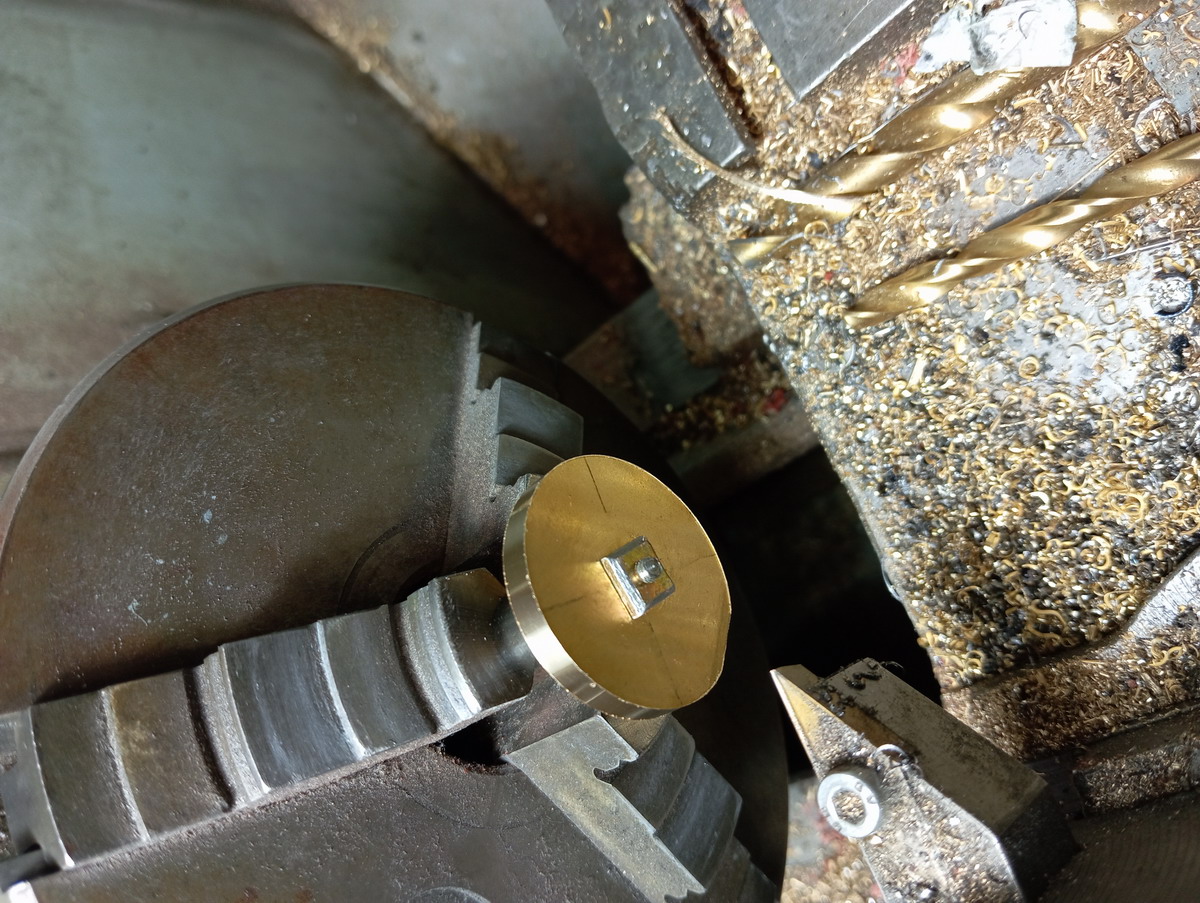
At this point, it became clear that the ten teeth that would have to be machined were way too thin for surviving that process unsupported, so another square piece of brass was cut.

The now round part was fitted on top, the hole transferred and drilled 2.6mm. Then the two parts were soft-soldered together.

The second square plate was tapped using the thread in the brass disk as a starter, to make the thread continuous, so they could be screwed on the mandrel together.
The teeth of the part have a 10° angle, thinning out at the edge. This is a taper that is somewhat out of the comfort zone of my lathe, because it needs the compound slide at an 80° angle. This necessitated removing the handwheel of the cross slide, so a bit of lathe reconstruction was needed, but it worked...


The entire part is 2.5mm thick, and as you remember, we started out with a 4mm brass plate. So the taper is turned until the edge of the part reaches a thickness of 1mm, leaving the middle 14mm untouched. This is then turned flat to the correct thickness, with a shoulder of about 0.5mm with respect to the inner part of the future teeth.


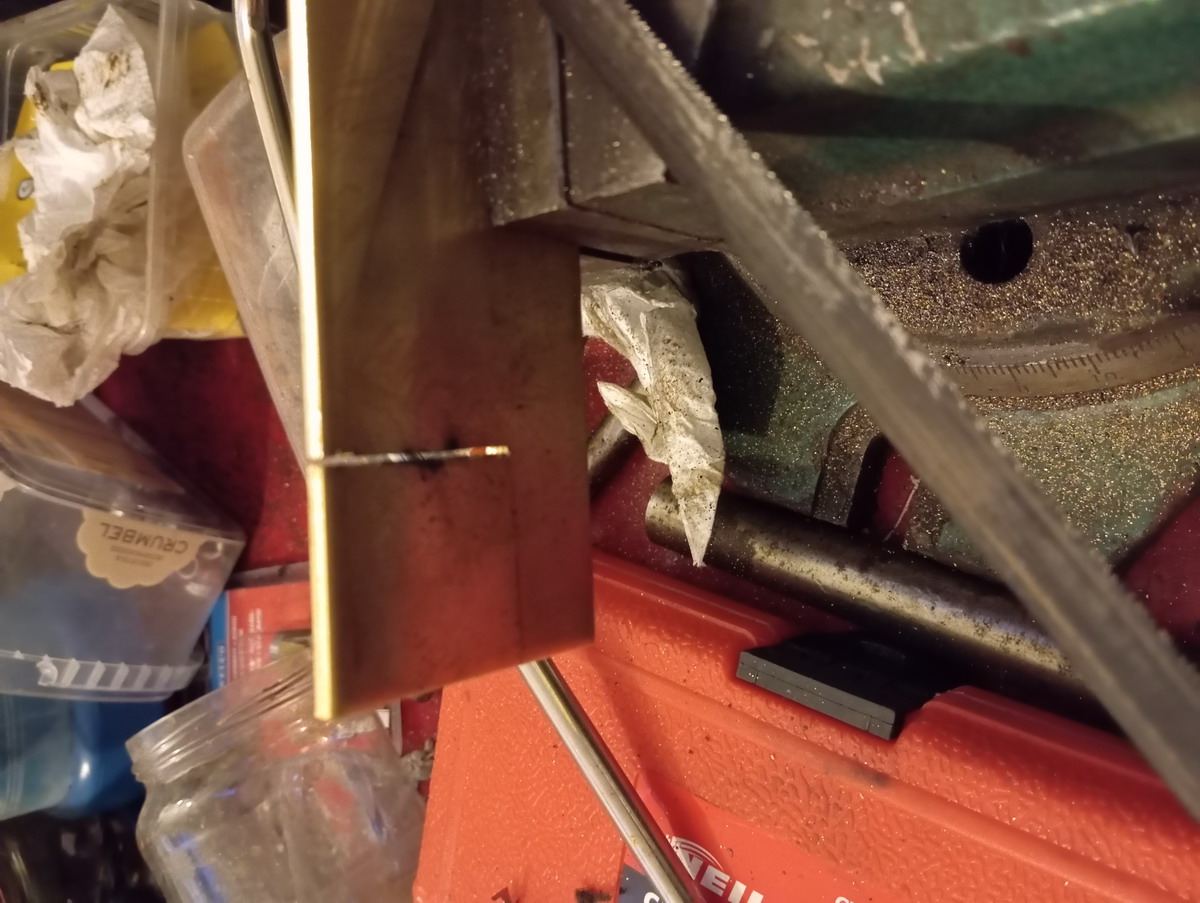
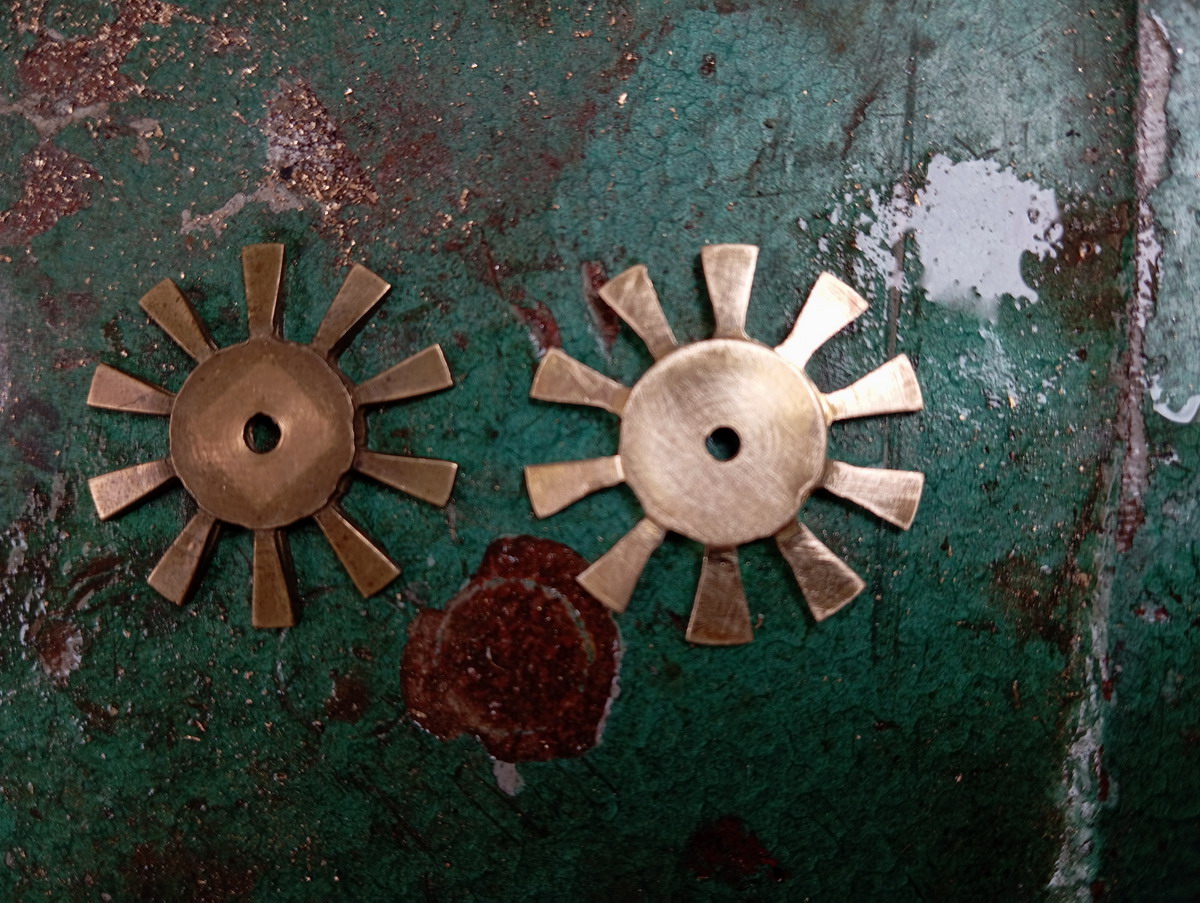
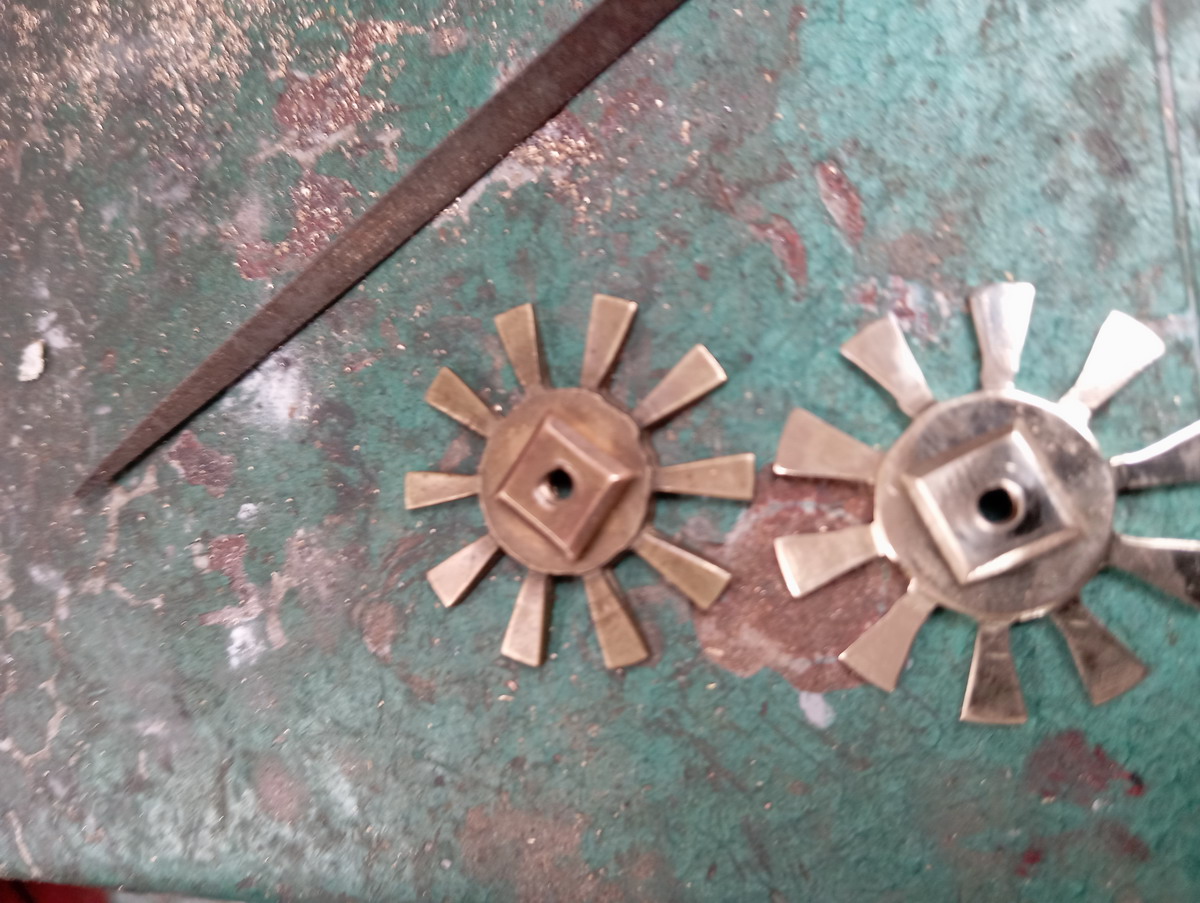
Here is the original part on top of the tapered brass disk.

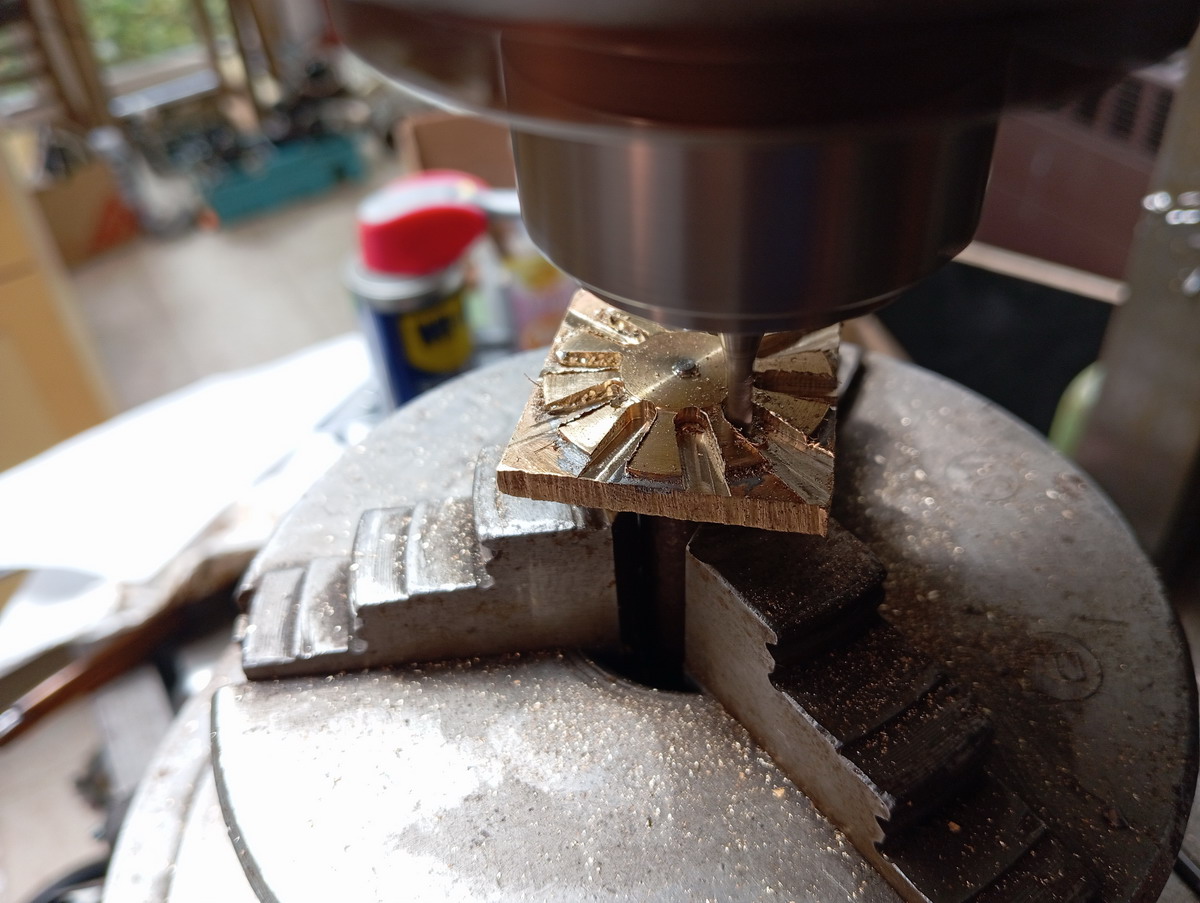
The next step is mounting the mandrel in the Vertex dividing head on the vertical mill, to mill the teeth. I started doing this with 2mm cutters, but after breaking about 5 of them, I switched to a sturdier 3mm, and that worked much better.


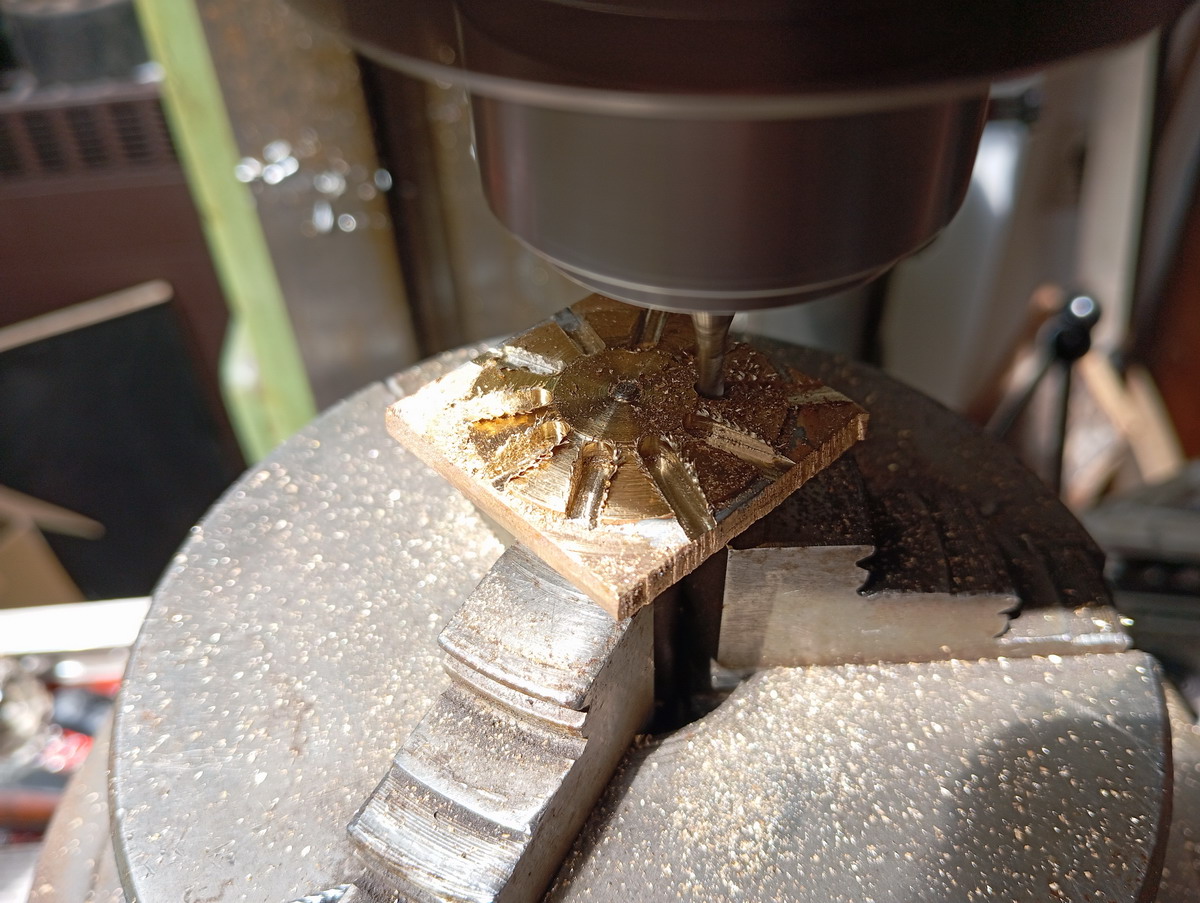

The inner distance between the edges of the teeth is 3mm anyway. So ten straight cuts were made from the outside in. And now I needed to put my calculating hat on to arrive at the desired result - the openings between the teeth are tapered, flaring out from 3mm near the central disk (14mm diameter) to 5mm at the edge (28mm diameter) - so one mm extra on each outside edge of the cuts between the teeth.
We can easily calculate the circumference of the 28mm diameter disk - this is 88mm. This means 1mm at the circumference corresponds to 360°/88, and thus 4.1° on the vertex. However, this would mean also that the central part of the cut, which is still at a 14mm diameter away from the center of the disk, would also be widened by 0.5mm, which we don’t want. So instead of a 4.1° angle, we need a 6.15° angle for a 1.5mm distance at the edge, and then a 0.5mm offset (red cut in the image), so that the endmill will end up in the exact same spot, snugging up to the 14mm diameter central disk.
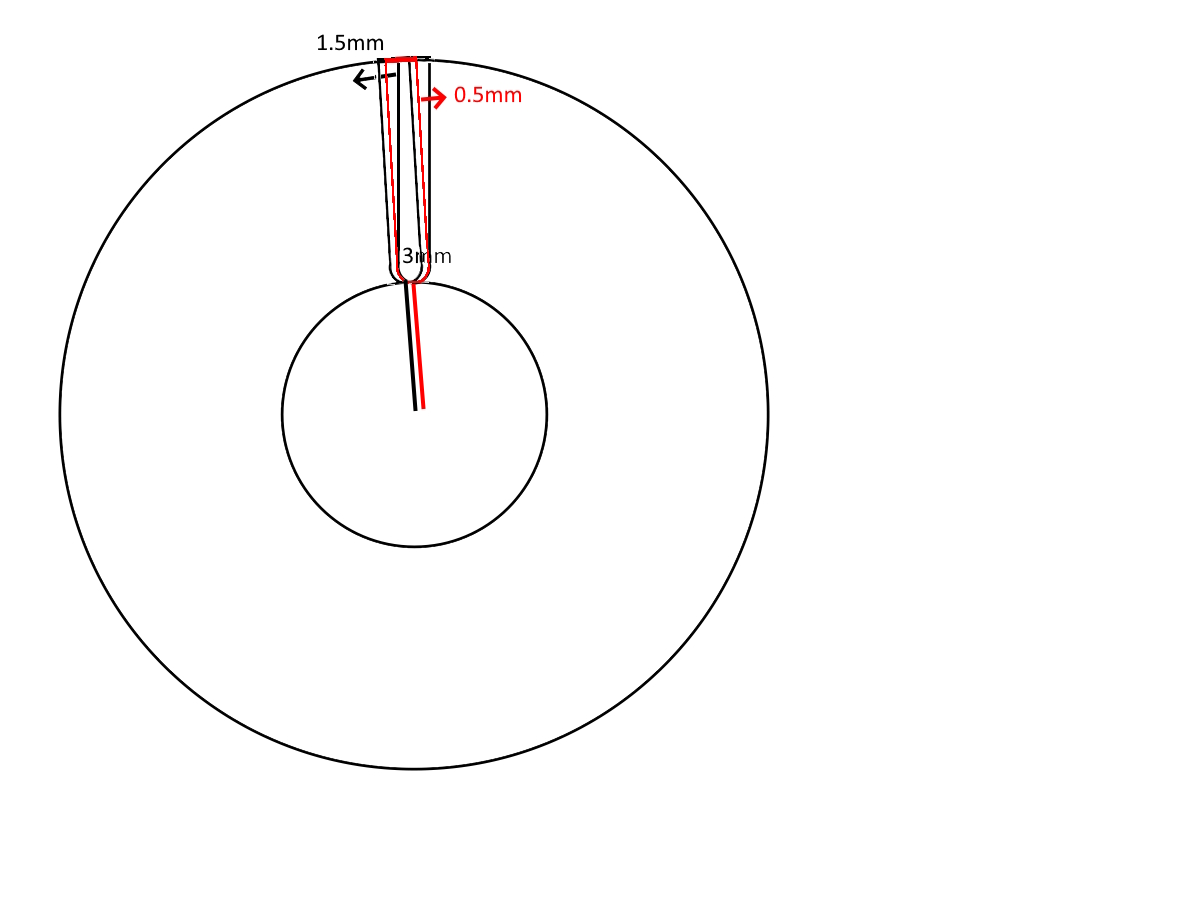
So we first dial in 6.15° degrees on the vertex, and move the part back by 0.5mm to cut the front facing part of the teeth, then dial 6.15 degrees in the other direction and move the part forward by 0.5mm. This leaves us with the correct tooth shape.


Then it’s back to the lathe to cut the outside to 28mm exactly.

Finally, the part is heated to release it from the square back plate.

...and the solder is sanded away.

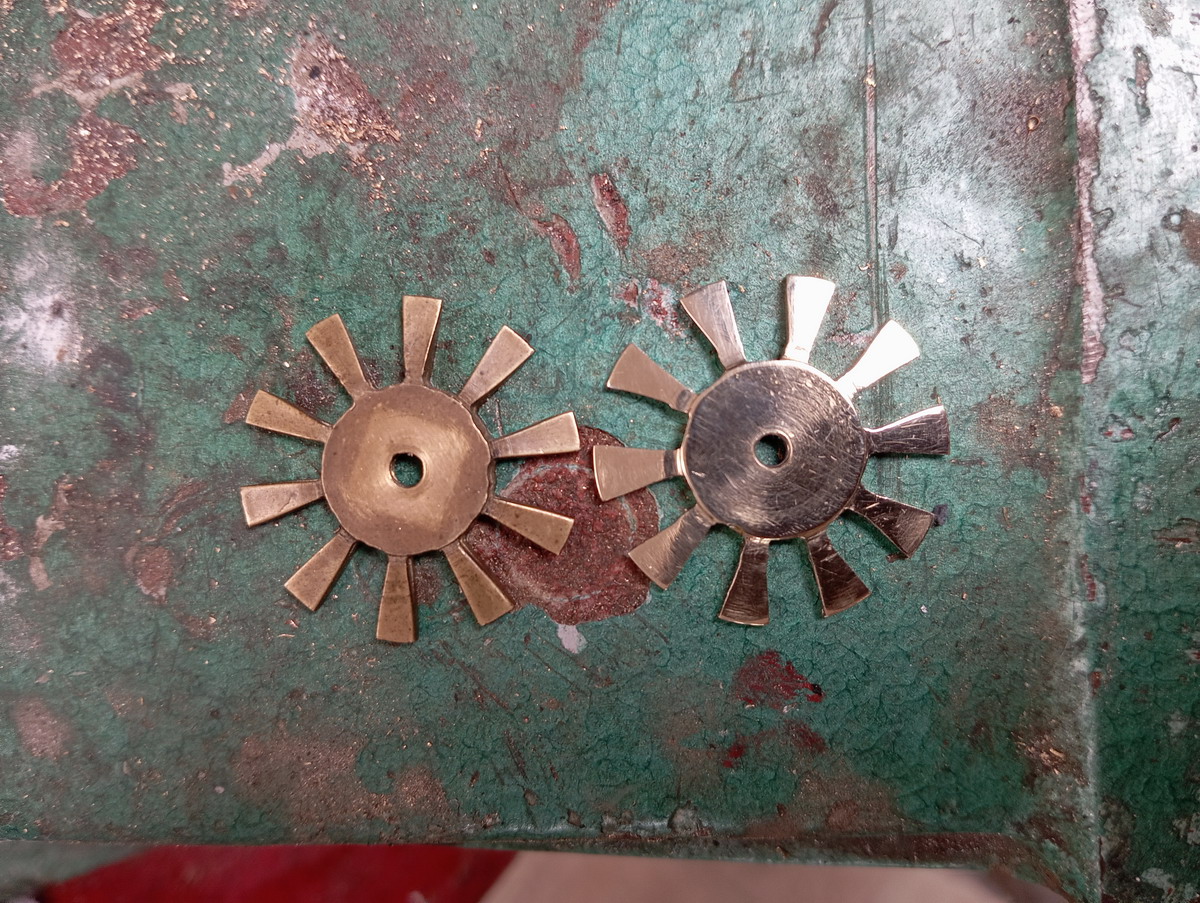
After that it is just a question of filing the round insides of the cuts square


...polishing everything up to a shine

..also, cutting a square brass nut
...and then aging the brass so it will not stand out against the other parts of the Pascaline.

That’s one Pascaline replica saved!