New Brunsviga G needed some surgery ...
Completely unexpectedly and less than half a year after the first one known to exist, yet another Brunsviga G surfaced, also in the north of France - I have no idea what is so special about the north of France, and why they were apparently so fond of the Brunsviga model G, but I was very quick to go pick this one up as well.
From the picture, it looked rusty, but not disastrous. In the metal, it looked nothing short of a hopeless boat anchor. My god, was this thing rusted ... it spent approximately half of its life in a moist garage.
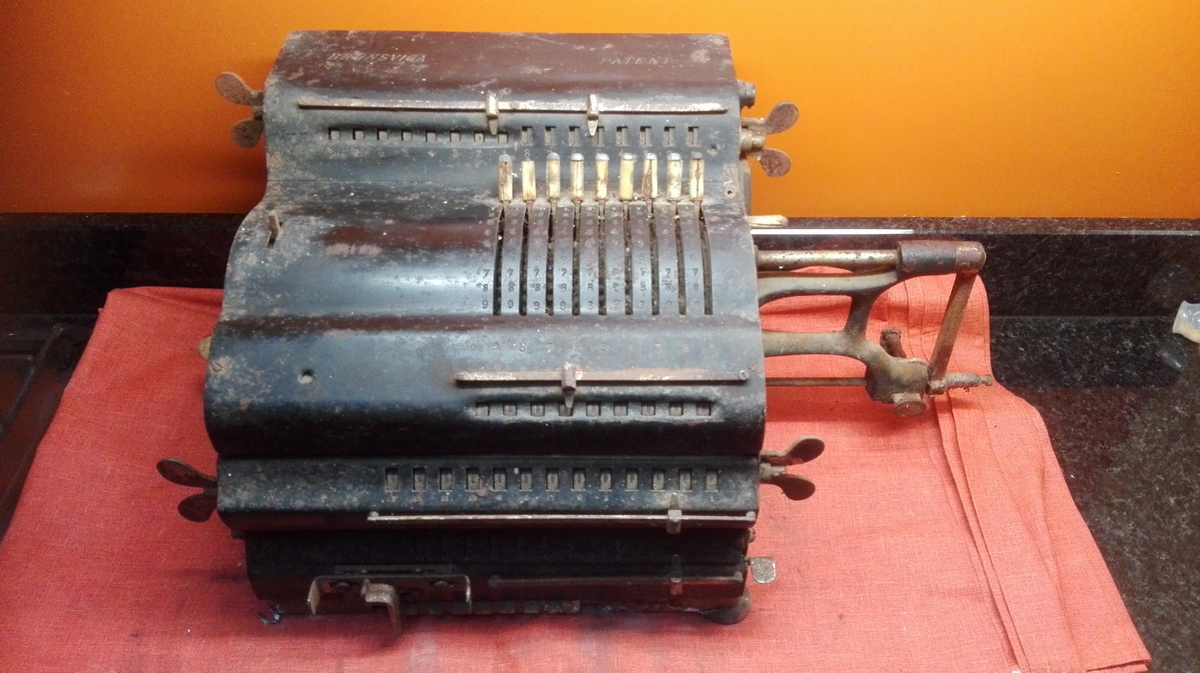
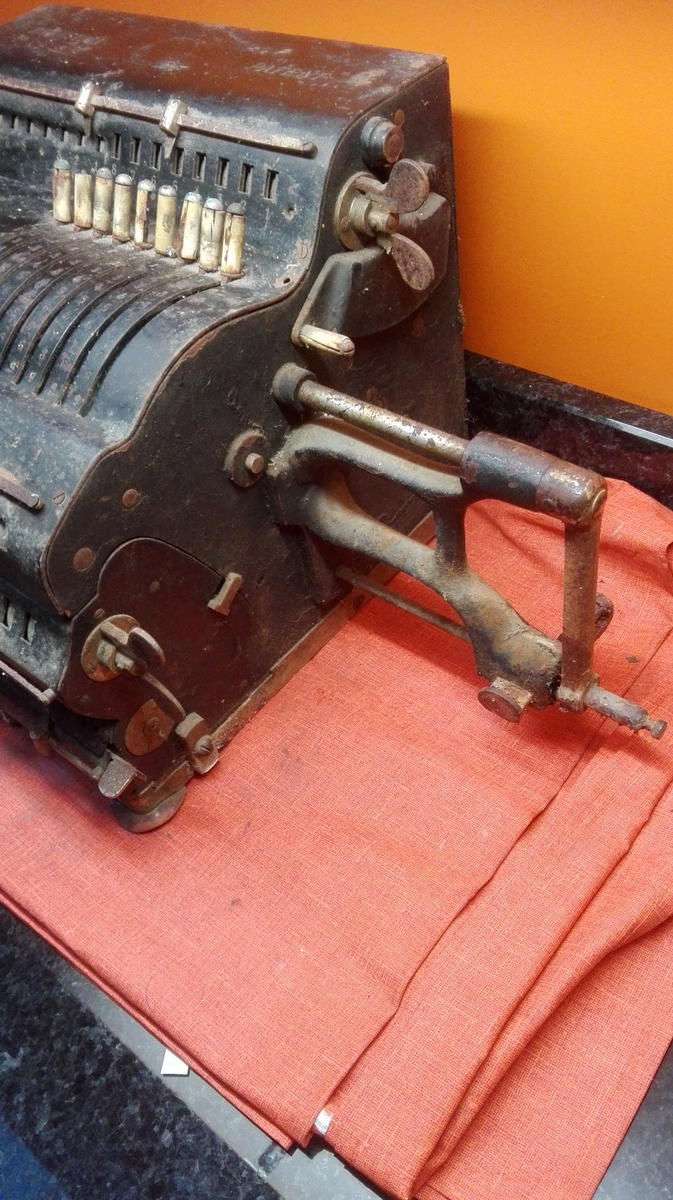
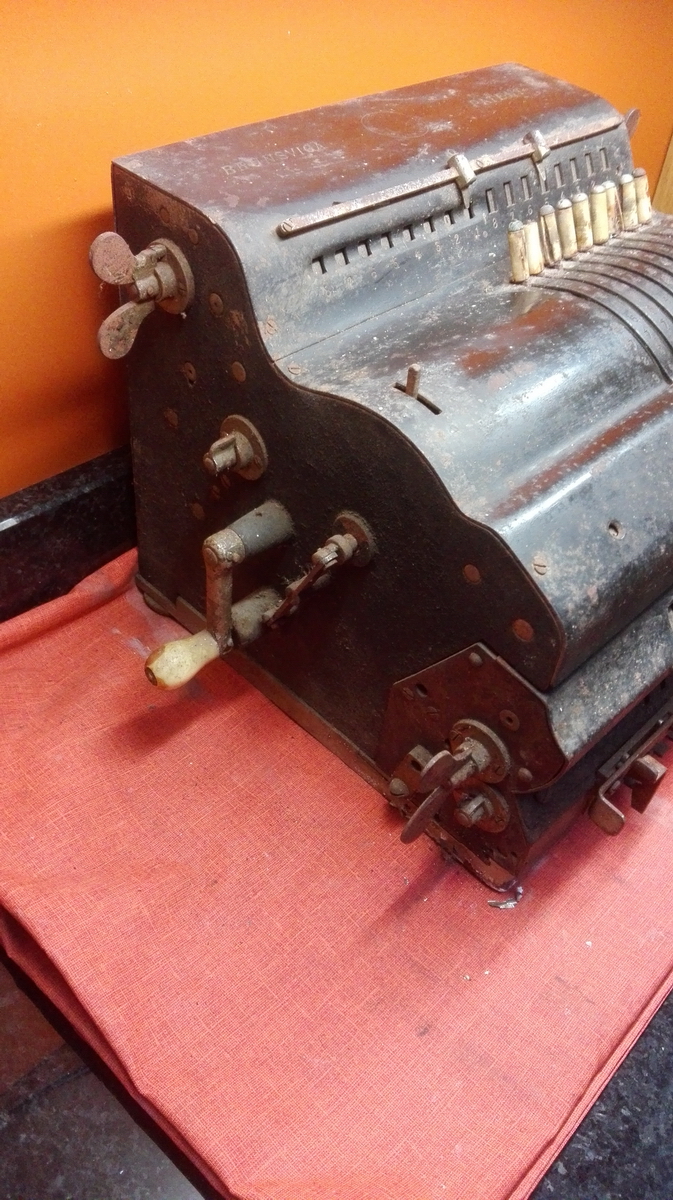
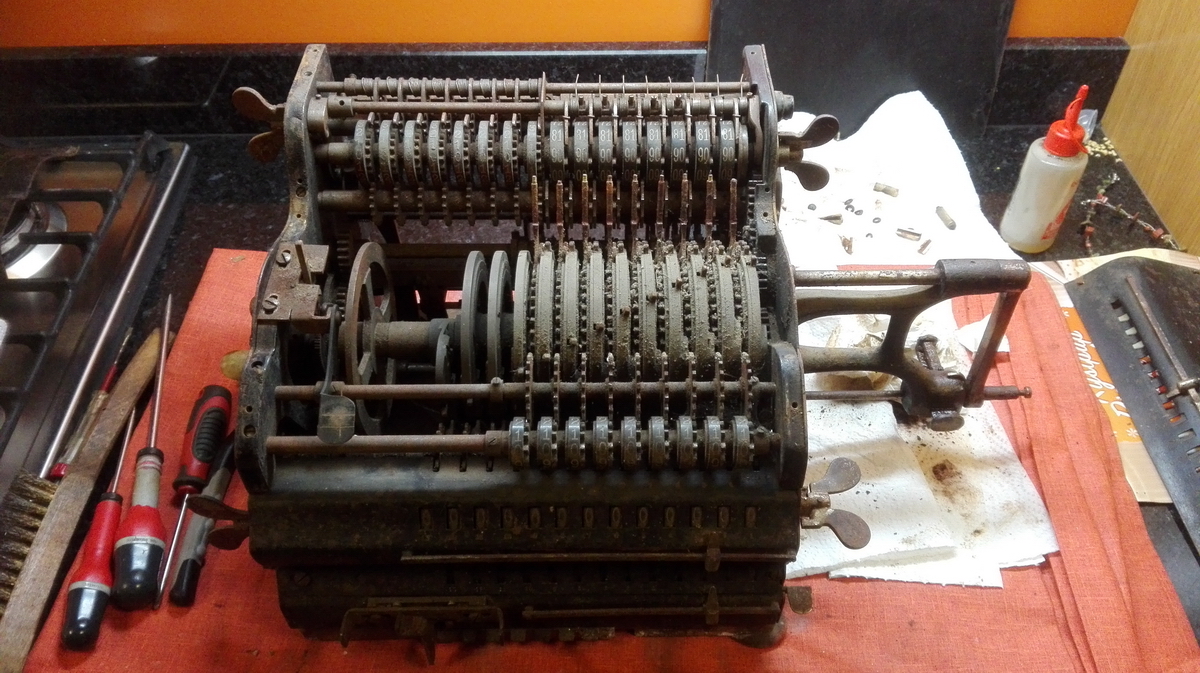
The seller, in his early 60s, told me that he inherited it from his father, who had worked as a young boy for a butcher, who gave or sold him the machine when he closed the shop. We're missing about one generation though, because that only takes us back to perhaps the 1920s or 1930s. A butcher is also an unlikely destination for a top-of-the range calculator especially suited for discounts - so how the butcher ended up with it, we will never know.
It also turns out the machine is only lightly used. After solving the issues with the rust, everything just works - the only thing I haven't tried yet is the right counting register in negative mode.
But the rust problem was truly horrendous. All the ivory handles had rusted into place and had to be removed with violence. The very rusted setting pins did not all survive unscathed, and one broke off at the base when trying to move it. The carriage was completely stuck, and needed a lot of penetrating oil from all sides and a few taps with a hammer on a block of wood to free up. At this point, the serial number of the machine became clear - 13933, 11 units earlier than the other machine. This one does have a tabulator though, and the other does not. Rather perplexingly, the carriage cover appears to have been "switched at birth", because in contrast with all the other parts of the machine, it carries the number 13932 instead of -33. Probably assembled on a Monday. If number 13932 ever shows up, we'll see if it has the correct carriage cover number, or whether it was an error in stamping, and the workman responsible stamped 13932 twice.
The already split ivory handle on the input clearing crank had to be broken apart to get it off. The 2mm screw thread on the end snapped as I tried to undo the brass cap that is supposed to hold the handle in place. That cleared my conscience, so I could now hacksaw through the pin that kept the handle locked, and rotate it to a position where I could support the crank with pieces of wood against the body of the machine - and then whack the pin - which luckily did come free after two or three purposeful taps. That was one problem solved. The pinwheel cylinder was kept locked at this stage because the setting lock button could not be moved, and in addition it later transpired that the moveable coupling gears at the back, between the disc with the setting lever and the actual pinwheel setting disc, were frozen on their axle, and this also prevented movement. Some oil and a few judicious taps on the offending gears with a long metal rod quickly solved that issue, and all the pinwheels now work. In addition, with the clearing lever free, the input clearing turned out to be fully operational.
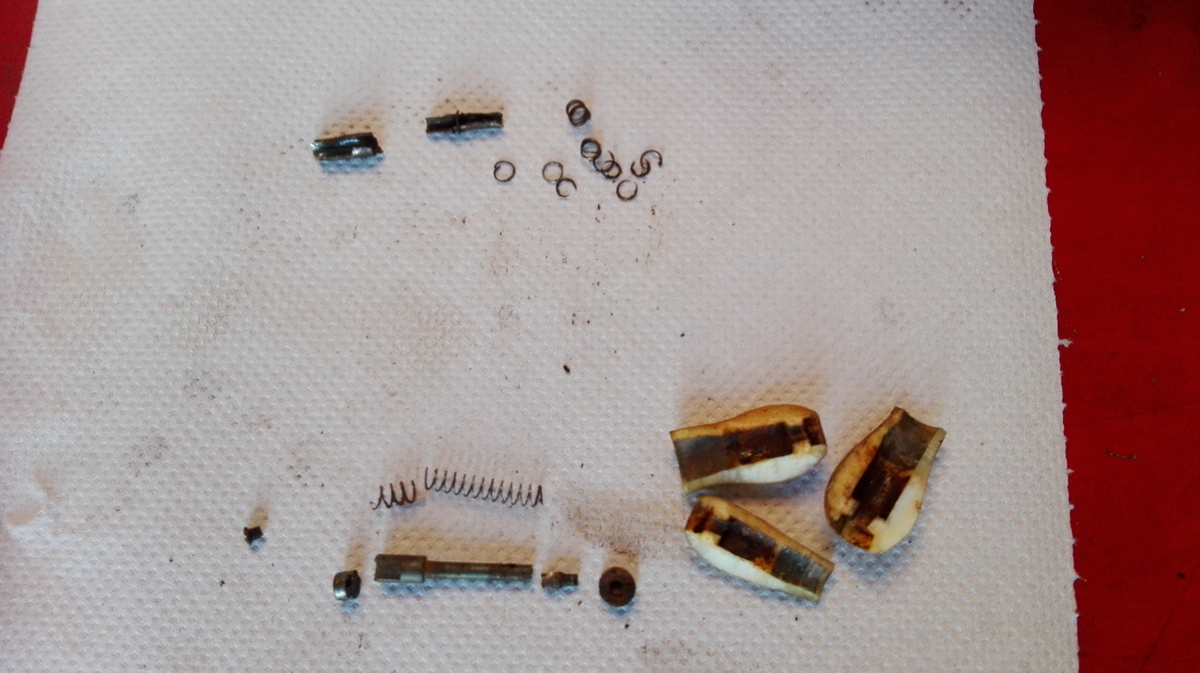
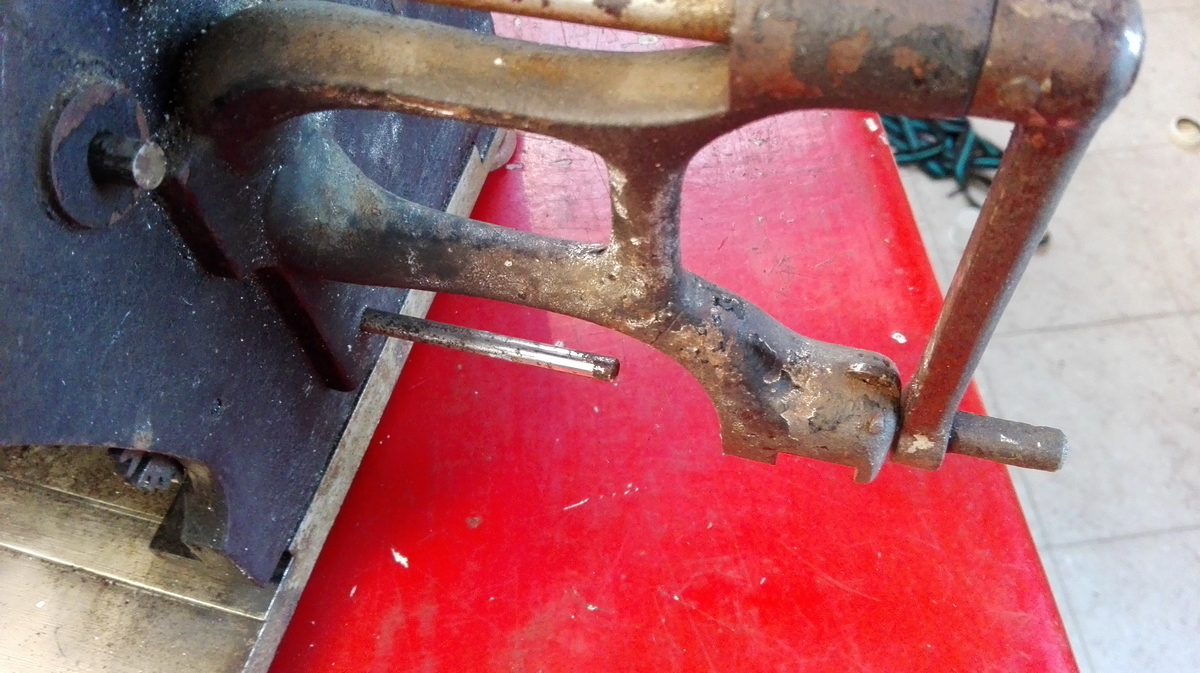
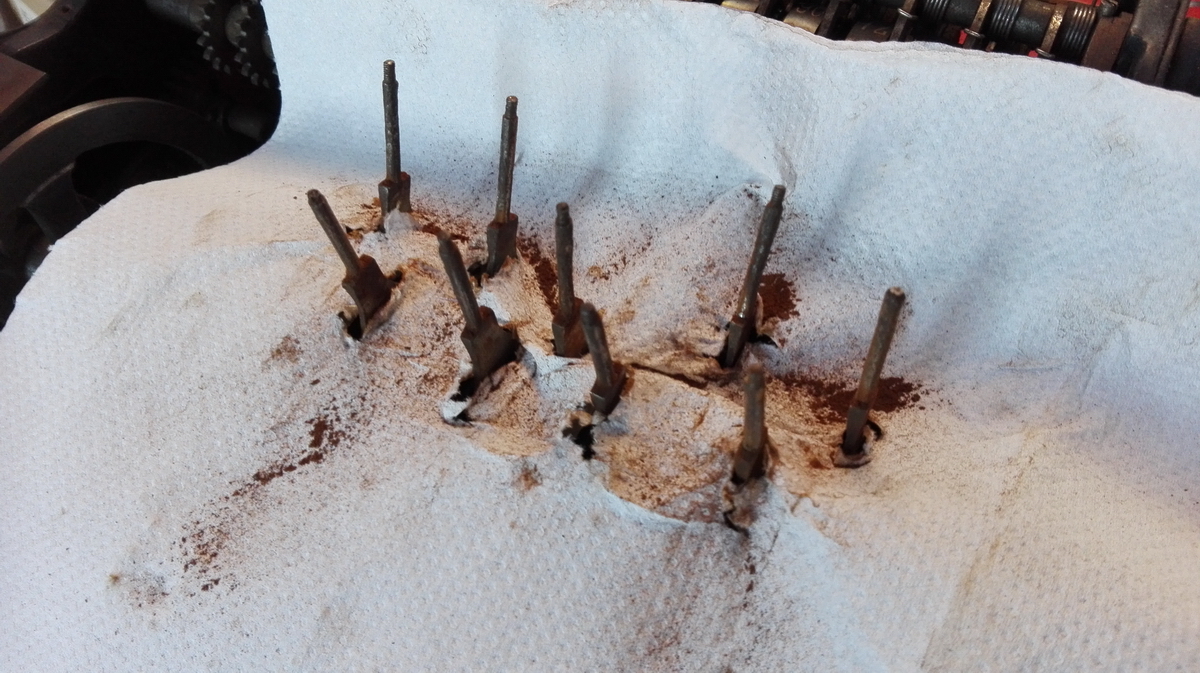
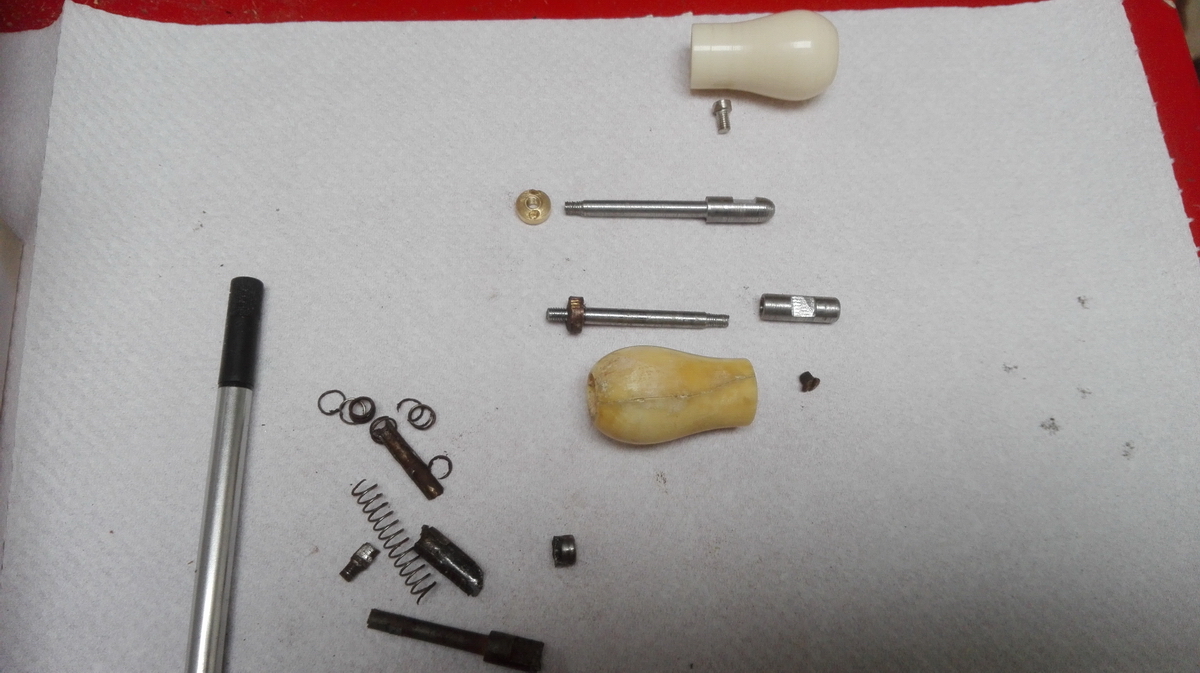
Disassembling the push button mechanism on the main crank support was a different kettle of fish - eventually the two screw heads on the bottom of the plate had to be drilled out in order to separate the plate and the button from the crank support. They both were a rusty mess. That led to the most severe problem - getting the crank locking pin out. Luckily the crank in these machines is very long, so it can be bent outwards enough to disengage from the crank support. After several failed attempts to unscrew the locking screw from the crank locking pin, I decided to drill it out. Afterwards, locking screw safely out of the way, still no amount of violence was budging the crank locking pin, not from the outward end, and not from the crank support end either. Then of course I broke off the brass part at the end which is supposed to hold the handle on. I kept banging on it, alternating with the other side. After starting to mushroom both ends (this is over the course of days, with penetrating oil in, on, and all over the crank), I decided to drill through the broken small end with a hand drill. At some point, that obviously must go wrong, but not before I thoroughly, and rather satisfyingly, destroyed a large part of the thin end of the locking pin. I could now stick a steel punch down the hole from the outside end and whack on it some more - without much result. In order to stop the flexing of the crank, I inserted a block and slats of wood between the crank and the cast iron crank support. More whacking, no result. I centerpunched the other, larger, inside end of the pin and drilled into it with a hand drill with larger and larger drills, ending up with a 5.5mm one before touching the side of the hole. I could actually see completely through the handle at this point, but it was still not releasing its death grip. More whacking and penetrating oil, no result. Then, disaster. What would be the final tap, broke off the end of the cast iron crank support. Cast iron is brittle, and that was just one shock too many. That problem would have to be dealt with later. Finally, I put a small conical end mill from the Dremel range in my hand drill and milled into the intact side of the broad end of the locking pin free-hand. That is honestly a rather unnerving thing to do. More whacking - and finally, finally! - it gave up. These are the sorry remnants of the locking pin and spring - at the top. The parts at the bottom are from the input clearing, far less drilling was necessary there. When complete, the sets of parts should look more or less identical!
Now I had the broken crank support to deal with. The broken part could be put in a vise, and drilled through with a 5mm drill (it's a very deep hole, and the 5mm drill long series drill was the smallest one that would reach...). The issue now was to rejoin the break exactly, and continue drilling into the crank support part that was still attached to the rest of the machine. So I tried that, and it was an almost impossible assignment.
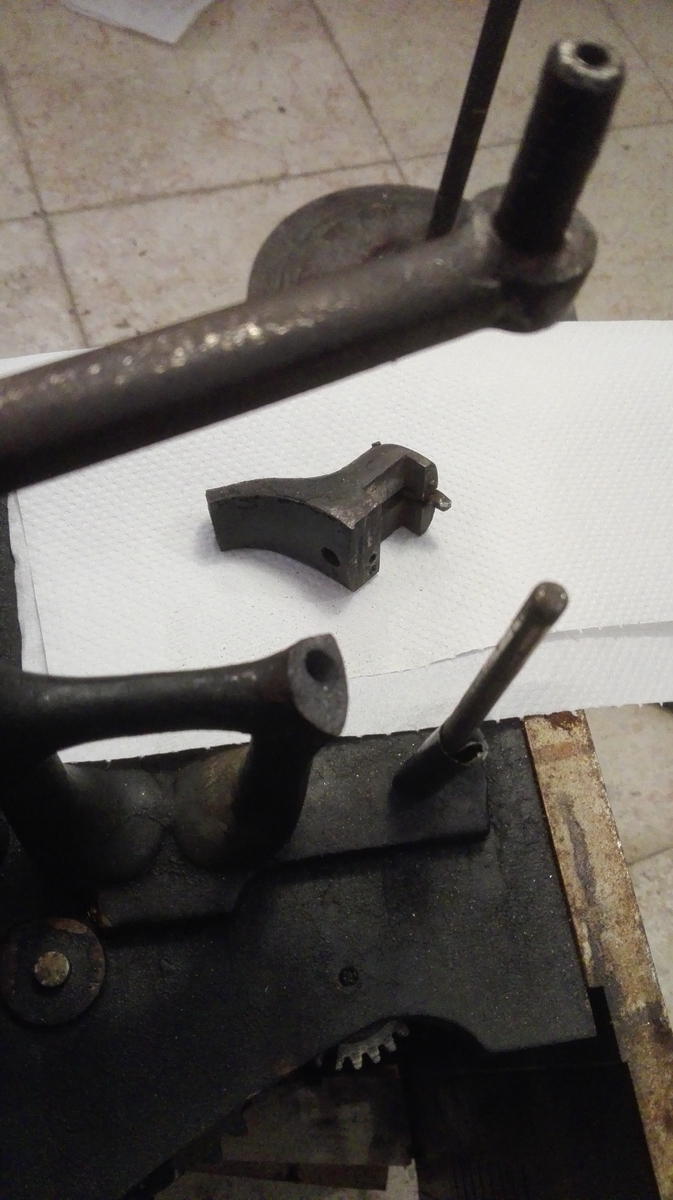
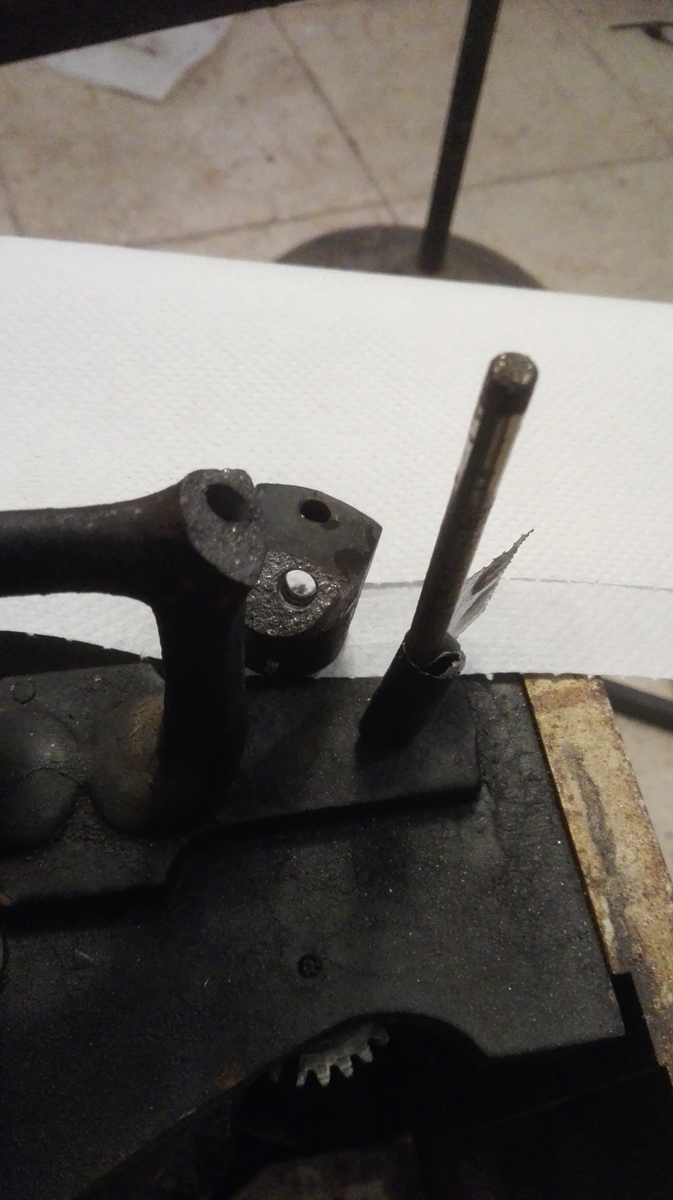
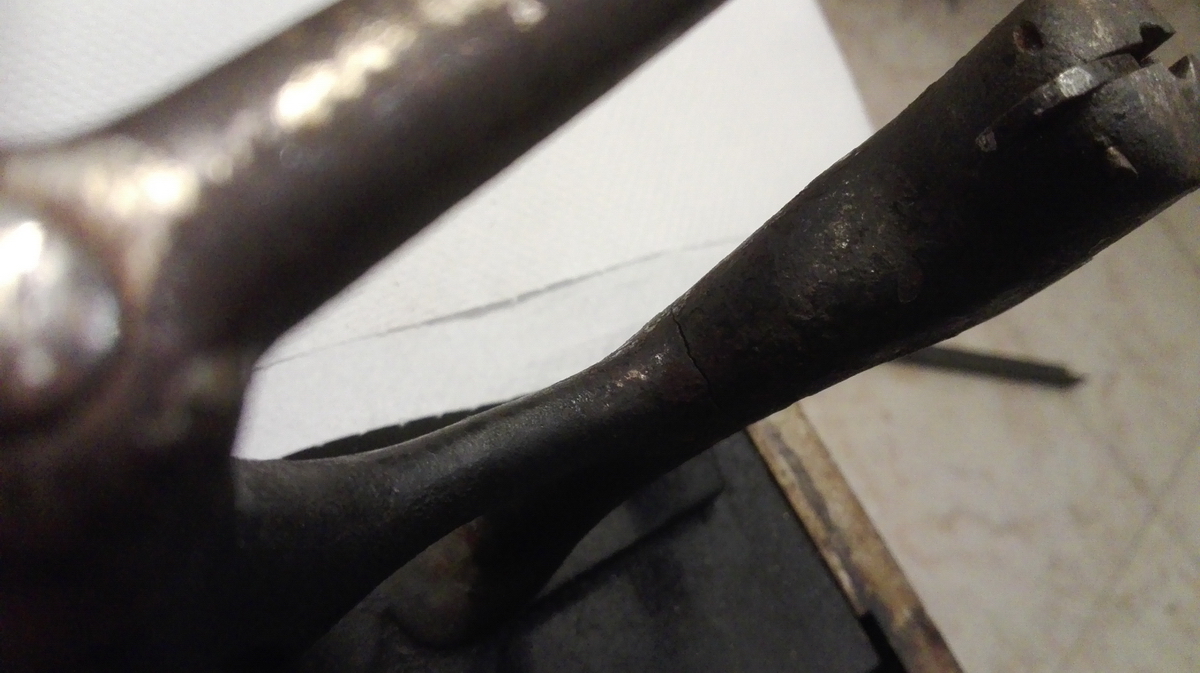
After bodging it (when everything was finished, with a 5mm pin inserted, the crack was still open on one side, and in addition the crank support end was not in the exact position it should be in) I decided that I had one more shot at it, if I would drill the hole in the broken part out to 6mm. In order to be able to drill somewhat eccentrically into the existing hole in the fixed part of the crank support, however, the broken part would have to be held very securely into the absolutely correct position. We figured out the first time with the 5mm drill that that was not going to happen, not even with an extra pair of helping hands (thank you, girlfriend ... and apologies for the black hands!), even when there wasn't yet a "wrong" 5mm pilot hole in a slightly deviating position. The break cannot be clamped due to the shape of the parts, and I couldn't really see a solution, except using strong epoxy on the break, and hoping for the best while drilling. However, then the cast iron would not be clean anymore, and I would much prefer to loctite everything together once I had a nicely fitting 6mm pin.
So I needed to be creative, and decided on a very creative bodge indeed, even if I say so myself - what do you do with broken body parts and bones to completely immobilize them ? Exactly. I carefully put everything in its exact required location with the help of tape and spacers, and then simply put a plaster cast on the break.
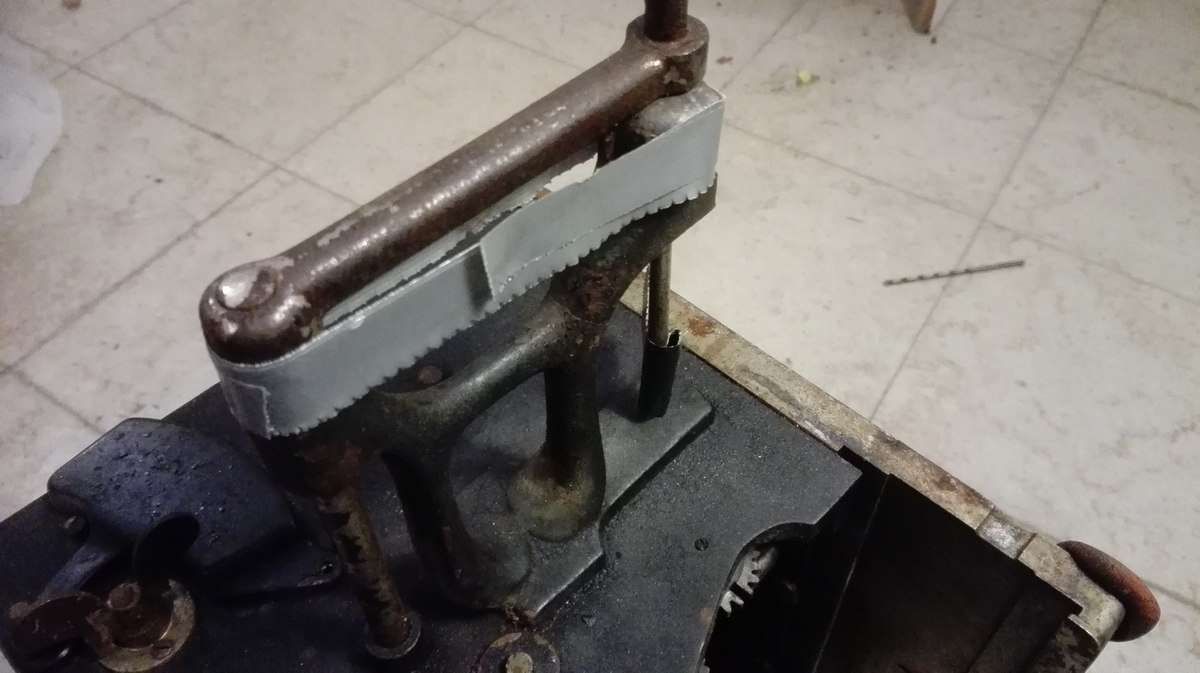
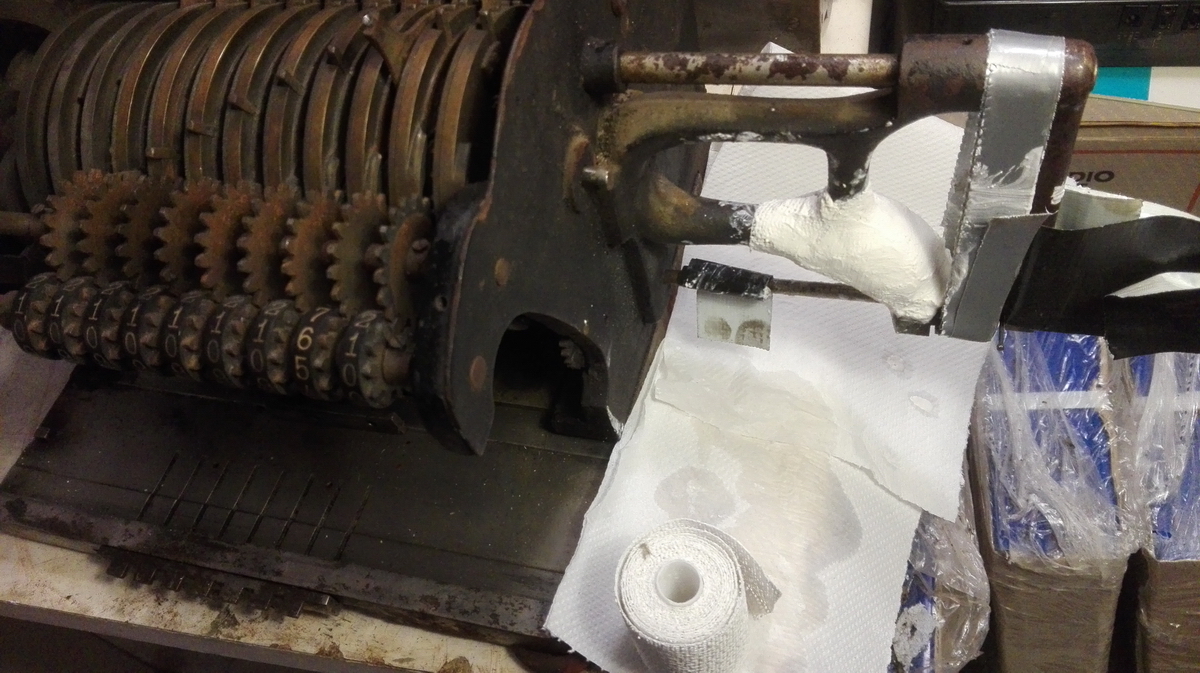
That worked like an absolute charm (apart from my hand drill biting into and blocking on the eccentric edge time and again, all the way down the length of the hole - the whole machine is just too large to put on the drill press, let alone line it up to the drill... and a hand drill is just not stable enough to prevent "bite"). At the end of the story though, the 6mm holes do not only line up perfectly, they are also ramrod straight. Getting the cast off was quite easy, using an exacto knife.
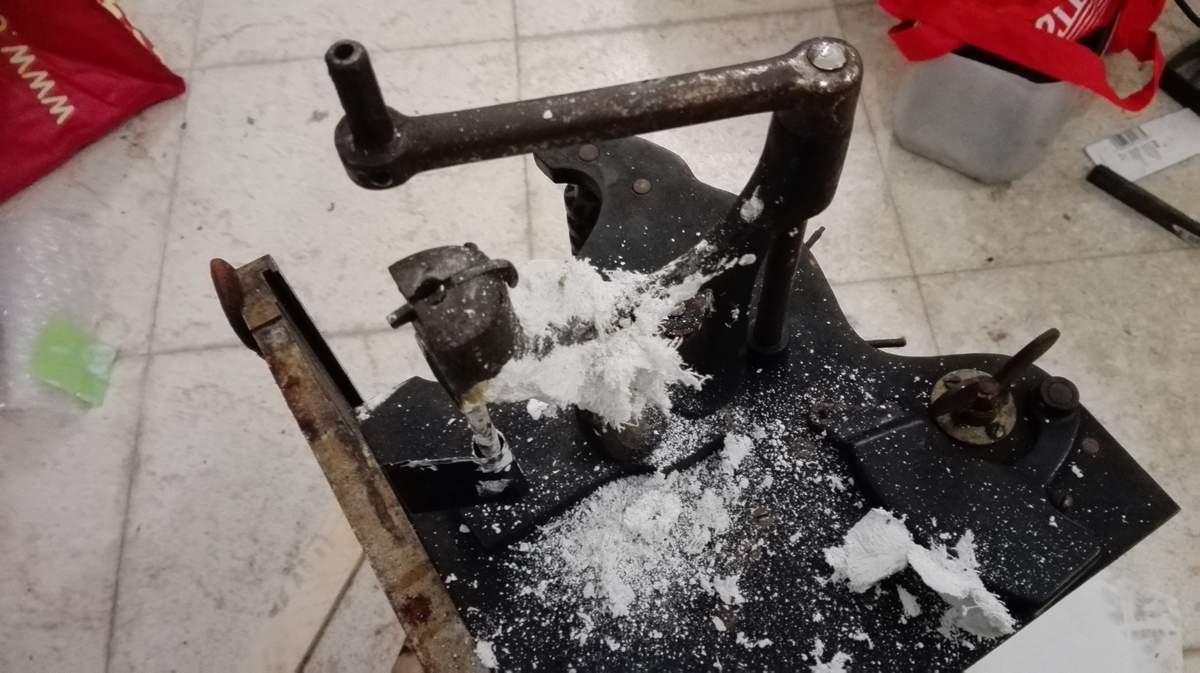
A 6mm pin (made from an iron nail) connects the broken parts with sufficient strength and with loctite 648, nothing is moving anymore after complete curing, and the joint is barely visible.
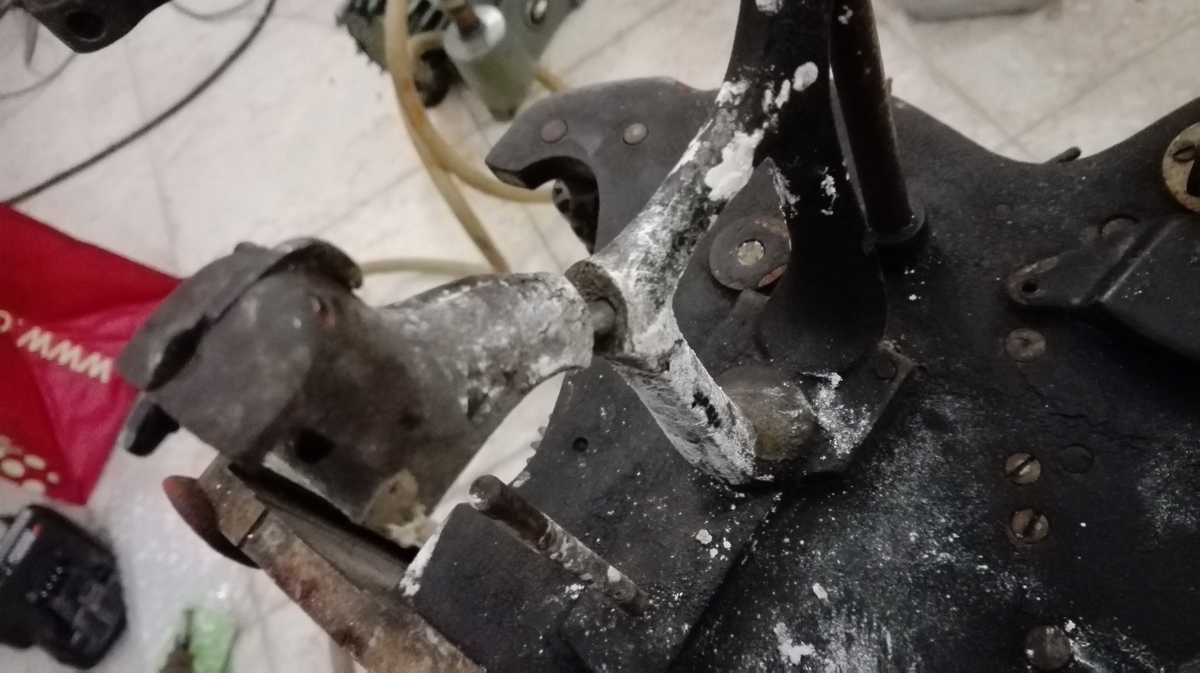
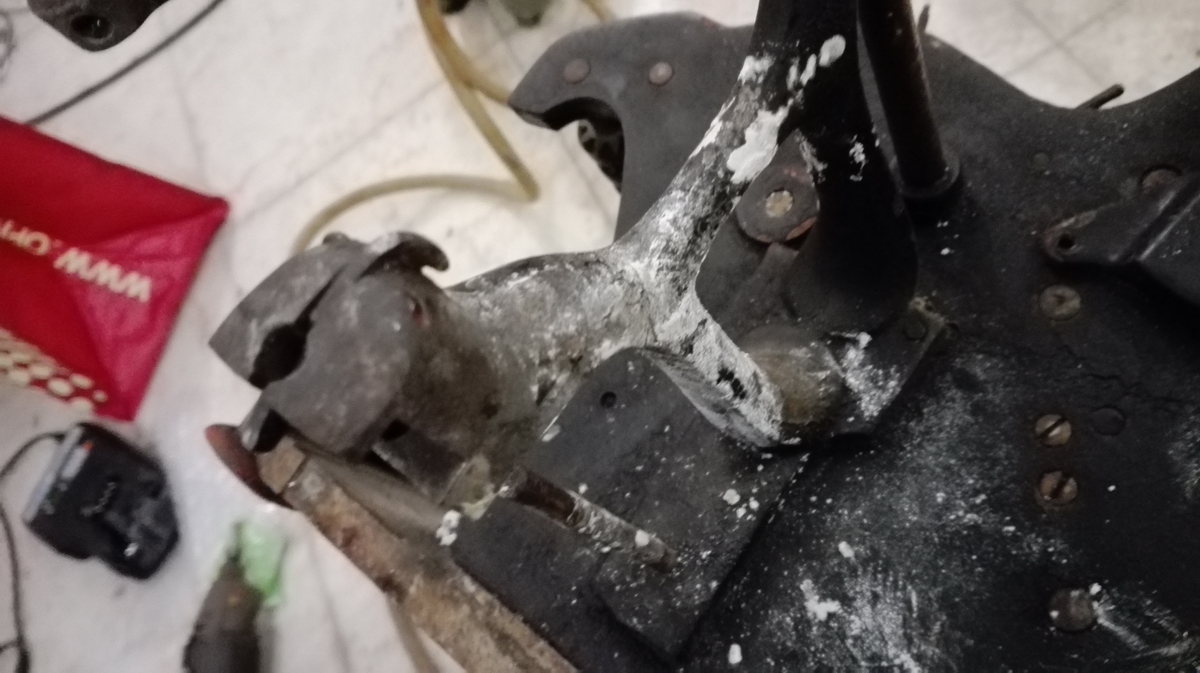
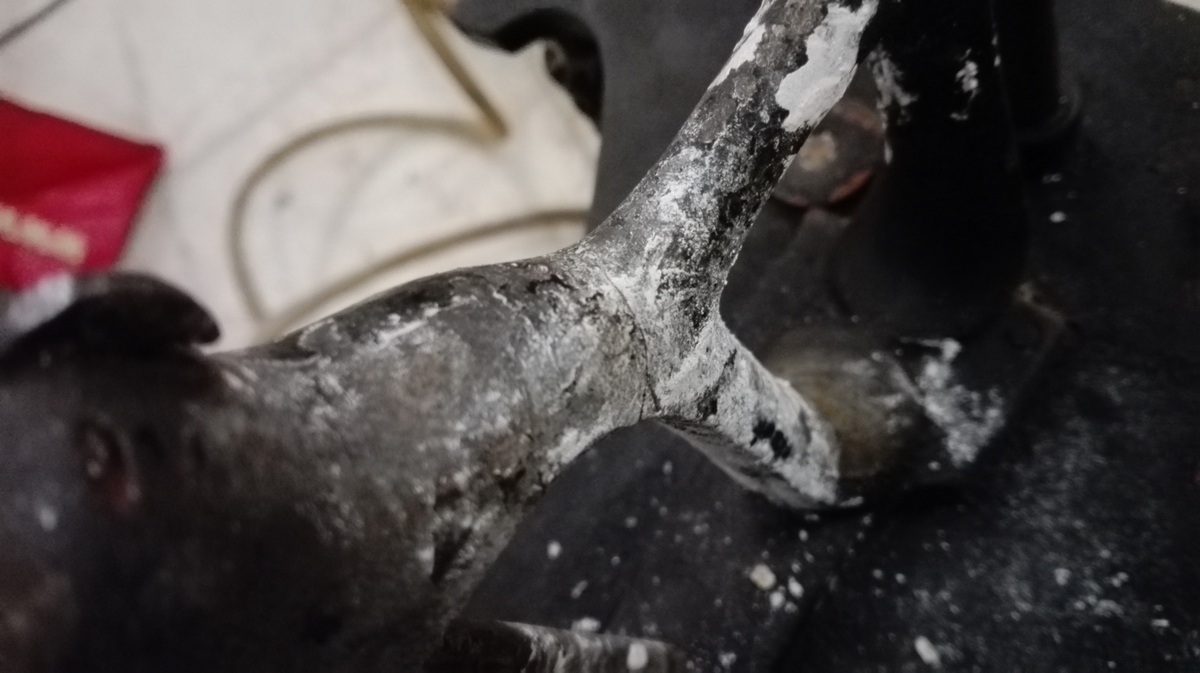
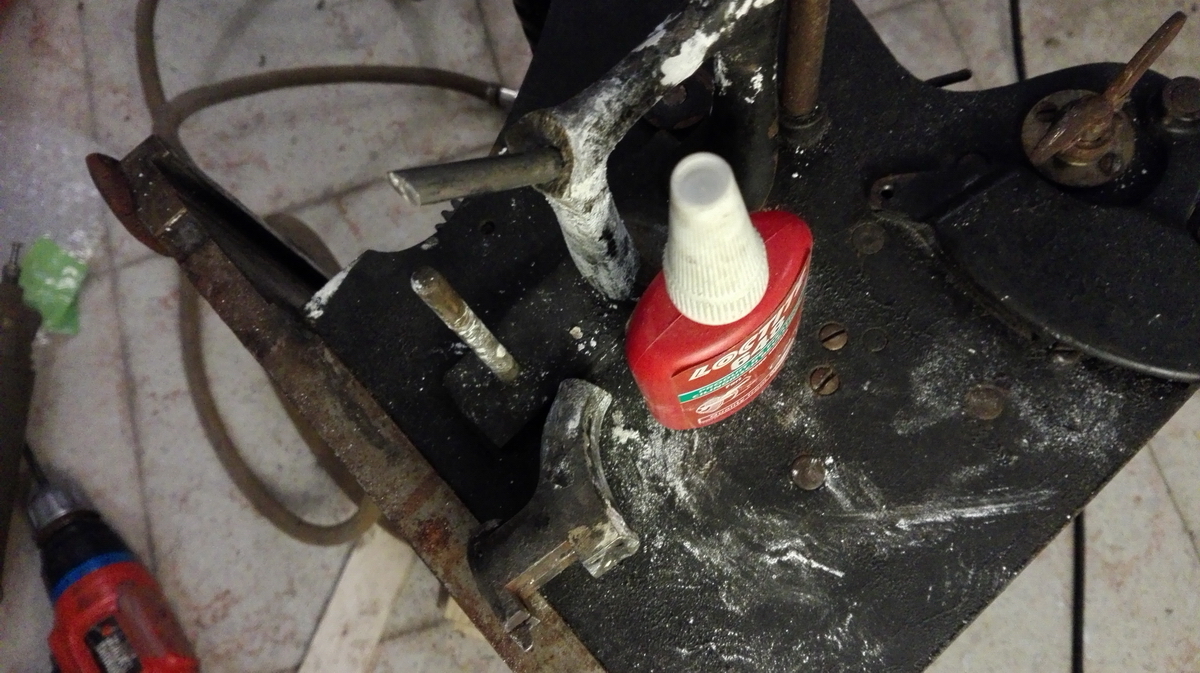
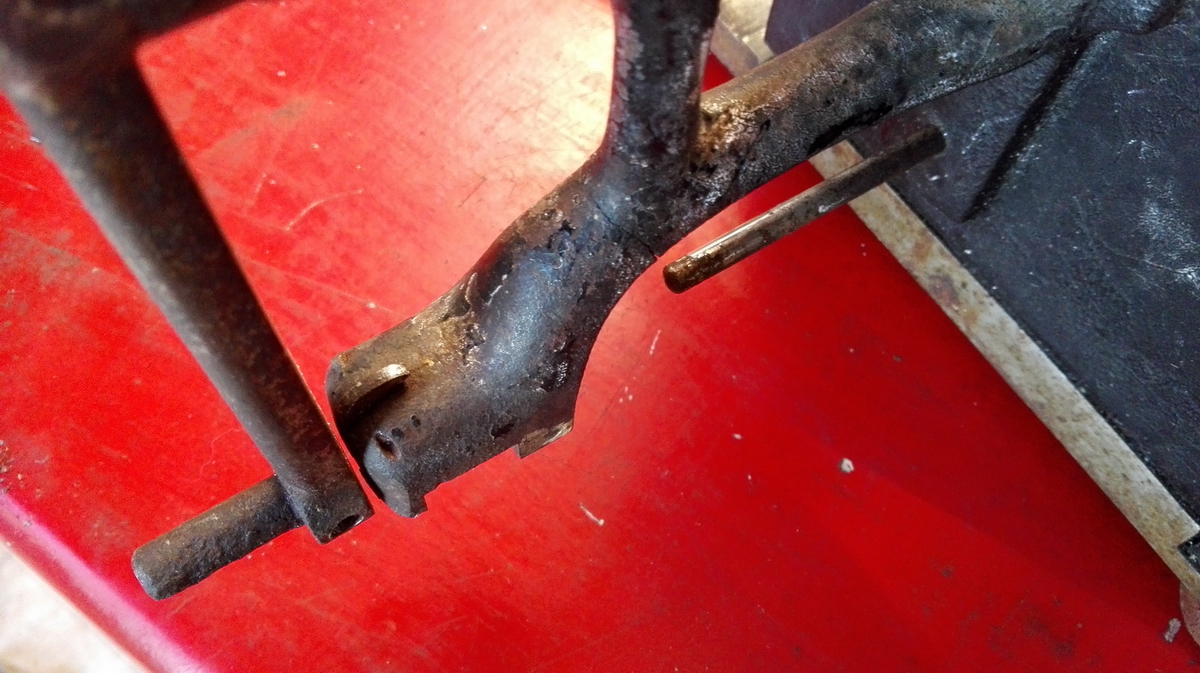
The broken setting pin was a lot easier to fix - a 1.7mm hole was drilled in the pin on the lathe, and another 1.7mm hole was drilled in the stub that remained on the setting disc.
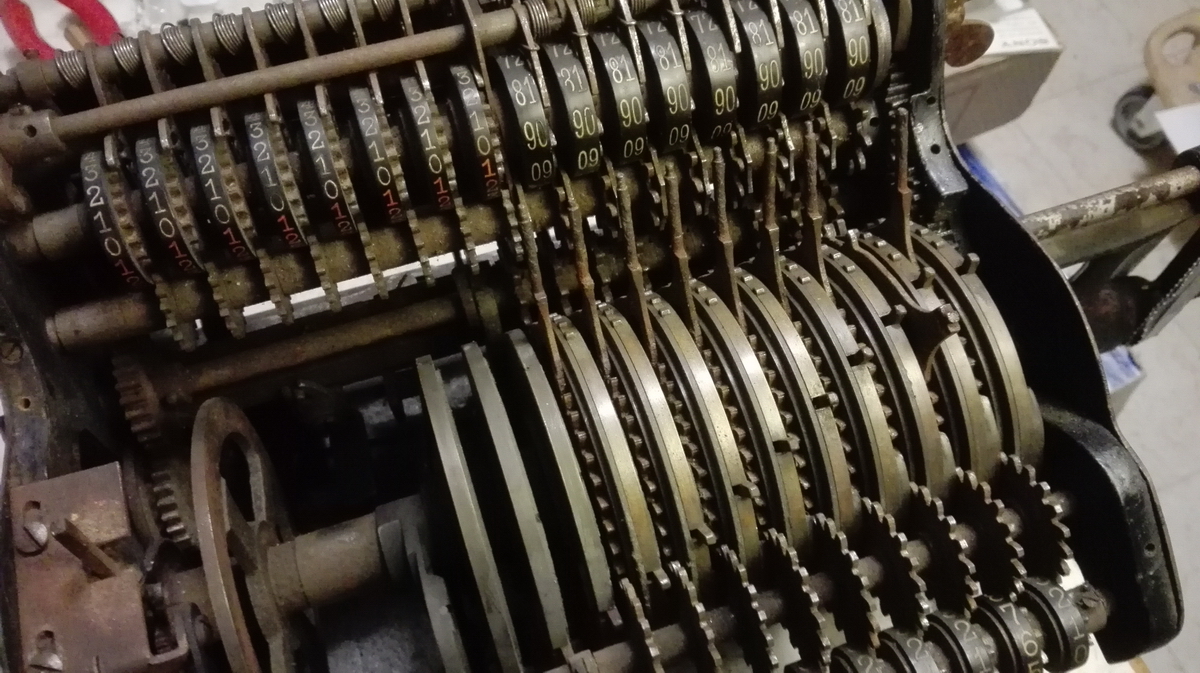
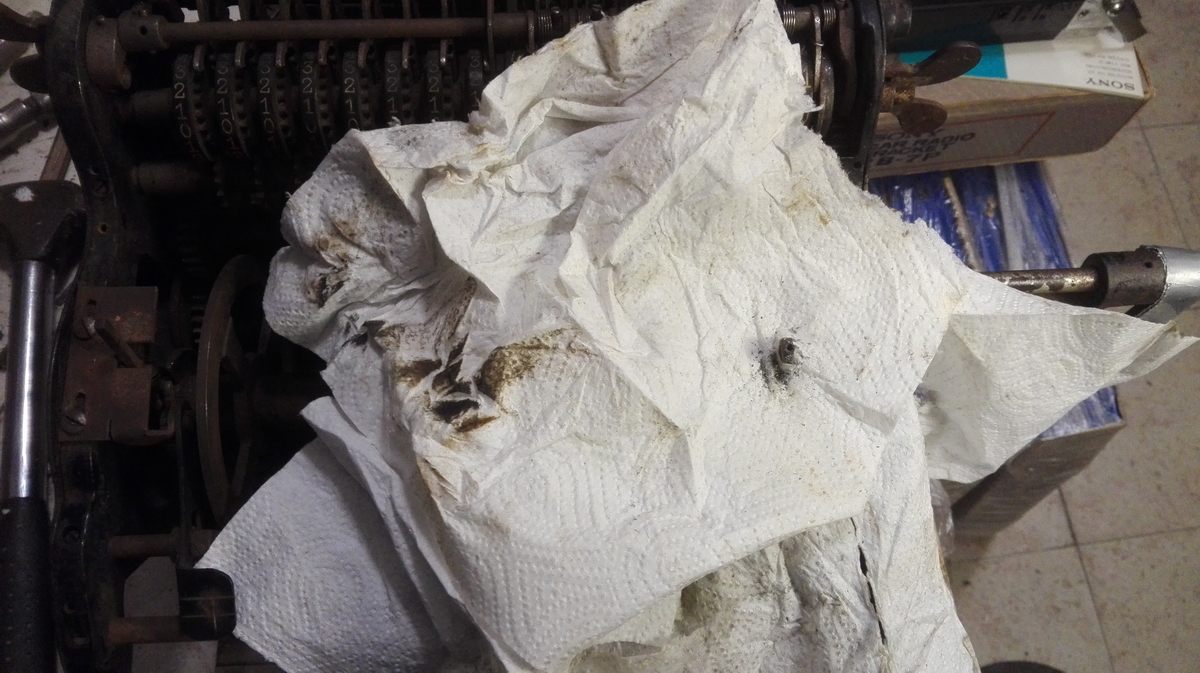
They were both threaded M2, and the pin was rejoined to the setting disc with a threaded 2mm rod (cut with a die from a 2mm nail).
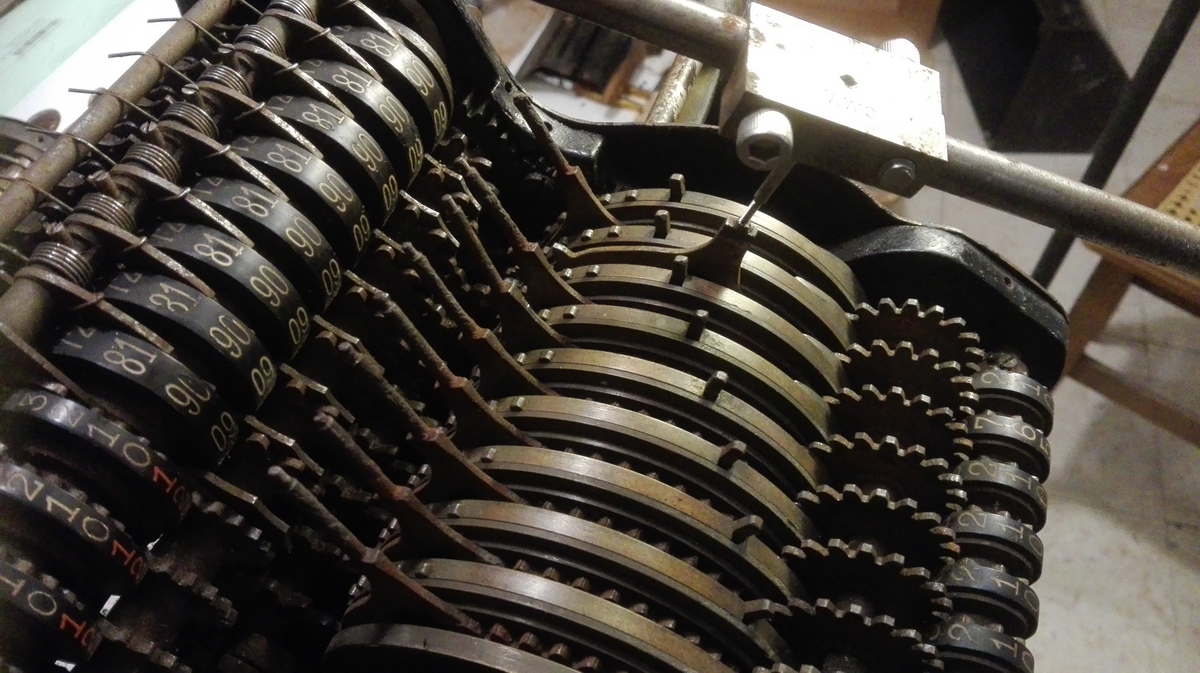
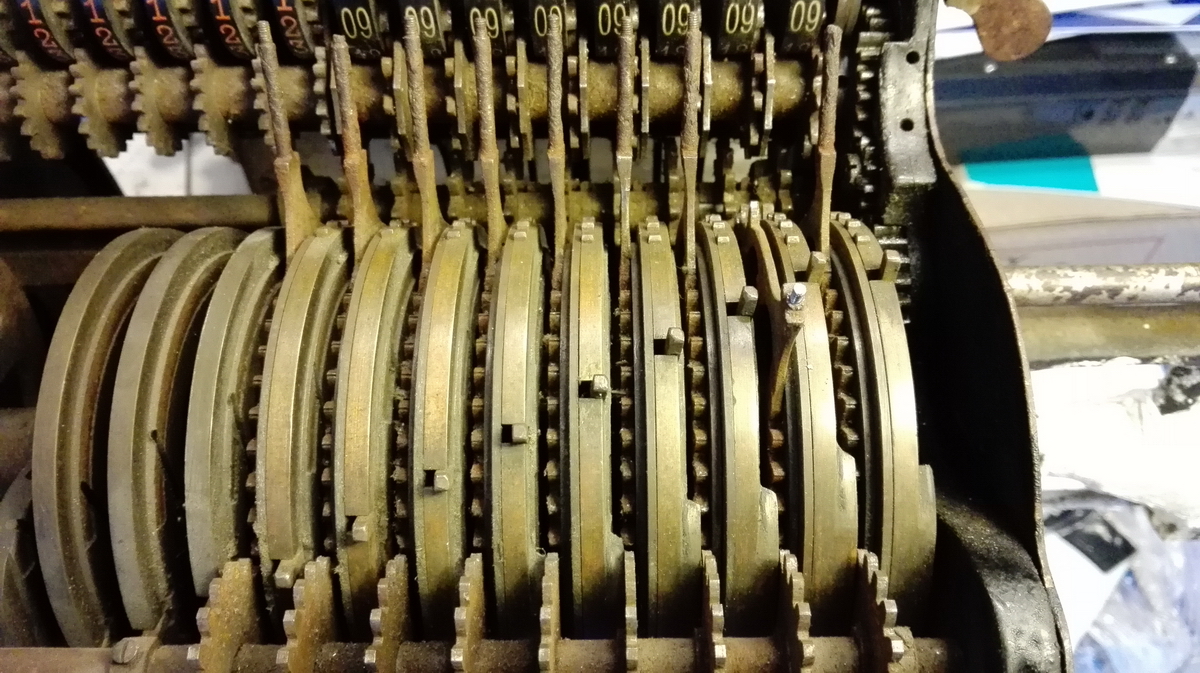
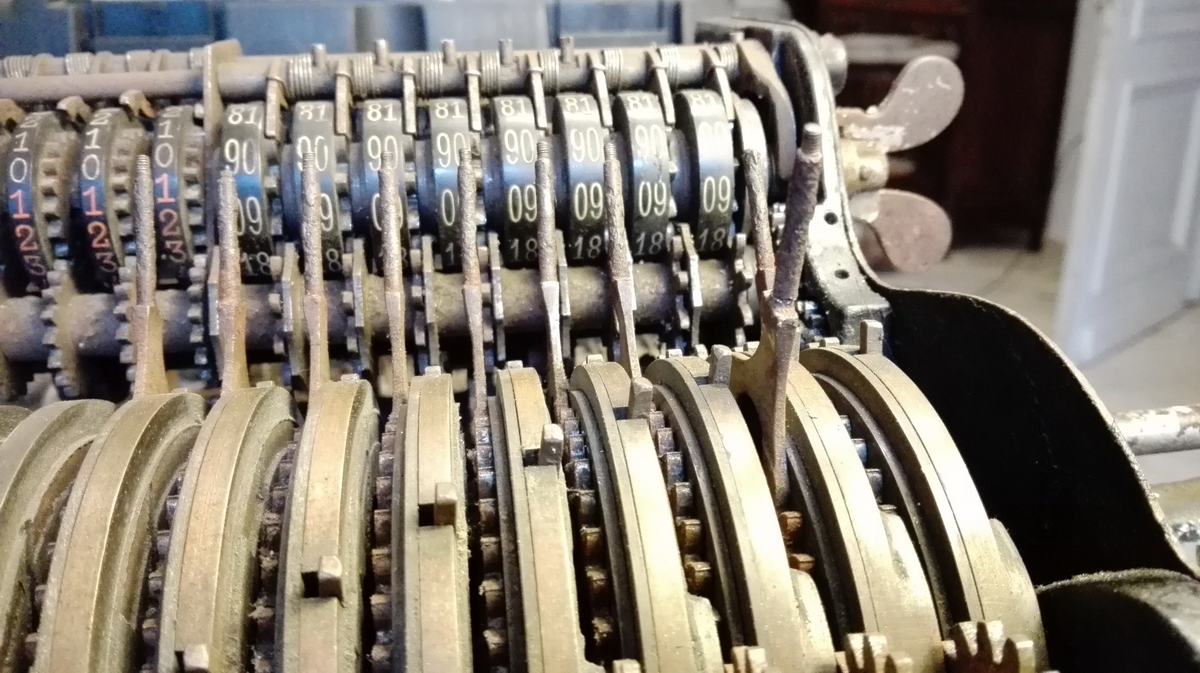
The repair is almost invisible. Two broken ends of different setting pins perhaps will need to be repaired in the same way.
Most technical issues apparently out of the way, some time was finally spent cleaning. This is the machine before cleaning up ...
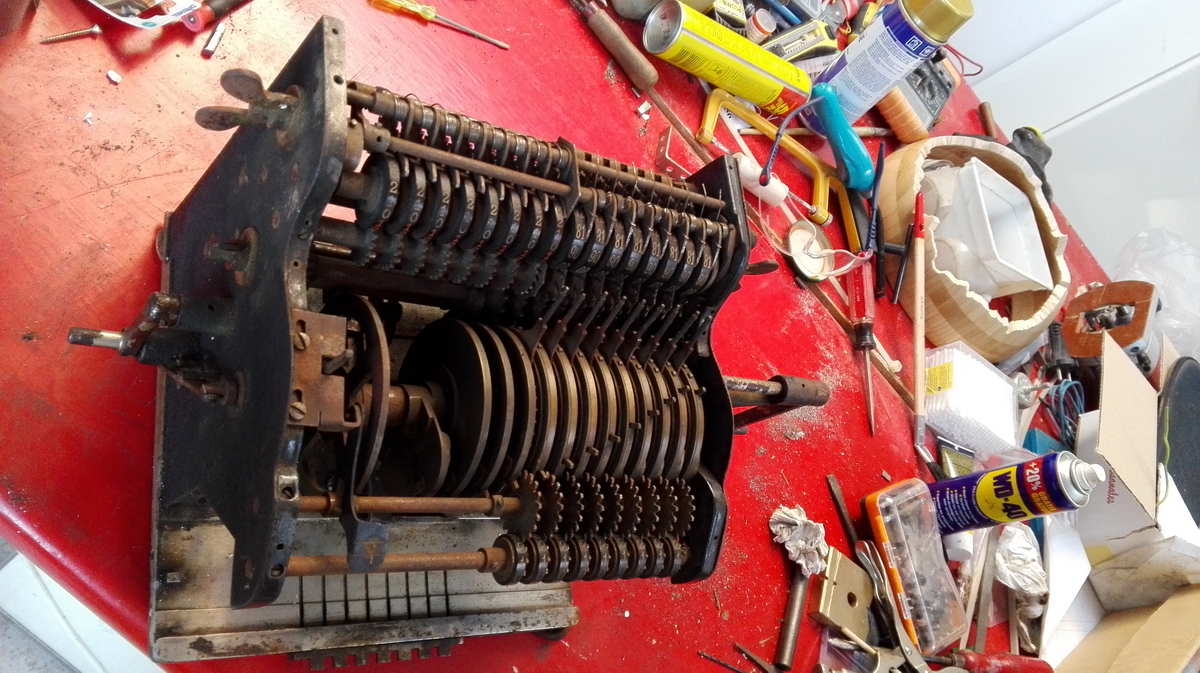
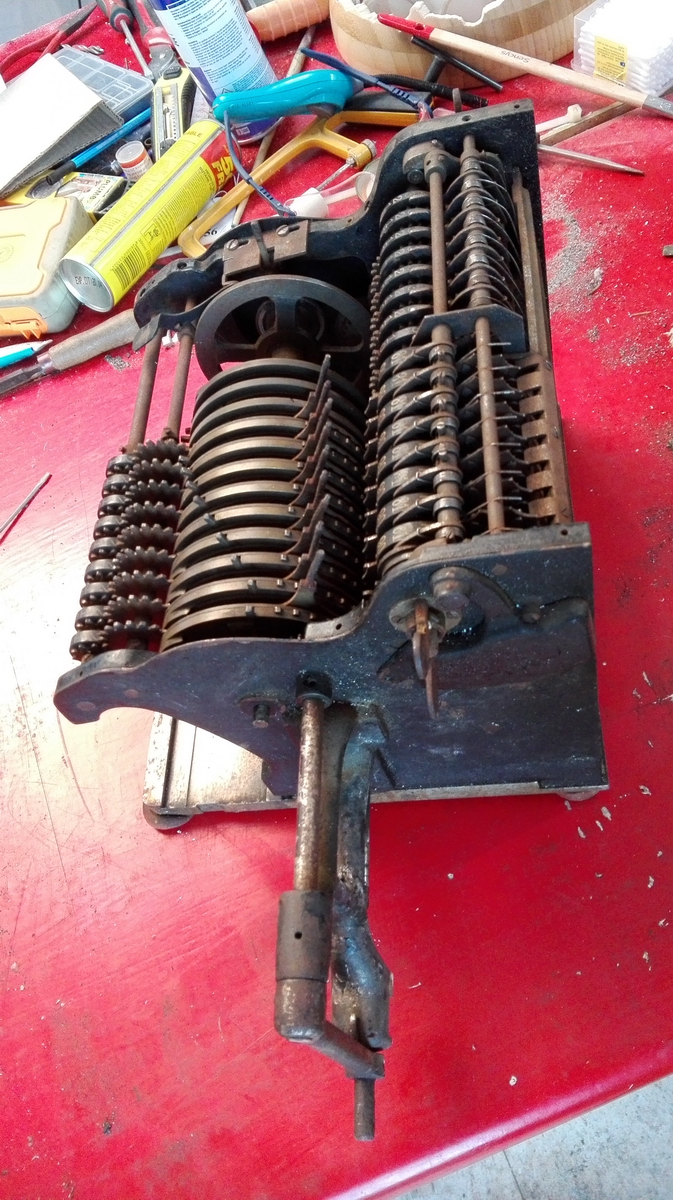
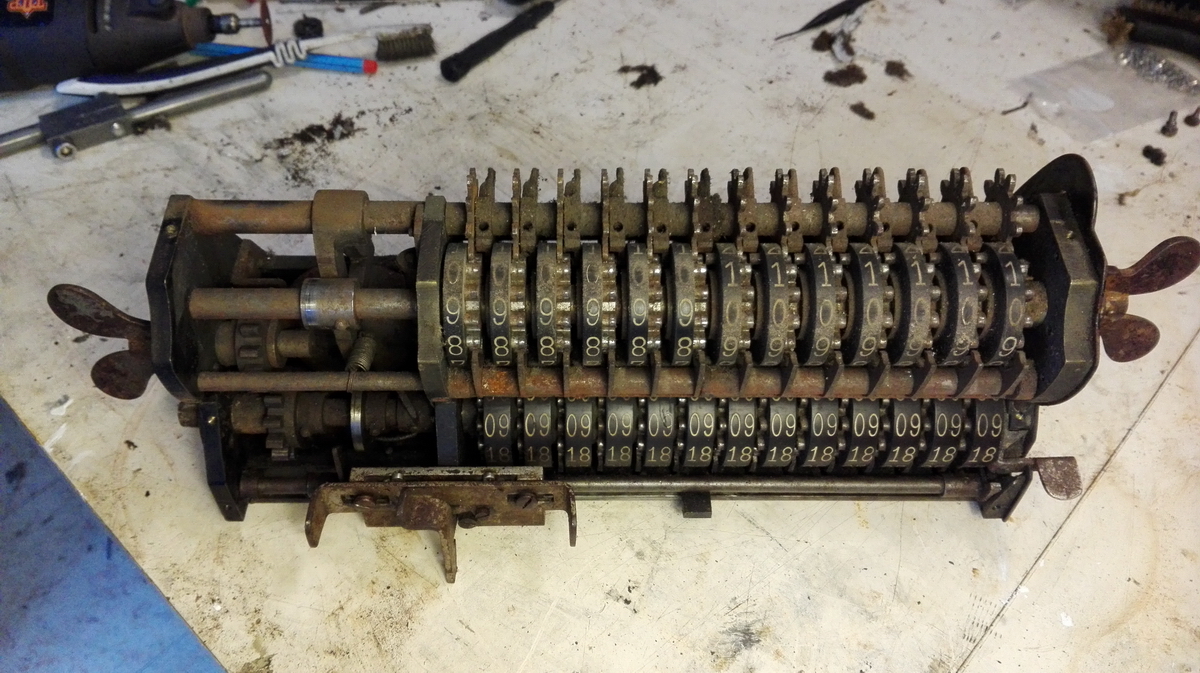
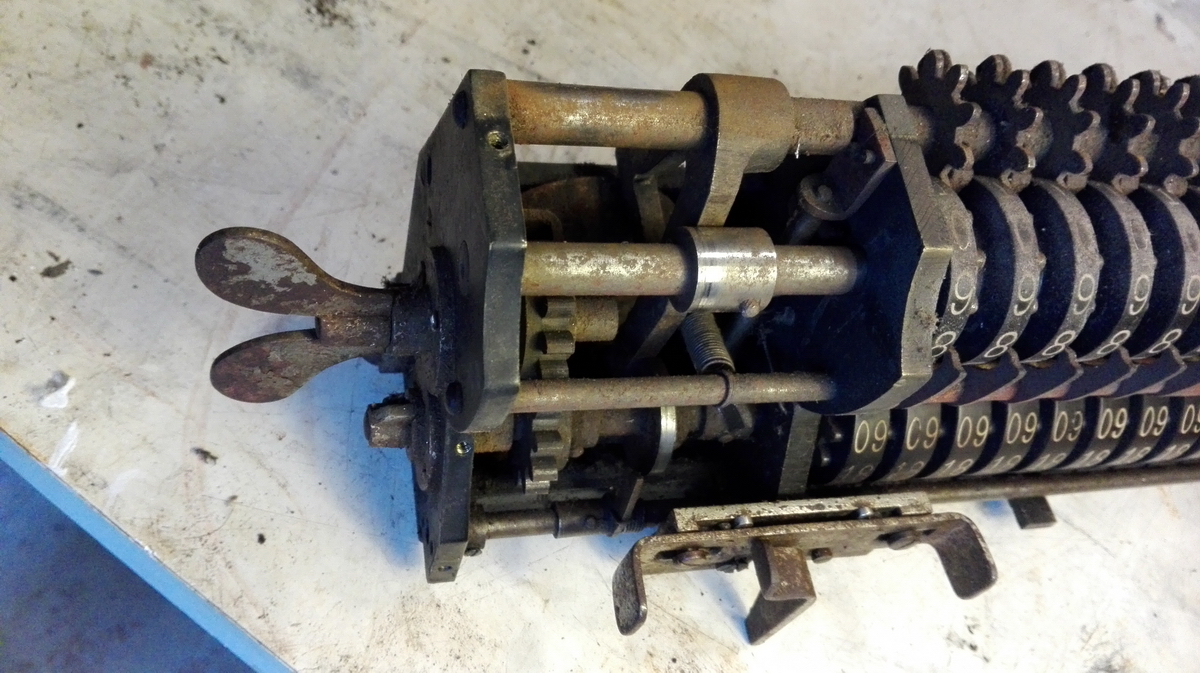
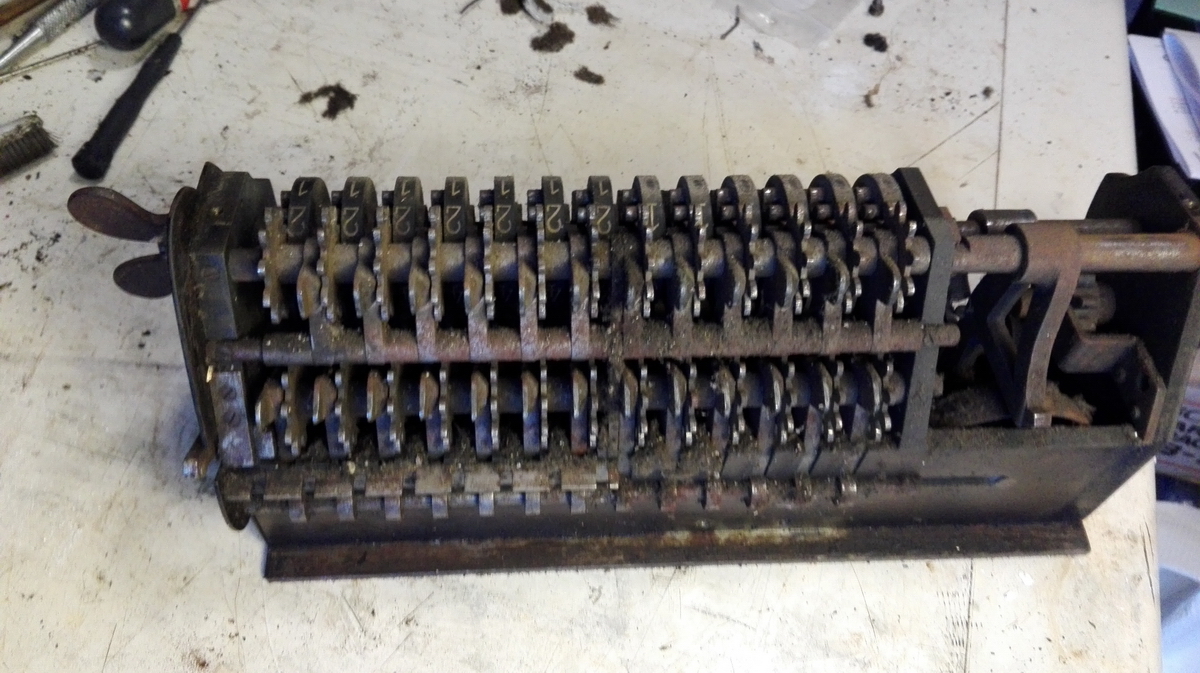
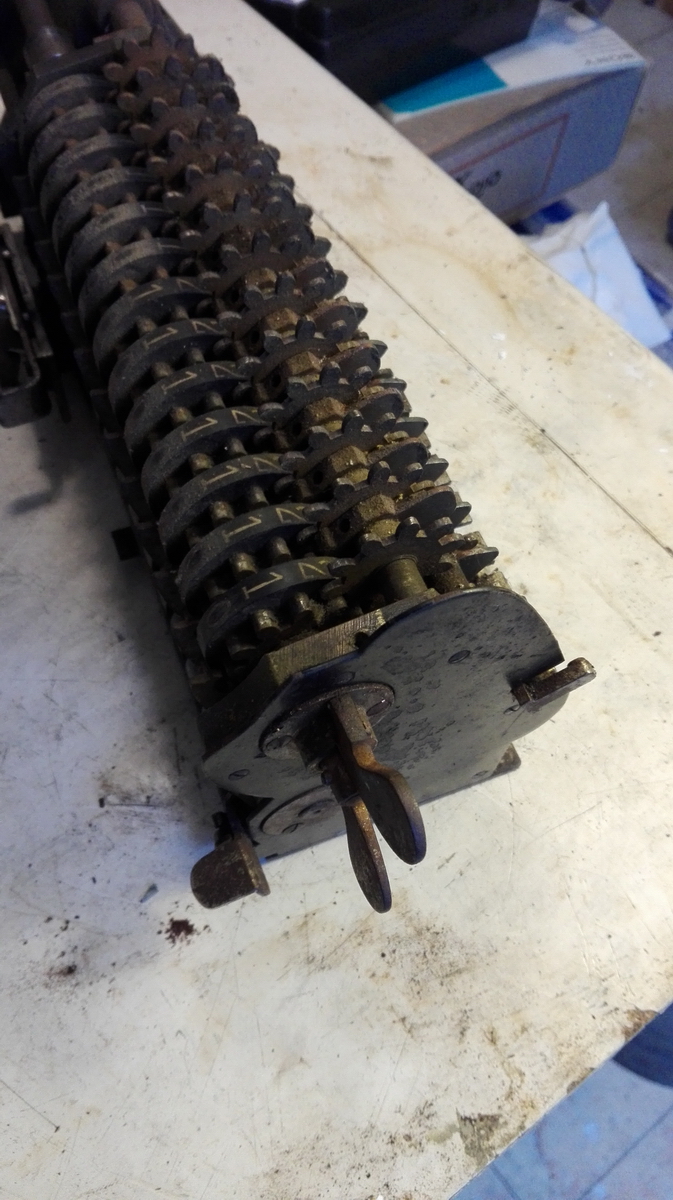
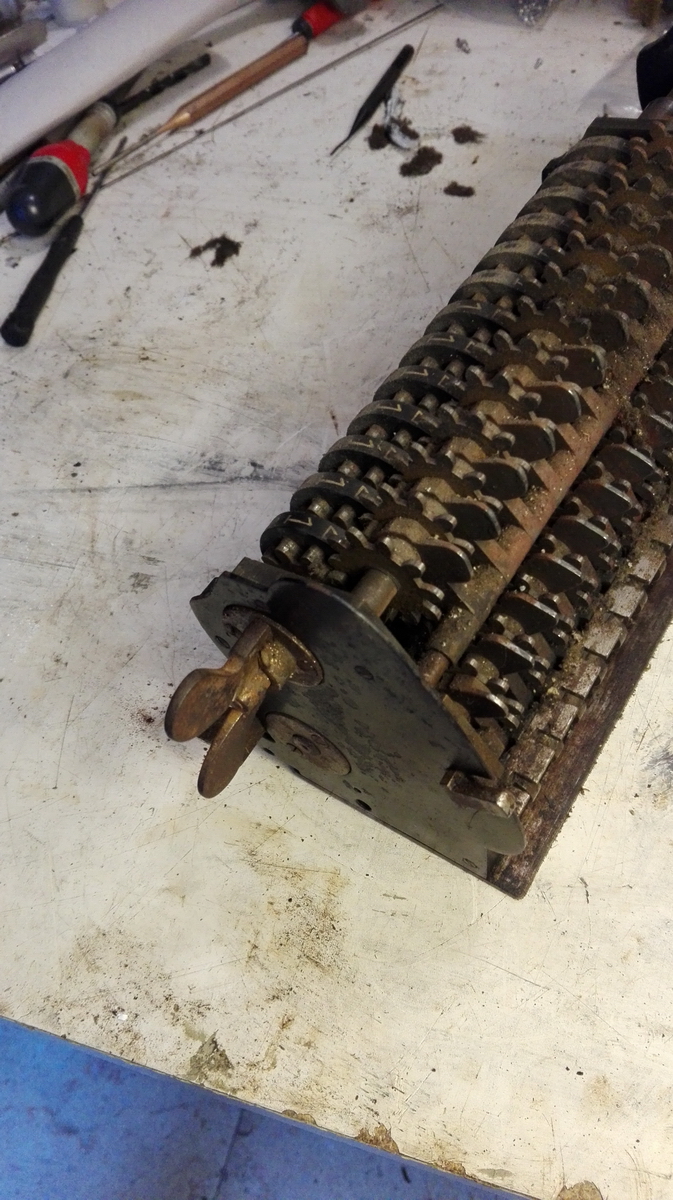
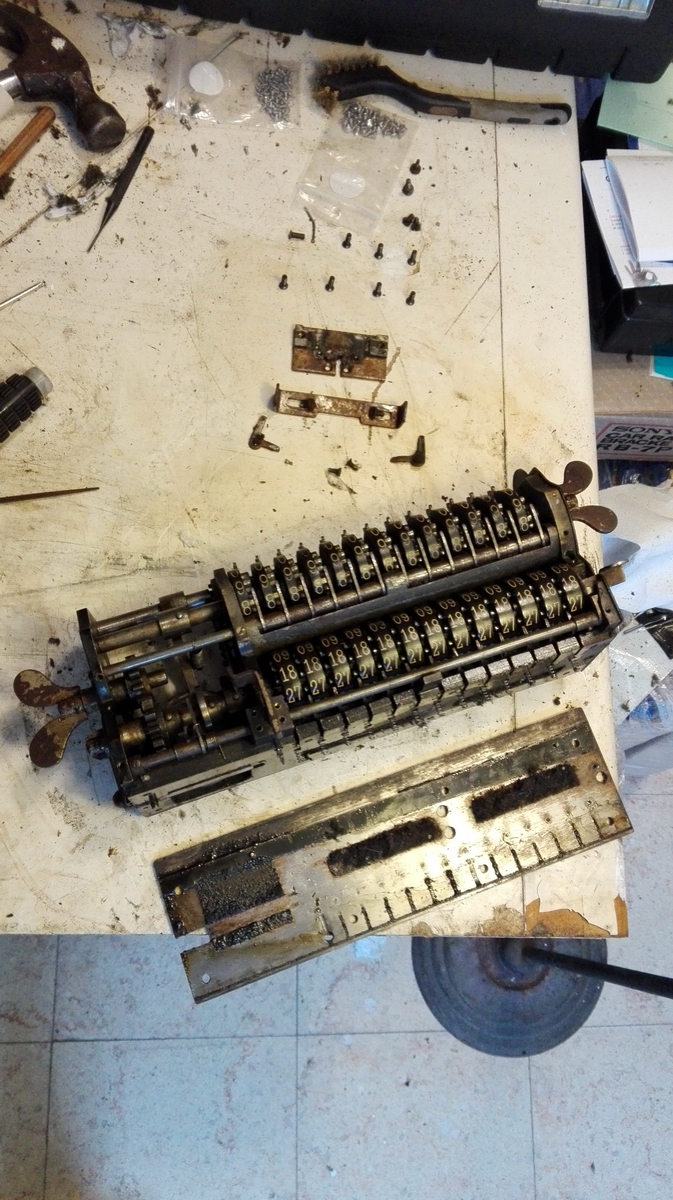
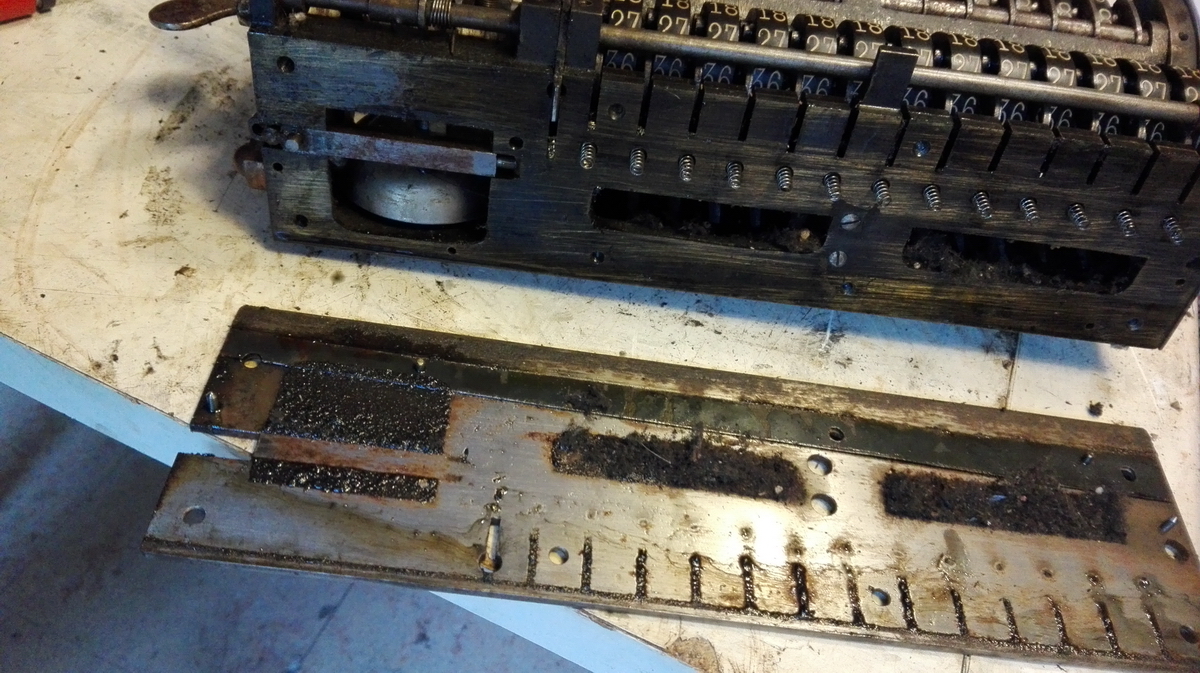
I took the bottom plate off the carriage to be able to reach everything and cleaned as much of the dust and muck out of the carriage as I could, then oiled everything, and cleaned up the numeral wheels. Compressed air really helped here - I received a small compressor as a gift from a fellow collector who was cleaning out his house, and after cleaning and oiling, it works like a charm.
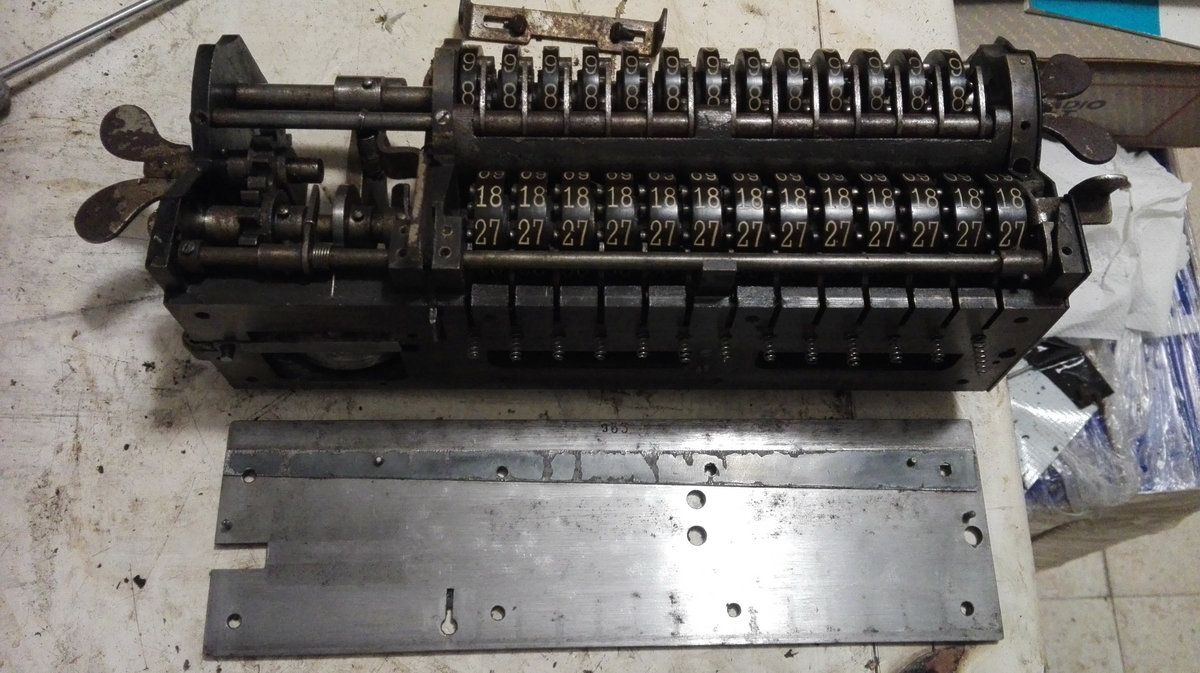
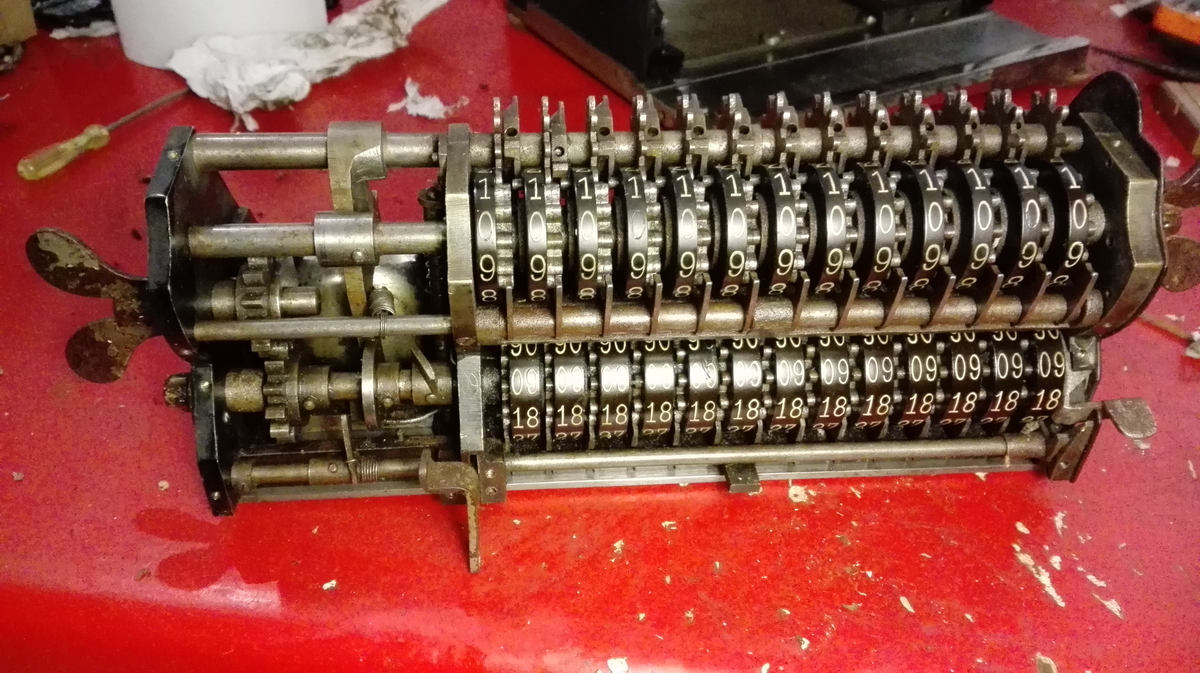
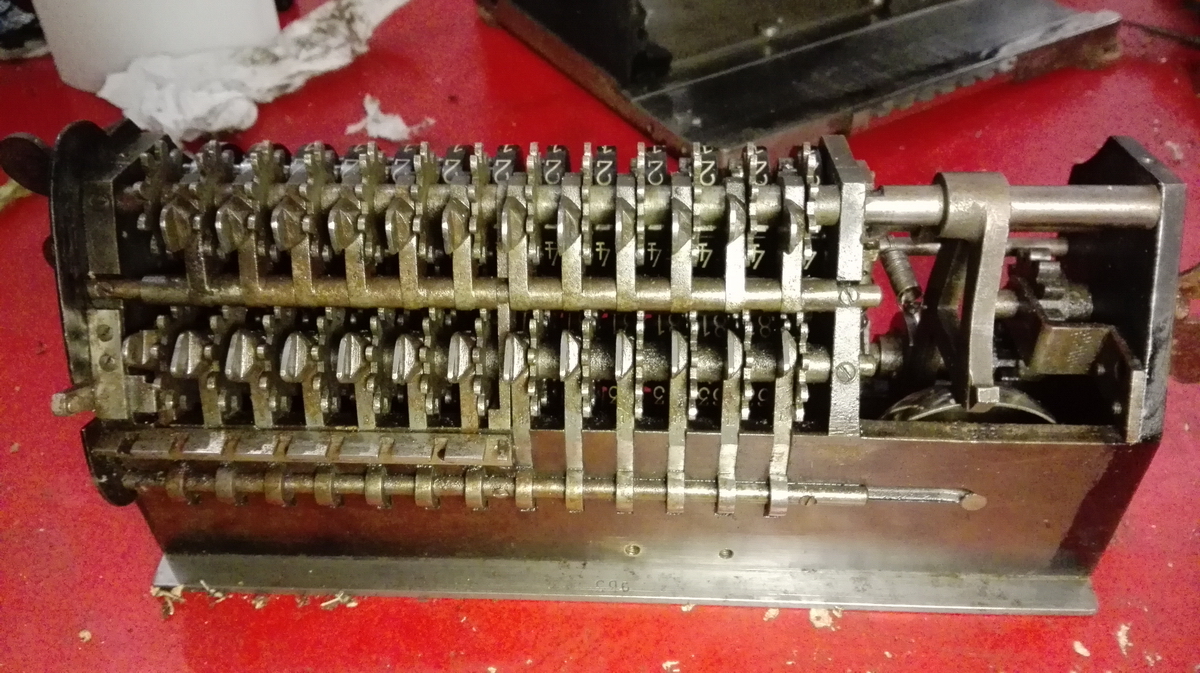
On the machine itself, I cleaned the crank and handle, the setting pins (with a file - they were *very* rusty), and everything else I could reach without disassembly was cleaned and oiled.
Then I also oiled the two counter registers and their clearing axles, and cleaned up the wingnuts. The nickel is definitely gone though.
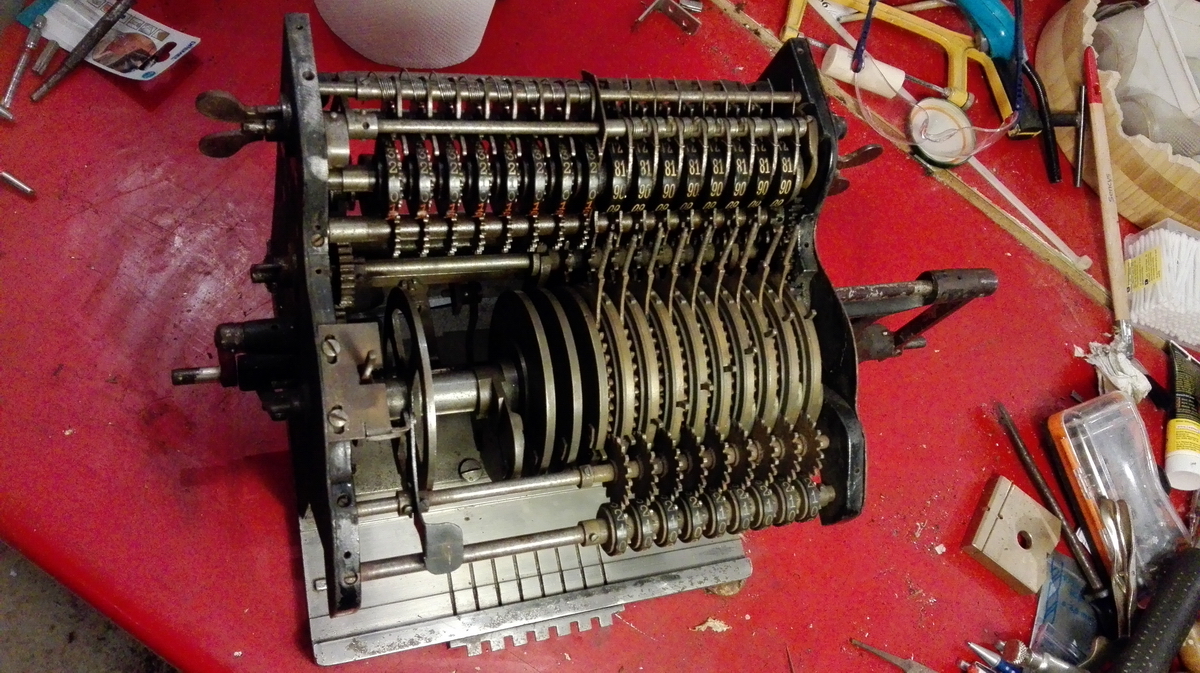
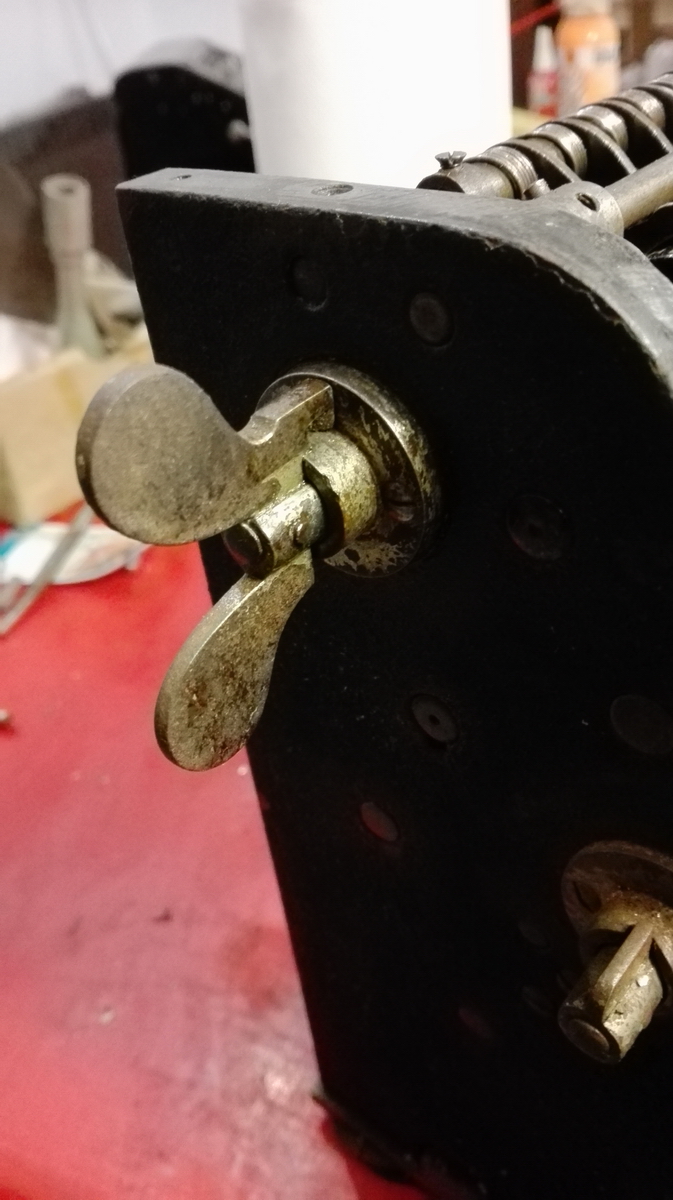
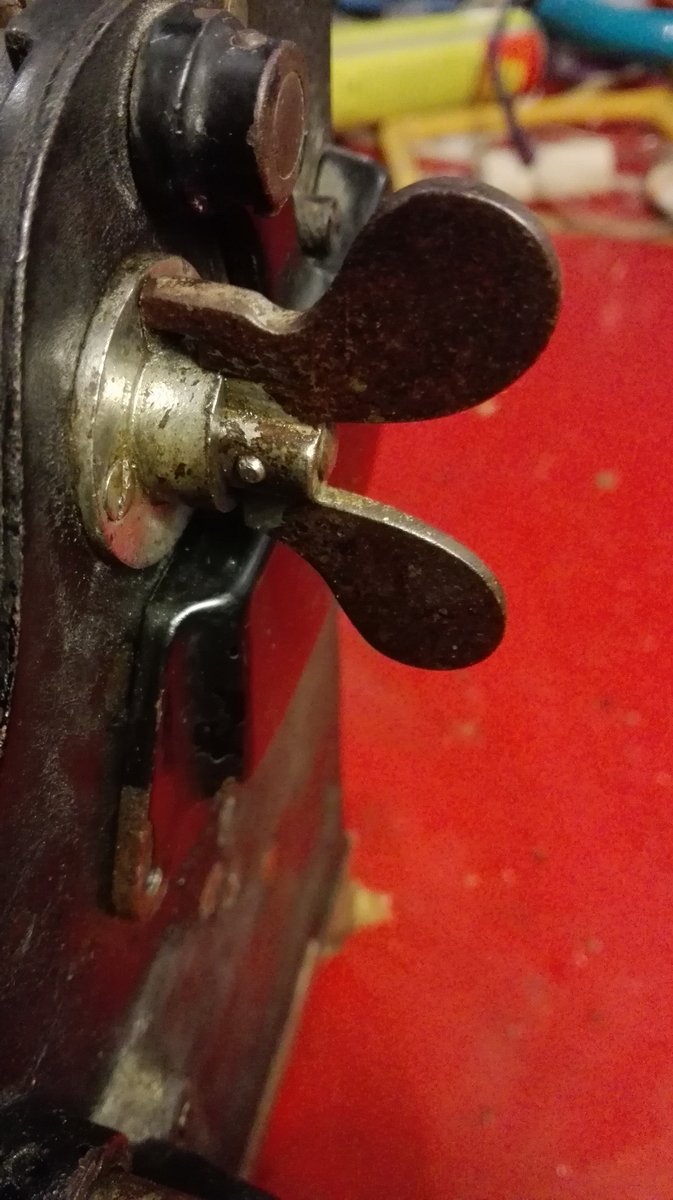
With that done, I thought I should test the machine for proper operation, and I faced a baffling problem - when cranked, the machine positively SCREAMED at me - although nothing was really binding, friction between the slightly rust-affected setting lever disks and the brass pinwheels made the setting disks vibrate as the rest of the cylinder rotated, giving rise to a loud screeching noise. Holding the setting pins with my hand would eliminate the noise, but of course that would not be a real option. I ended up dripping a single drop of oil down the side of each setting disc, on the side that is not facing the pinwheel, and that immediately solved the problem, and without getting oil all over the pinwheels.
The final problem for today was blocked indicator wheels in the left counter register. This turned out to be due to the sprung locking levers for the wheels that had fused solid with the axle they are supposed to be individually able to rotate on. Oil and exercise soon had them all movable enough for the second counter register to be operable. This also allowed to test the "double counting" feature in the right counting register on pulling the lever on the right side of the machine forward to make it count negative. It just worked, in a totally uneventful manner. Unfortunately, in the course of this test, the spring steel band that transfers the motion of the carriage to the counting mechanism snapped - again. The first time this happened, earlier during the restoration, it did so where the steel extension towards the backside of the carriage clamps onto it, and I managed to clamp it back into place. Now, however, it snapped again about a centimeter to the left of the clamp. Some 6.5 x 0.1mm spring steel was sourced for making a replacement band.
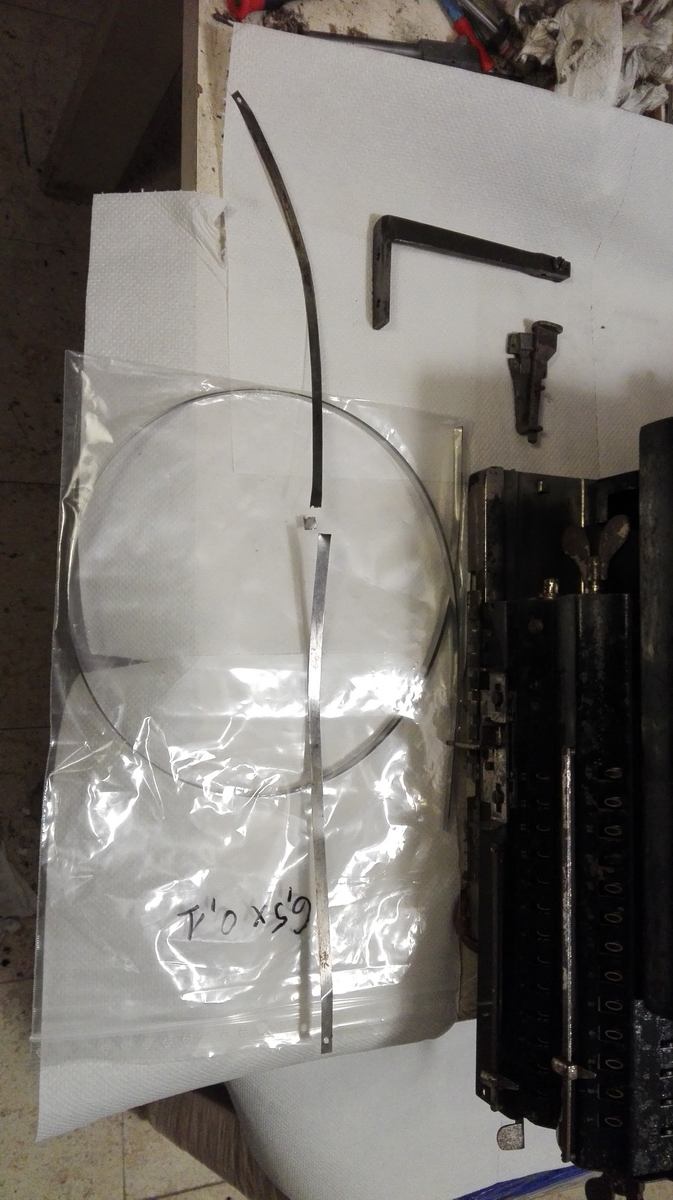
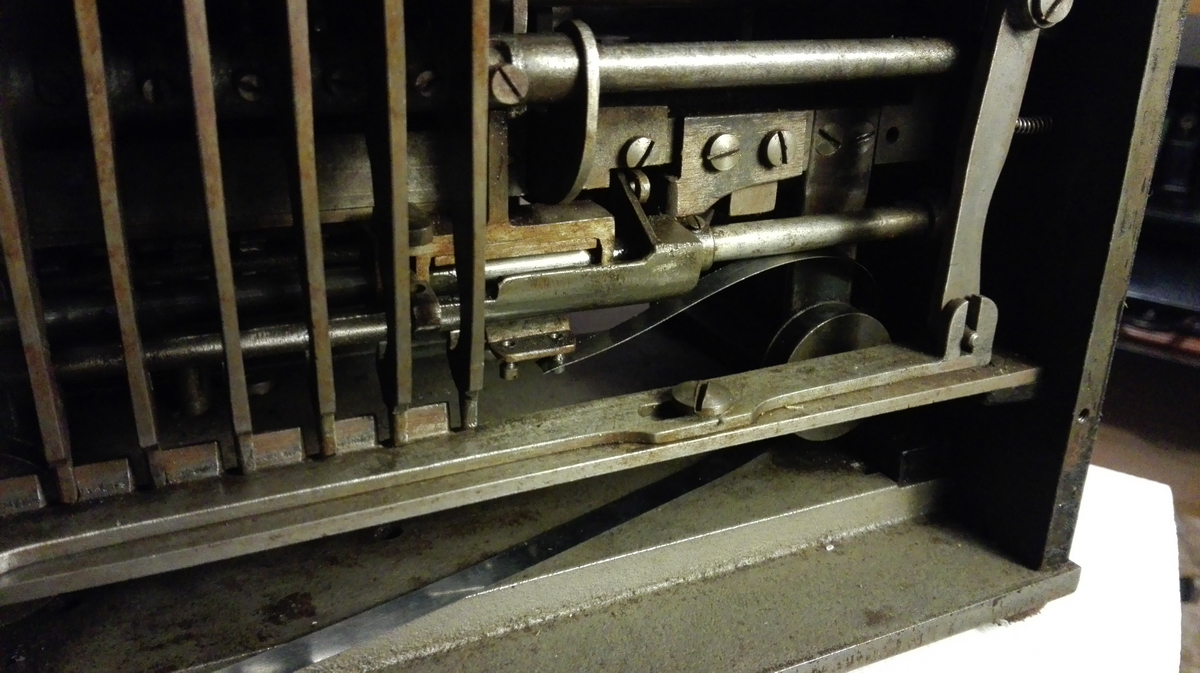
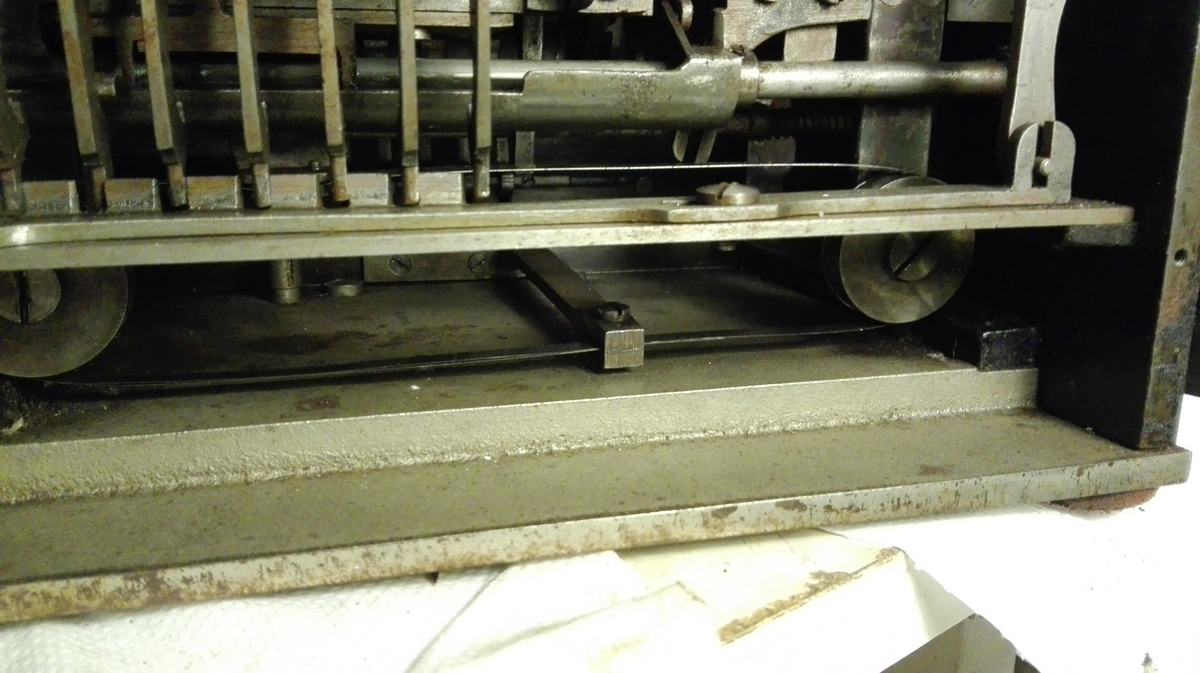
The whole contraption is so Rube Goldberg that, if Franz Trinks in 1908 would have told me that this is how they were going to design it, I would just laugh at him. However, with sufficient tension on the steel band, it does indeed work flawlessly. All that is left to do is knock a pin through the hole in the clamping part extending back from the carriage, right behind the clamping screw, and through the steel bands, to absolutely fix them in place. It's been done in the mean time.
Next on the list: cleaning up the rest of the not-so-bright brightwork, as well as the top covers and comma sliders. Unfortunately the main body of the machine has been repainted in the 1940s or 1950s with matte black crinkle paint. One of my biggest pleasures is to shine up a derelict looking hulk of a machine and have it come out gleaming and new-looking, but here, unfortunately, that will simply not work ...
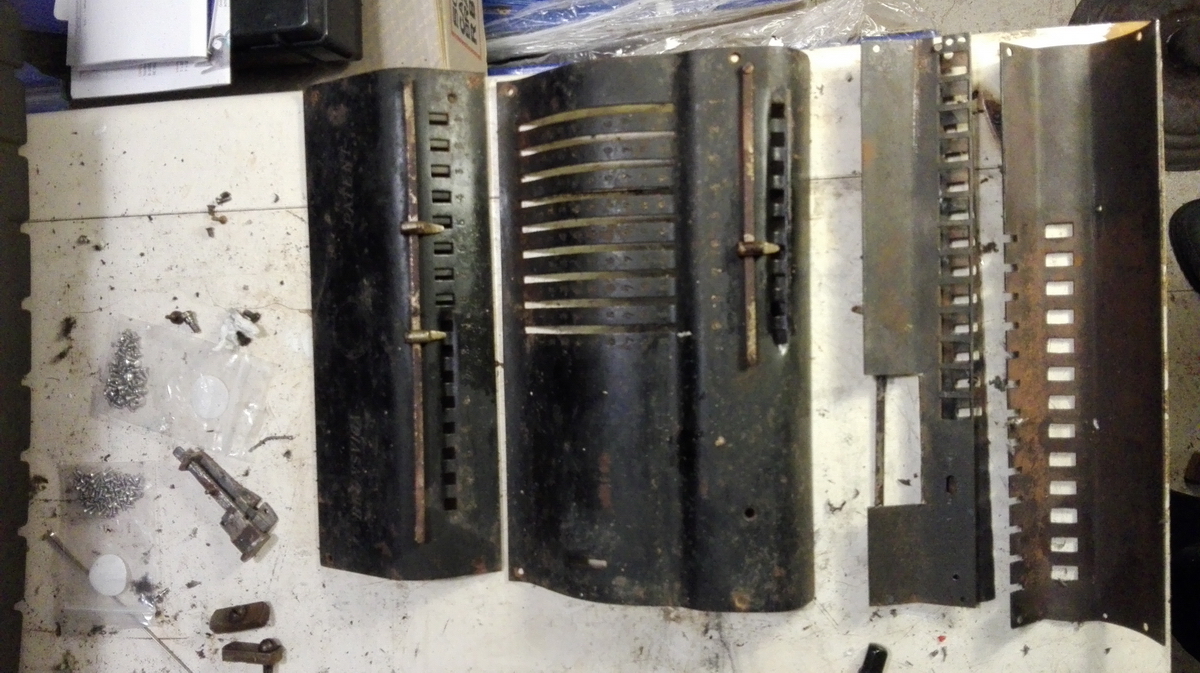
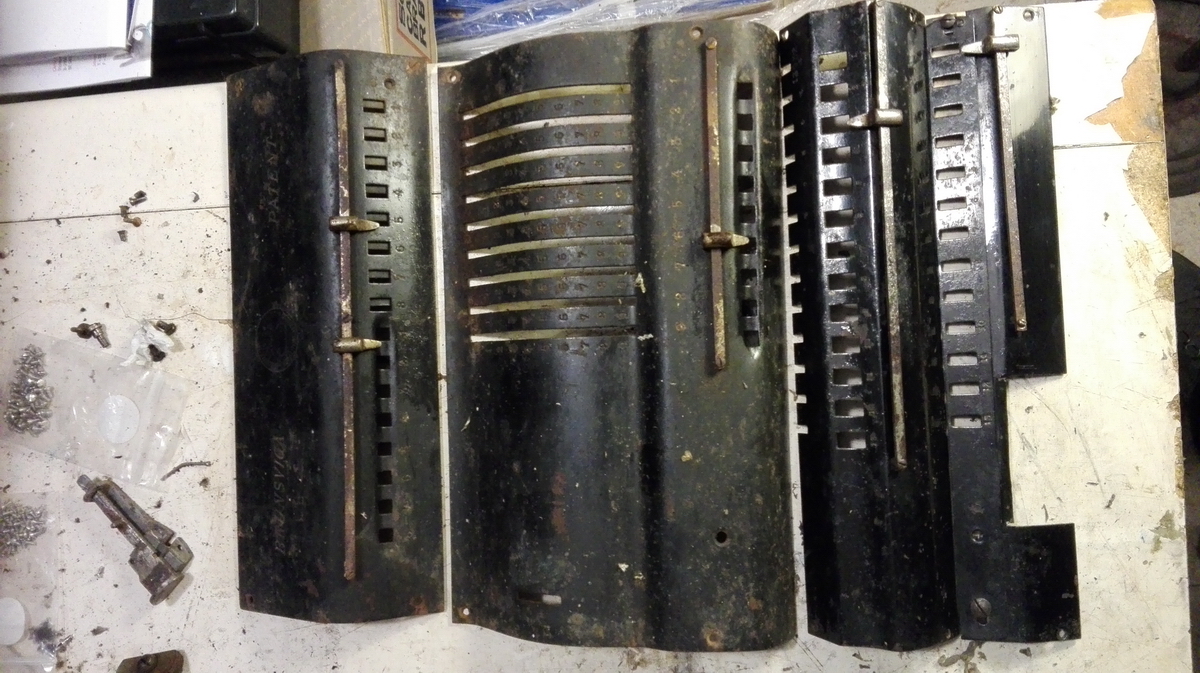
The ivory from the setting levers is bleaching in oxalic acid to remove the rust stains and hopefully glue it back together.
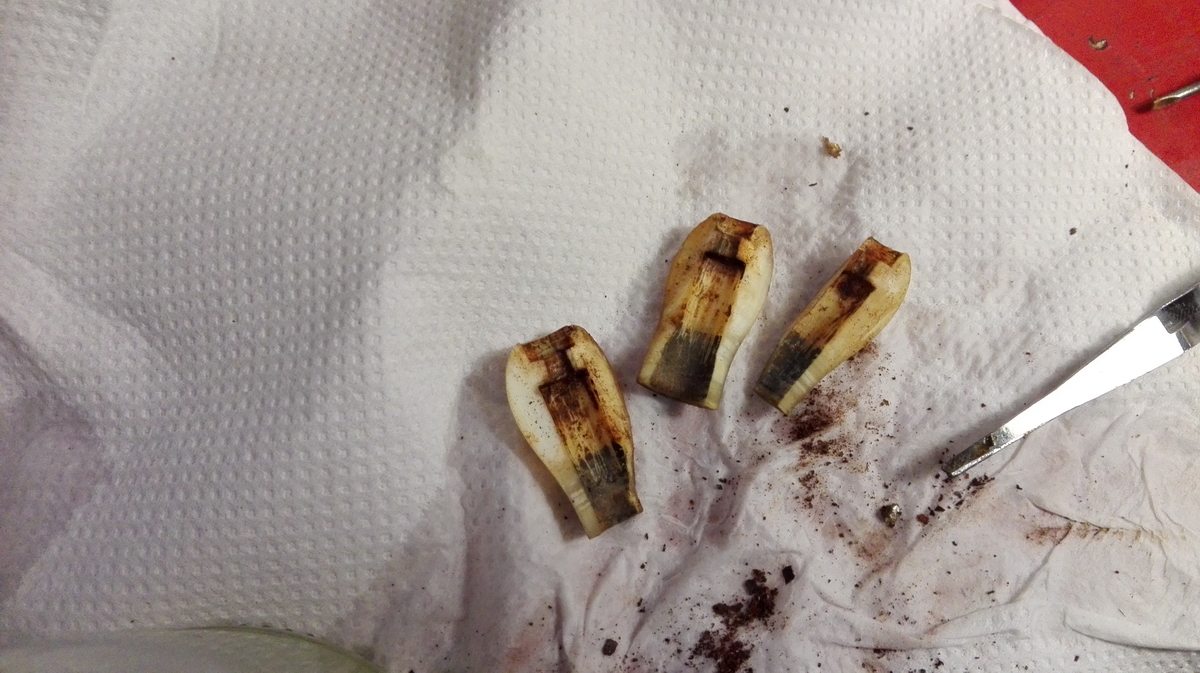
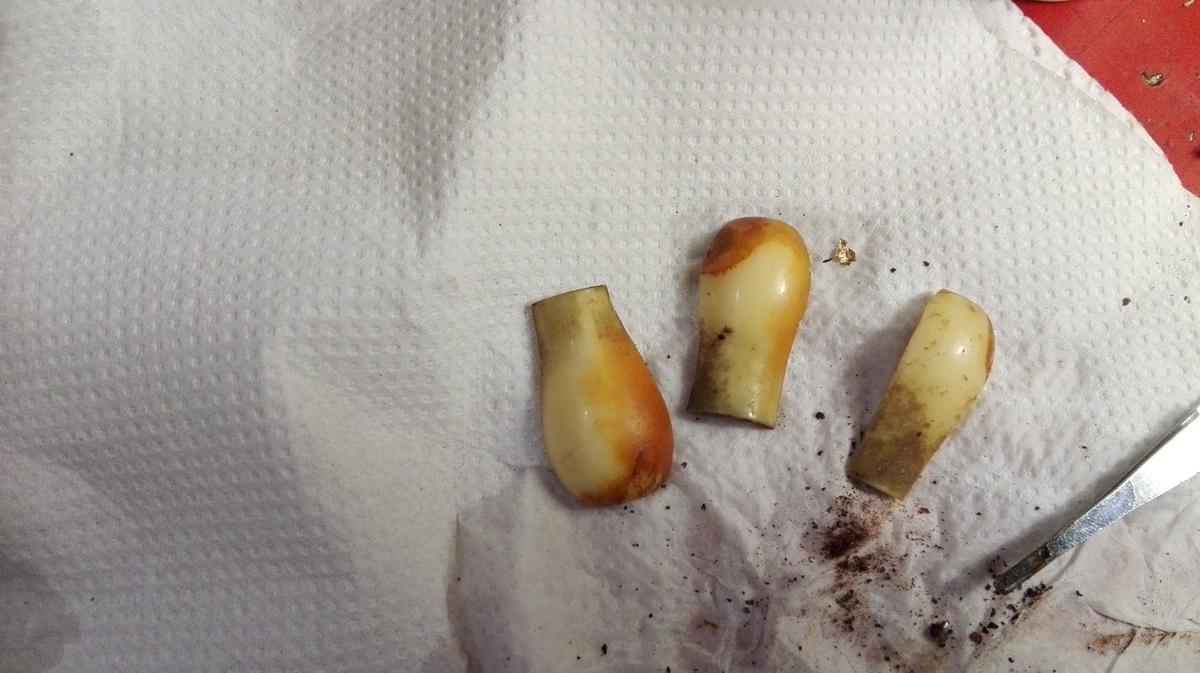
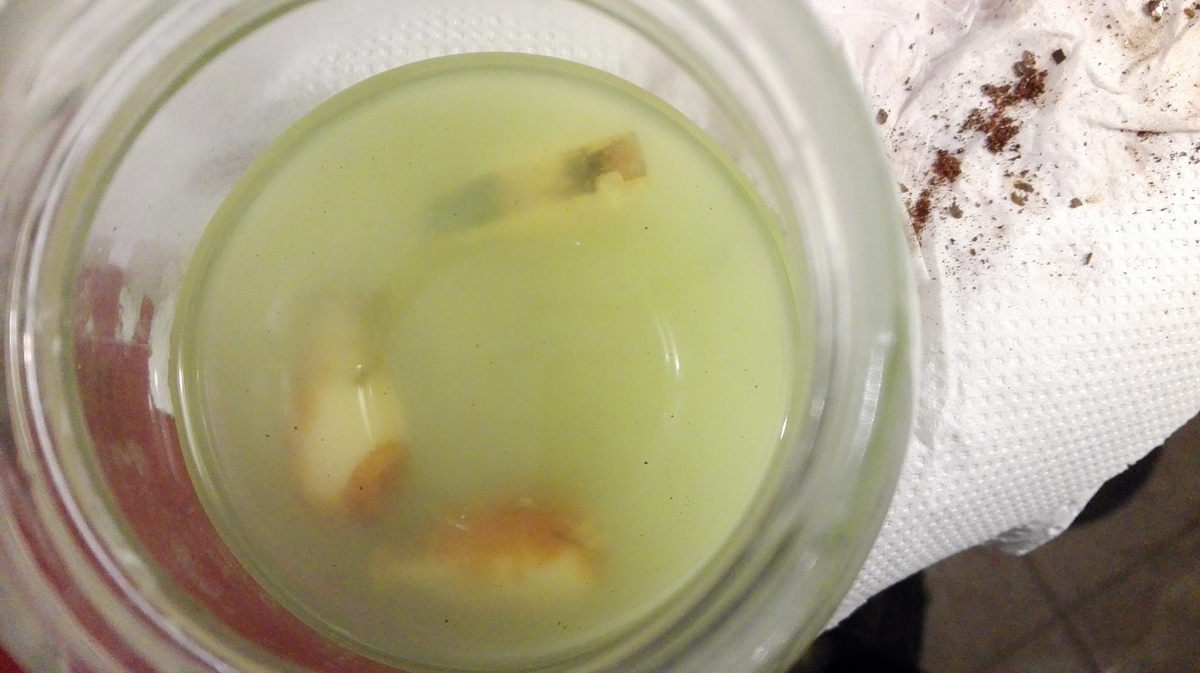
This is the setting pins after cleaning up, and taped together for drying, prior to glueing
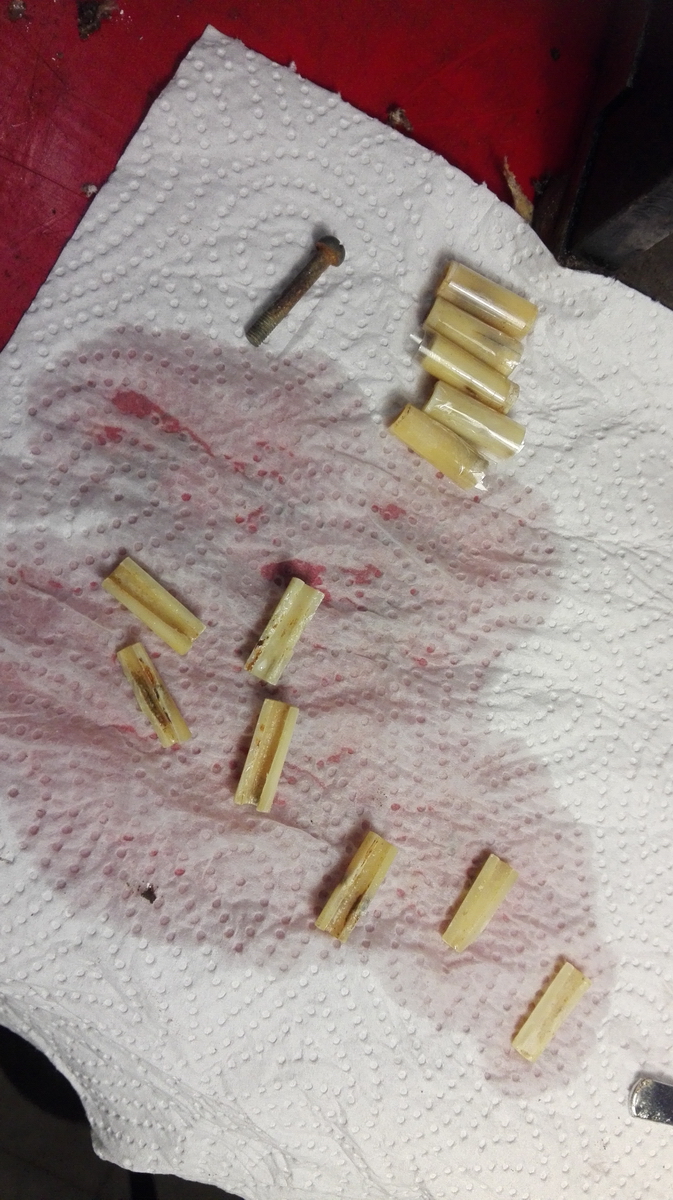

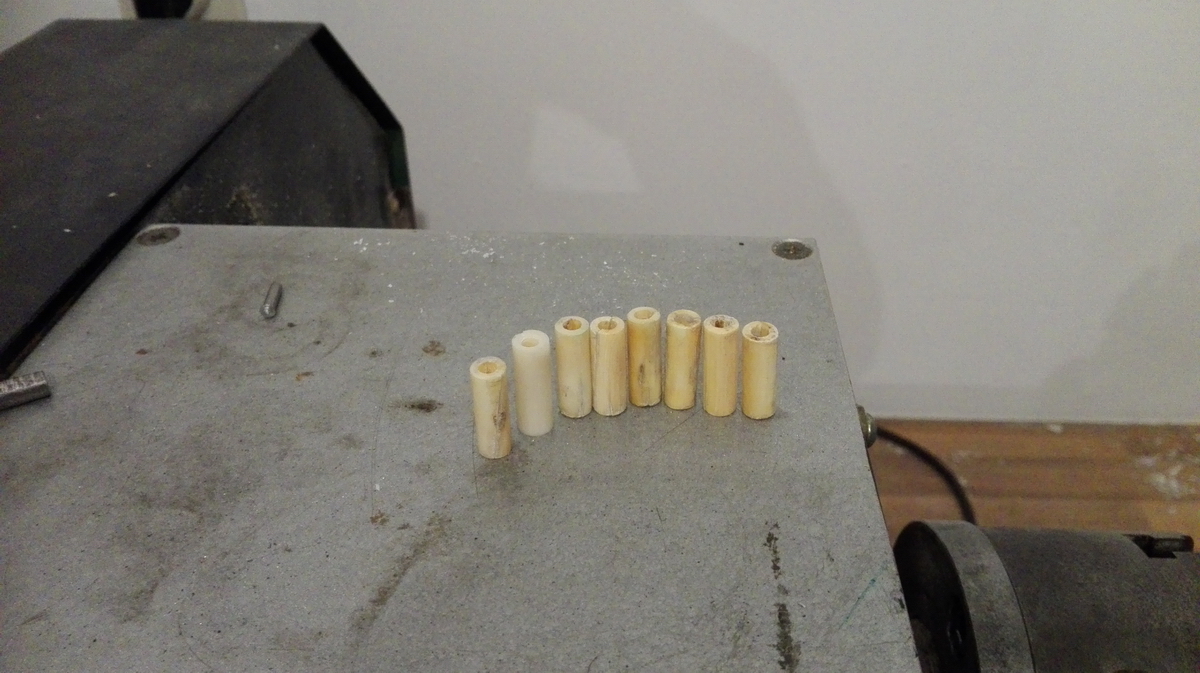
...and here they are when everything is glued back together, and polished up on the lathe.
I also drilled out the remains of the screws in the bottom of the crank support, and re-tapped the holes 2mm, so that the platform and the button for switching between setting and calculating mode could be re-mounted. Save for the current lack of a spring, all of that now works.
The new handle for the main crank, in the mean time, is also done. The pins are for later this week.
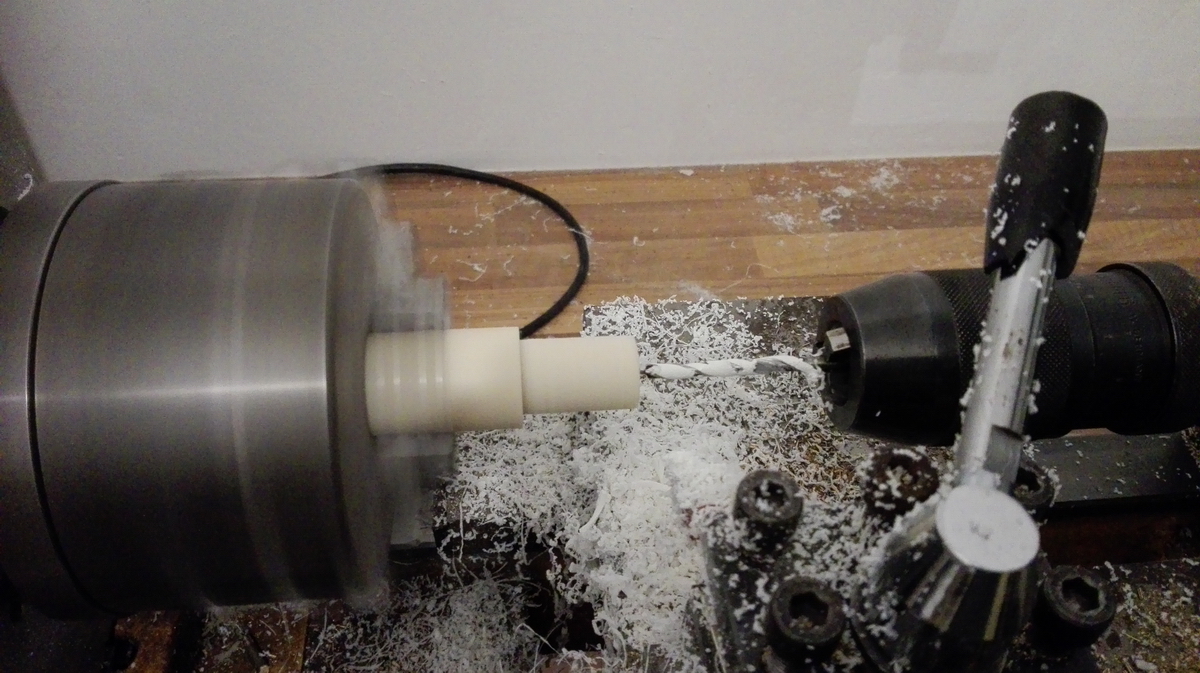
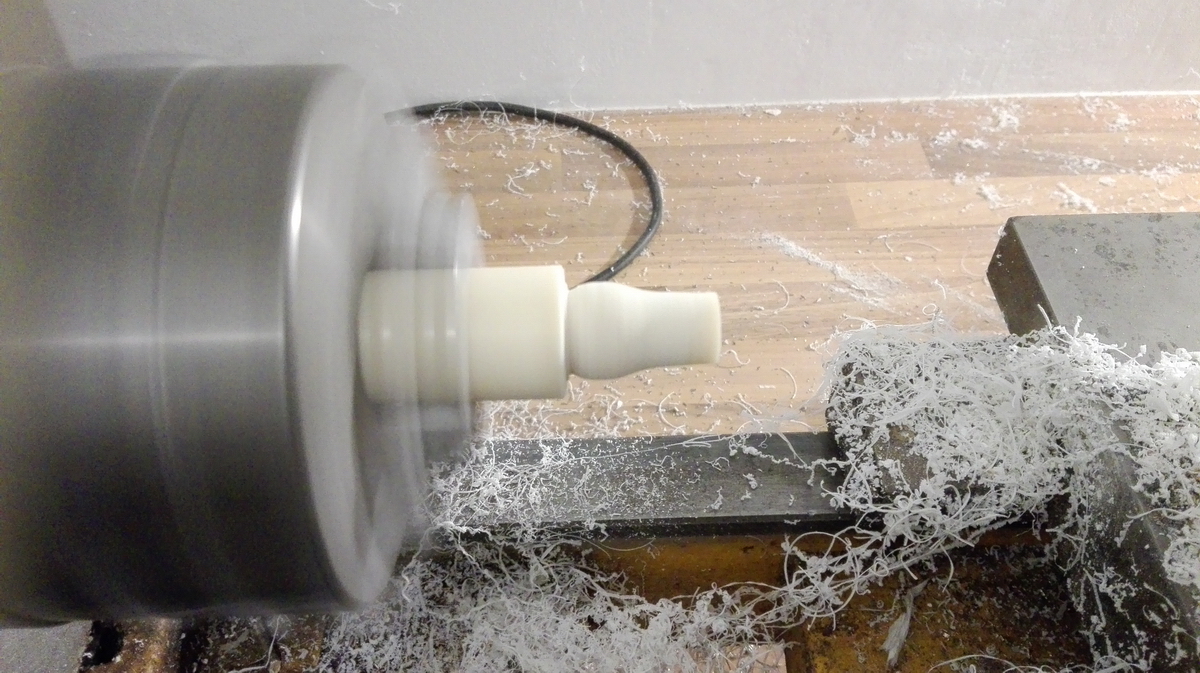
Oh woops ...
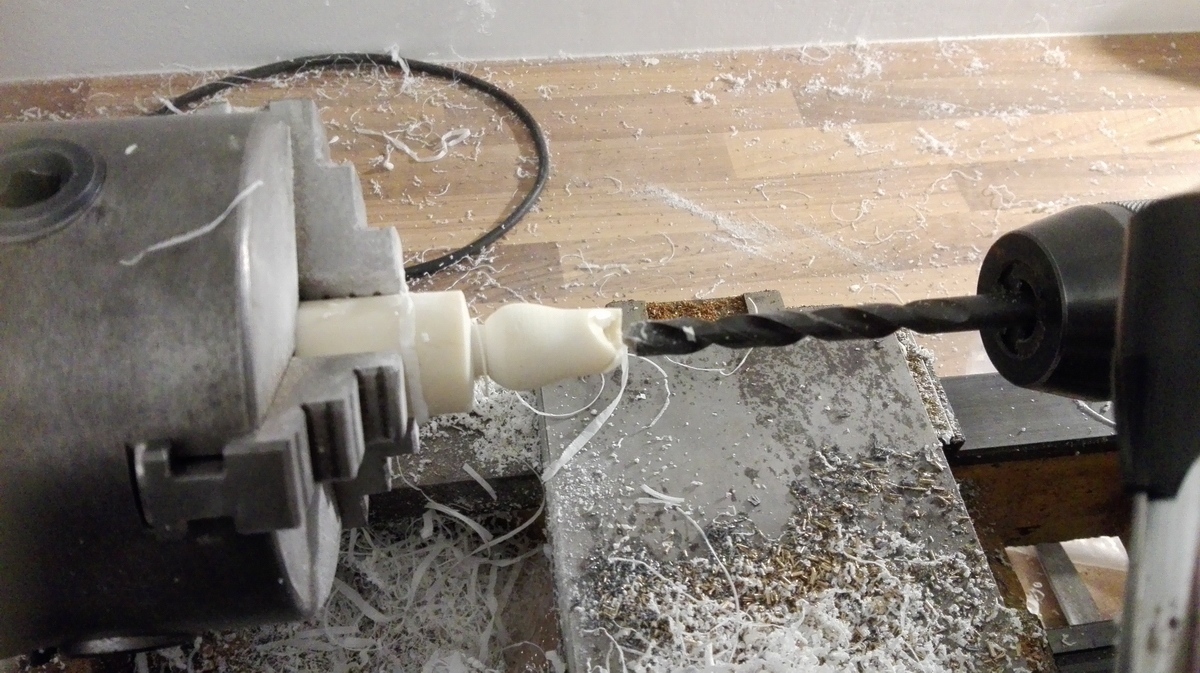
Let's try again, with a mandrel this time. Did I mention this ivory-like polymer is very brittle ?
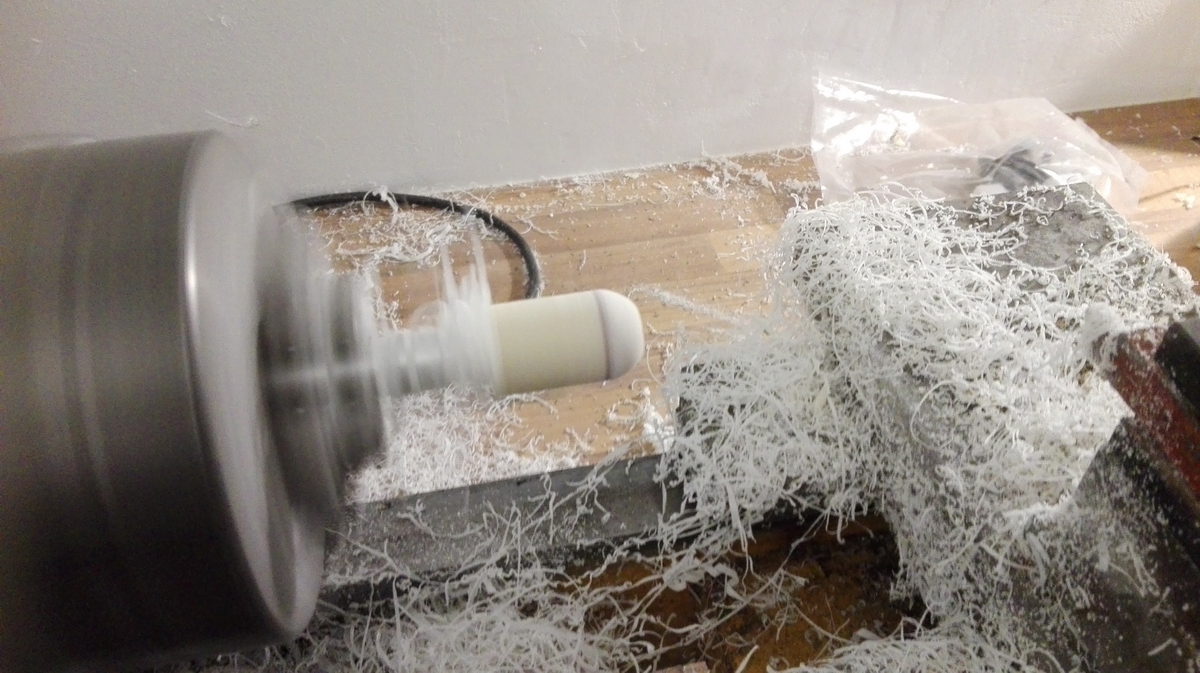
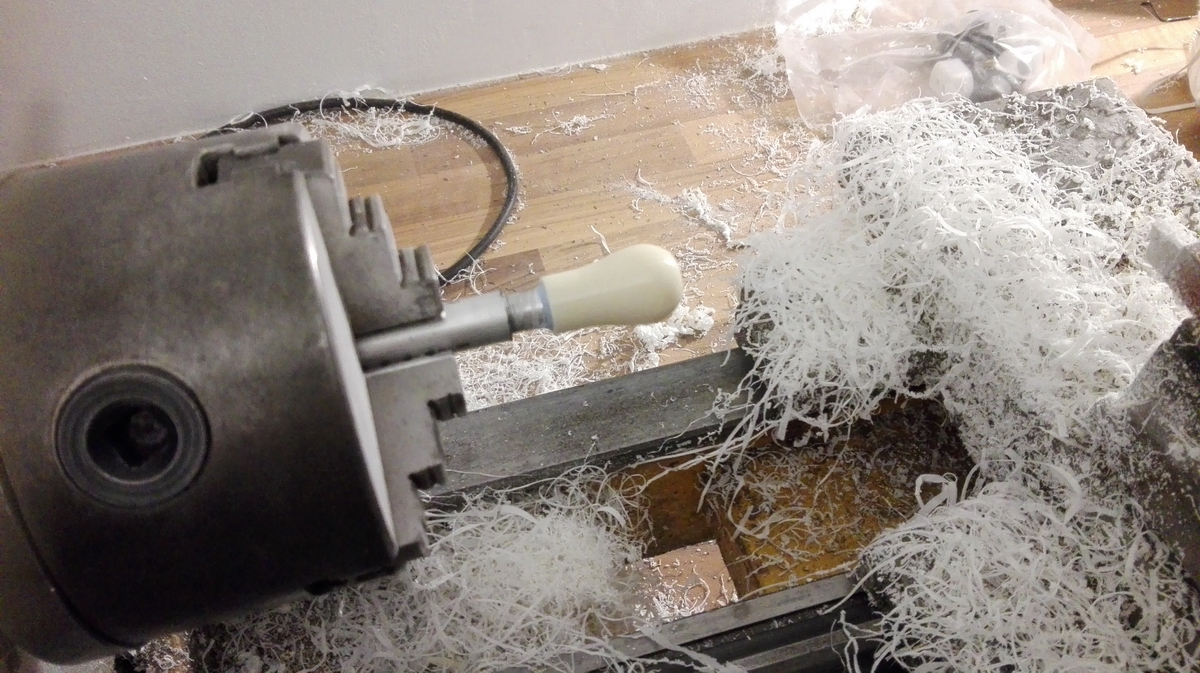
Finished and test-fitting (you can also see the remounted thumb button in this picture):
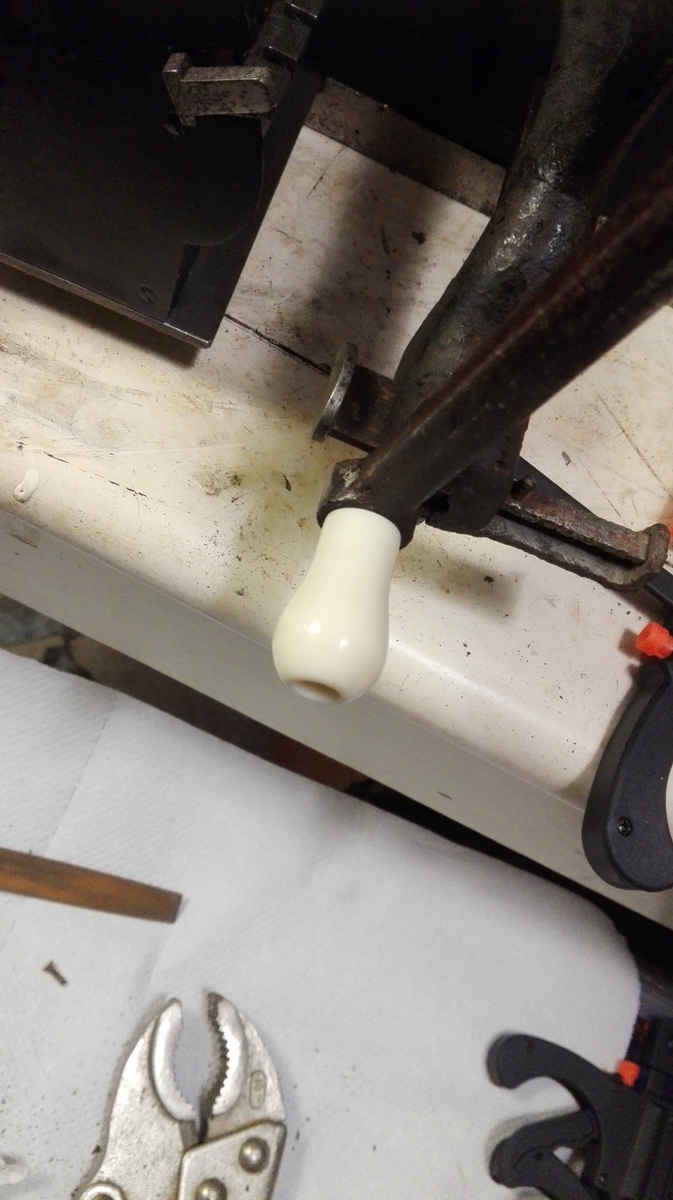
I still need to drill out the top of two of the setting pins and insert a new threaded part, but here I ran into a bit of a problem - it turns out the thread on the pins, and of course the matching thread in the caps, is M2,2 - not exactly a size tap and die I have lying around - so those are on order now.
Finally, I took the numeral wheel and intermediate gears in the setting register apart and gave them a good clean, because they still looked rather grotty, and are easy to get to.
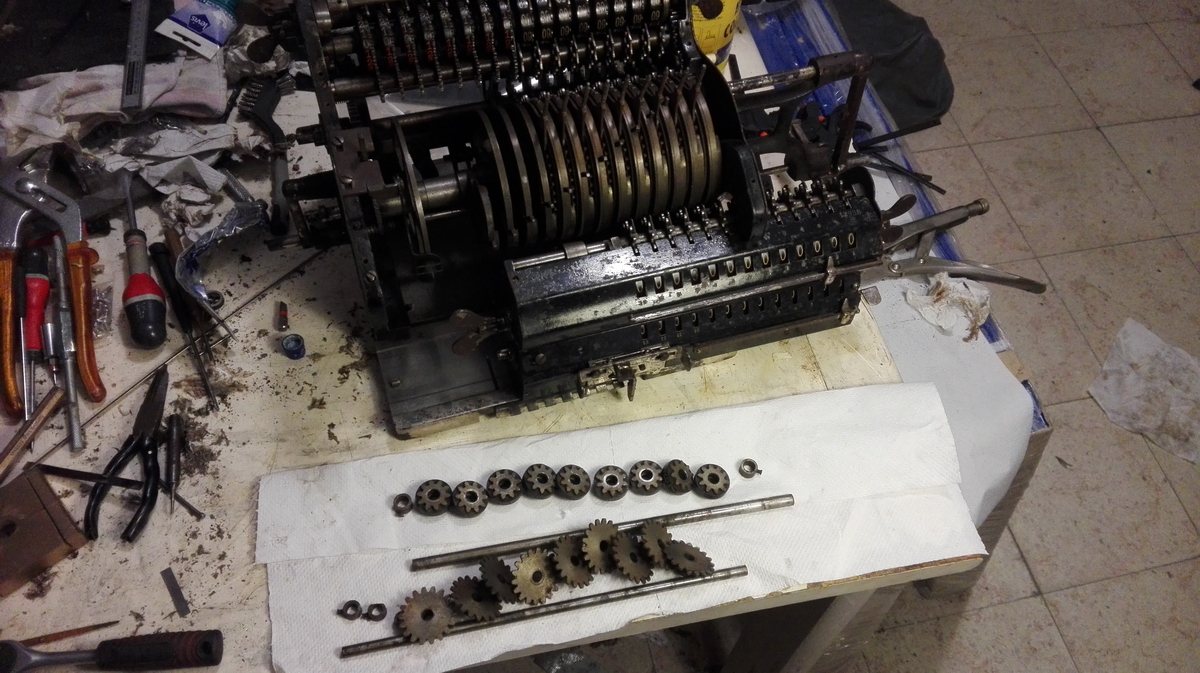
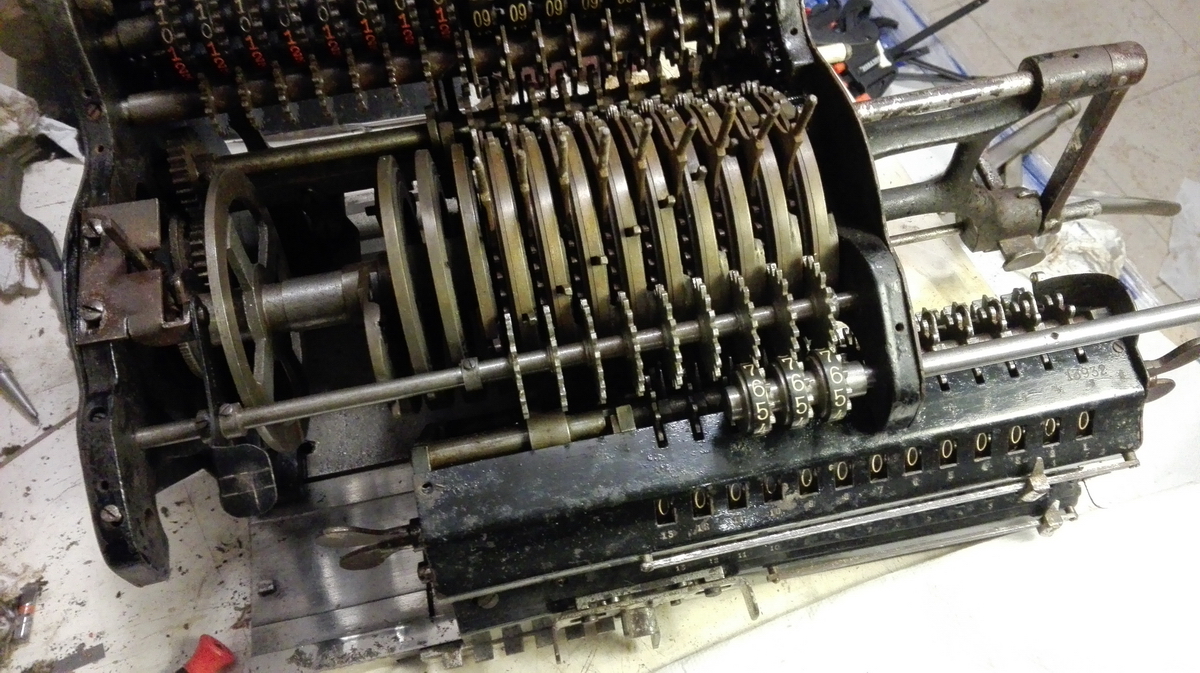
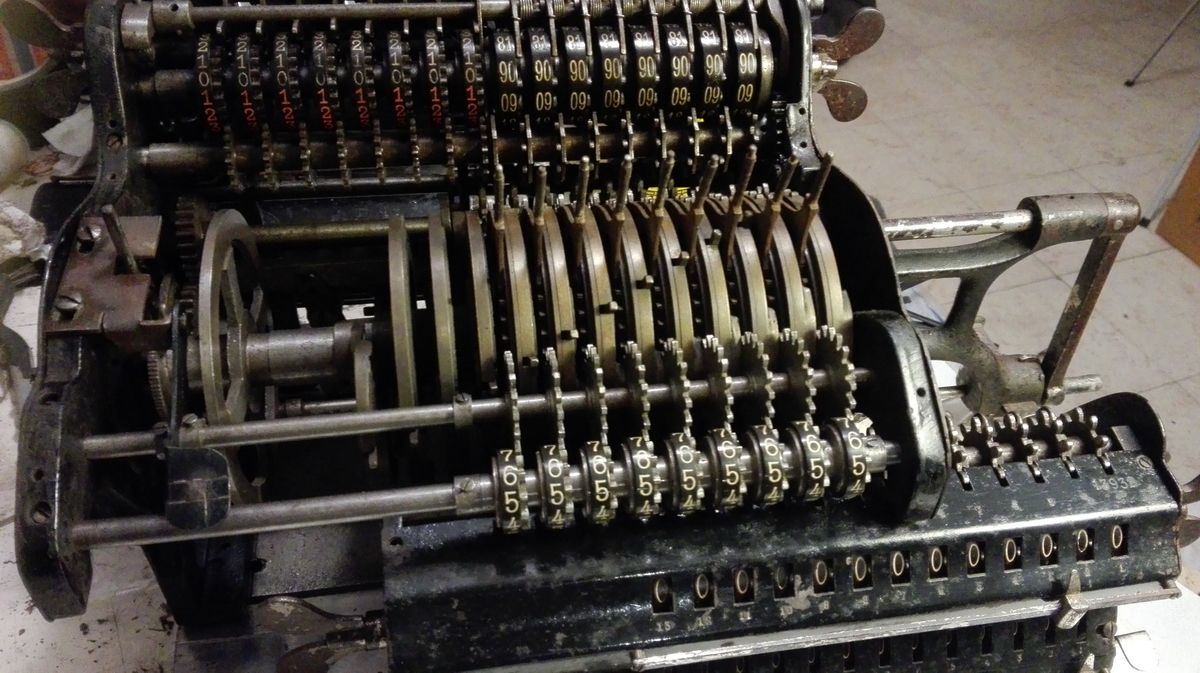
The next item on the list was the broken off threads on the ends of two input levers. I'm still not entirely sure what thread is on the ends - the rust has really eaten into what's left, and it is hard to get a consistent measurement. I ended up buying M2,2 taps and a die, but it seems as though it may really be M2,3. They are definitely smaller than M2.5, because an M2.5 bolt will not fit the caps. The missing cap, by the way, surfaced from deep inside the innards of the machine, so it now has its complete set! The ends of the setting pins were filed flat, and centerpunched.
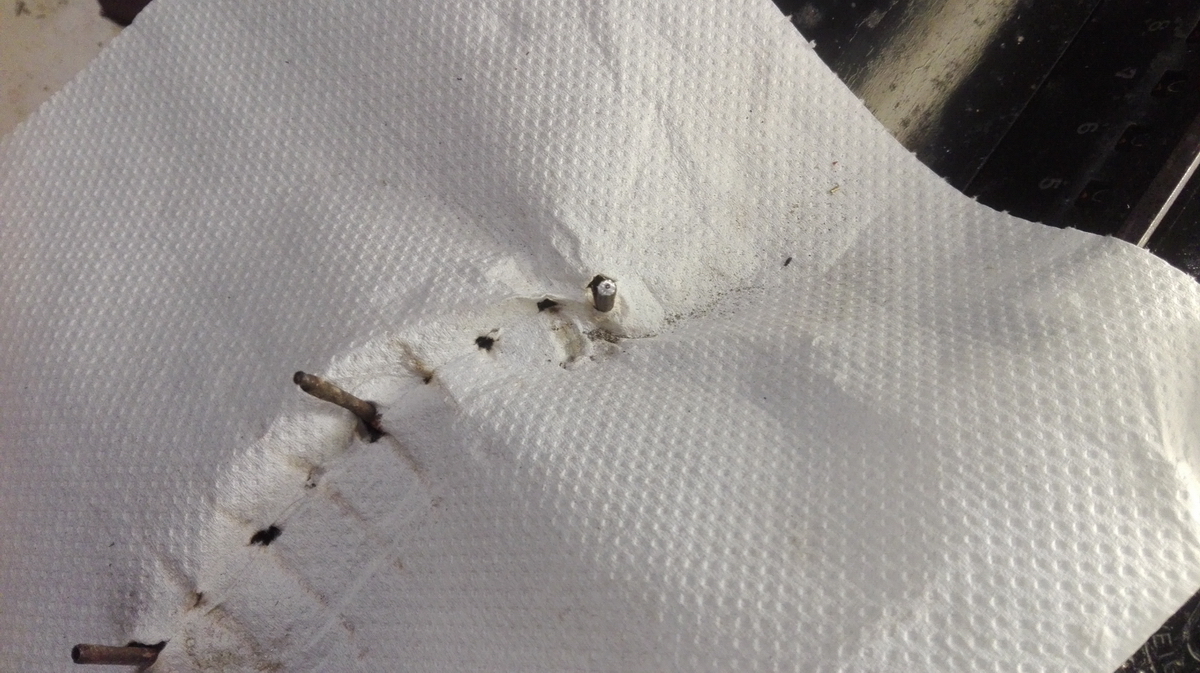
Then the rods were drilled out to 1.7mm as deep as I dared.

An M2.2 threaded rod was made on the lathe, screwed into the tapped holes, and bonded with loctite.
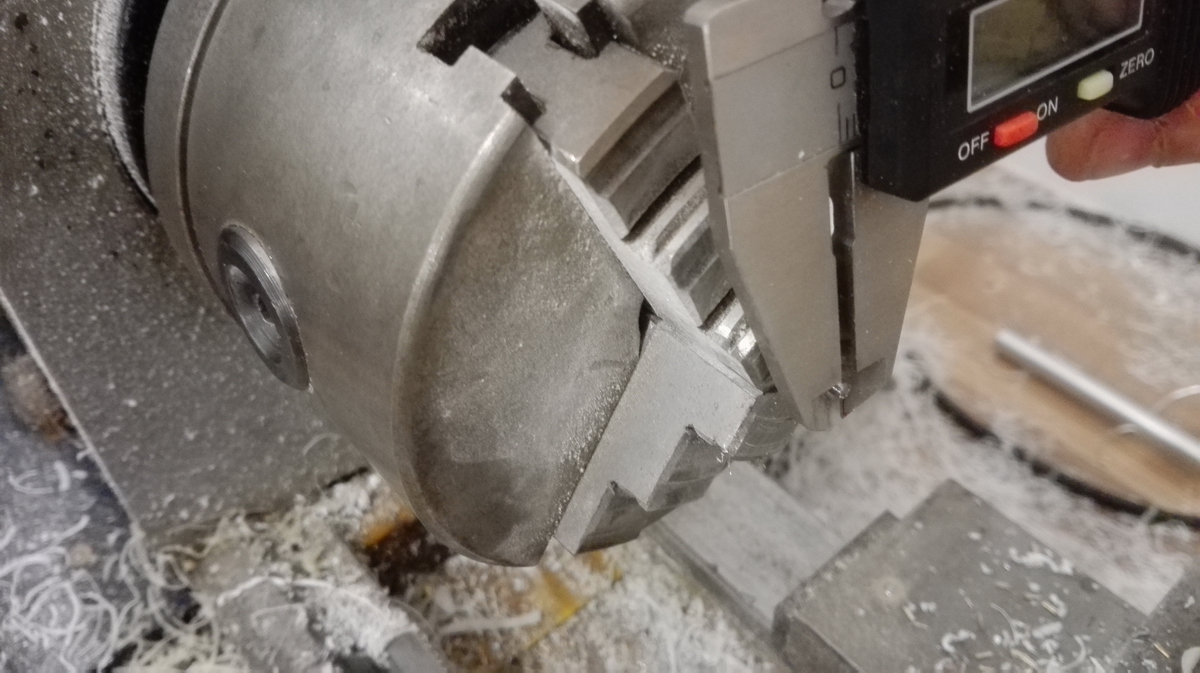
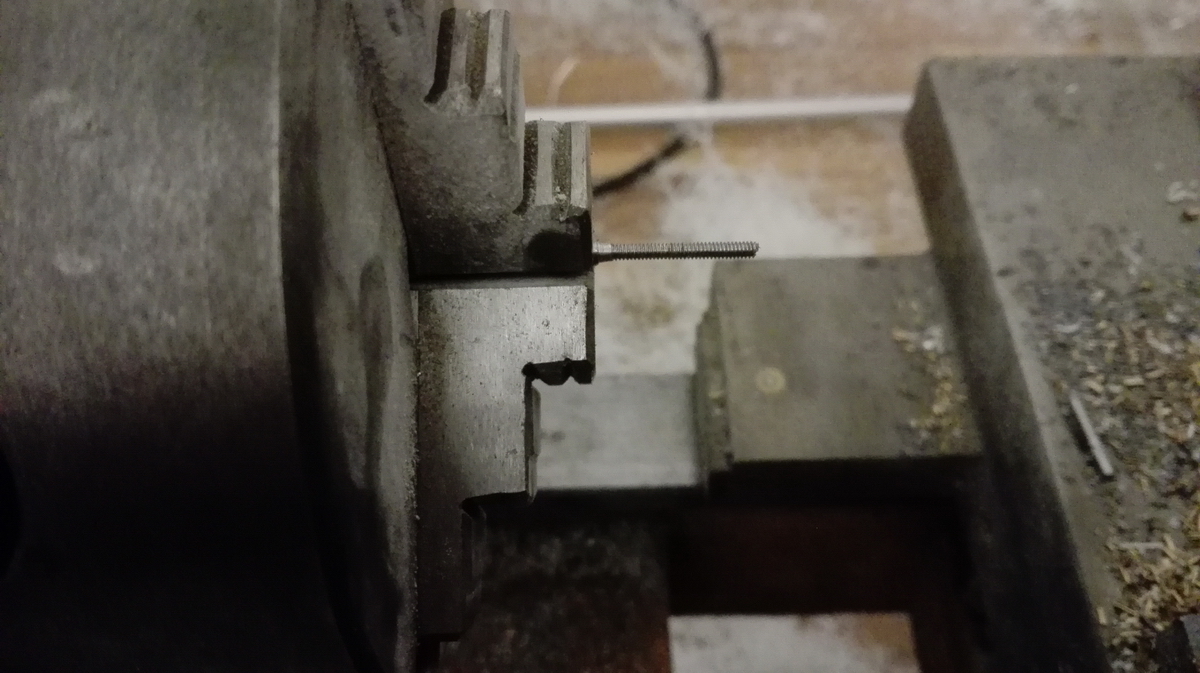
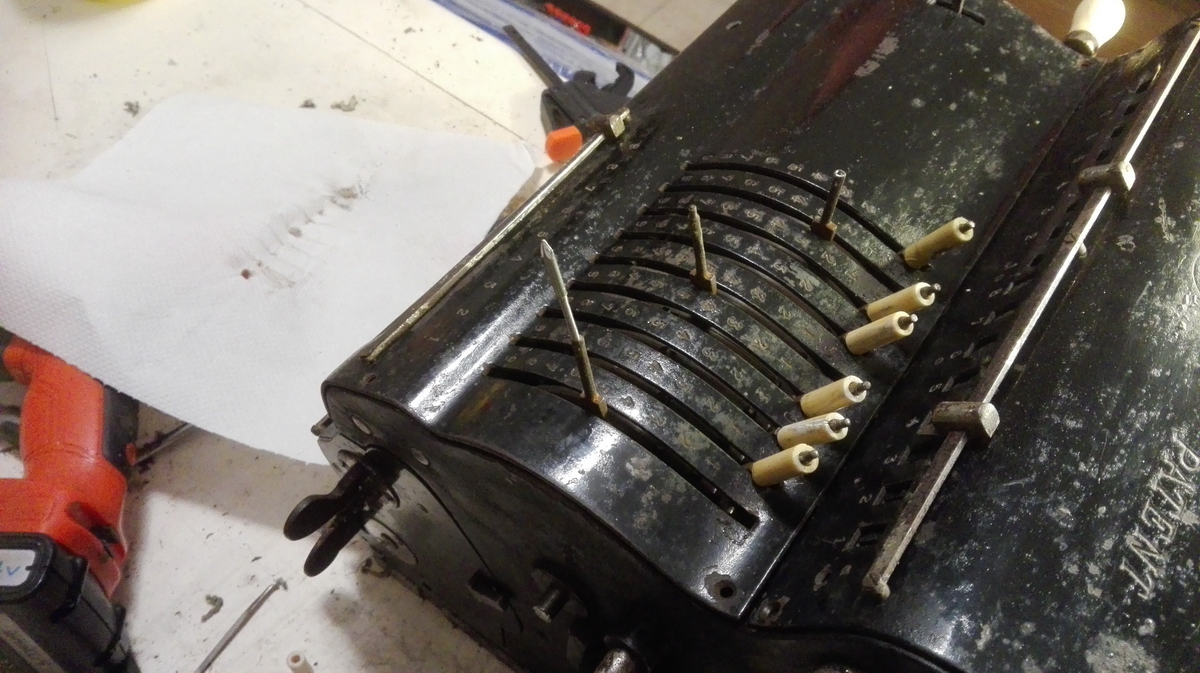
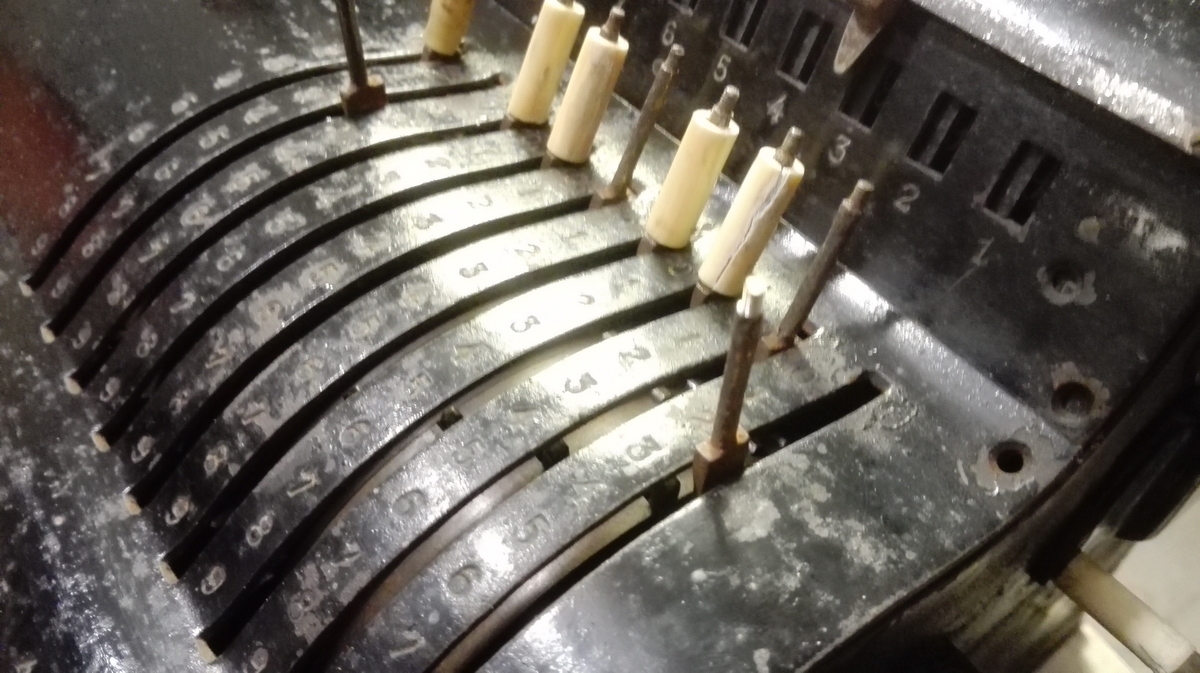
Finally, they were cut to length with a dremel tool.
I carried on with making the pins for both clearing and main crank. It's been a learning process, because the narrow part is only 3.5mm and quite long, so it is very easy to make a mistake and snap it. That happened about five times before both pins were finished. In any case, this is the first one, for the main crank, all shiny and new, with the remains of the original below, and further down the slightly less damaged one that came out of the clearing crank.
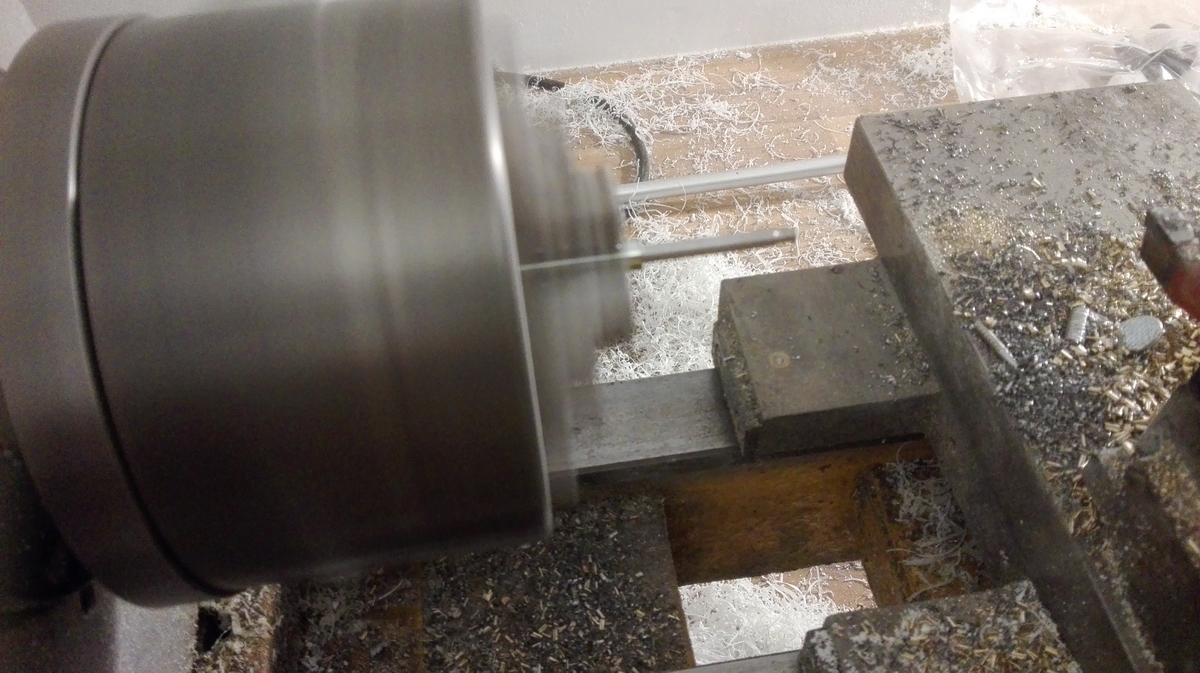
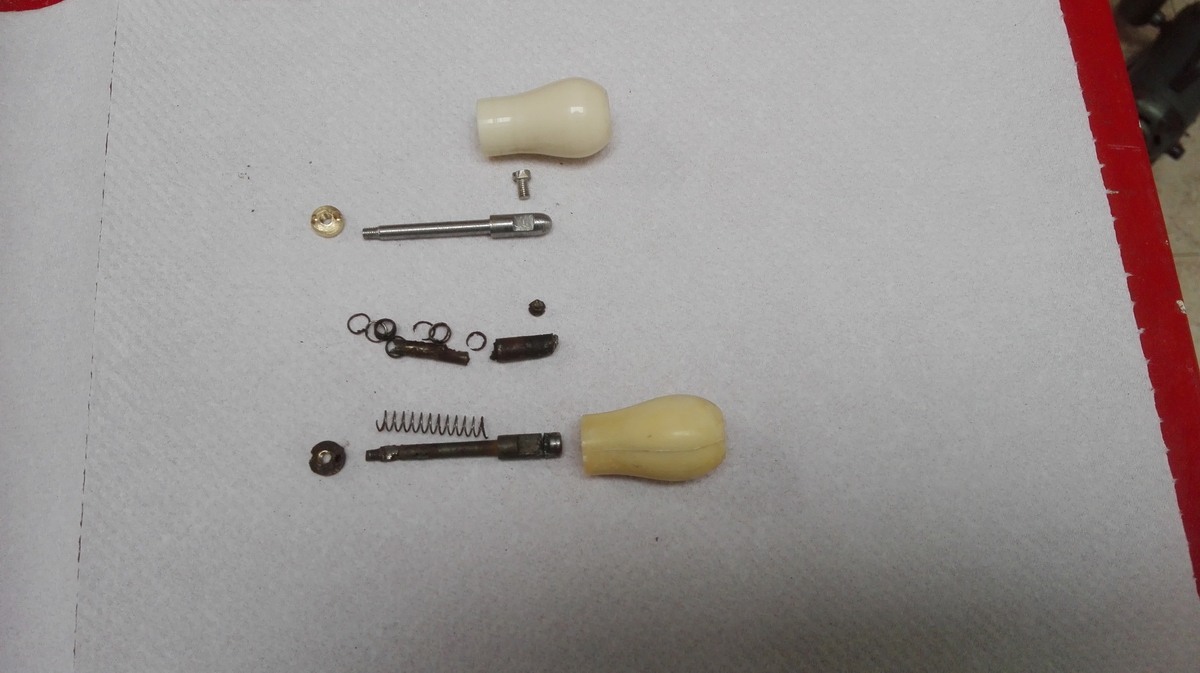
The one for the clearing crank originally cannot be removed without removing the crank itself, and since the conical pin holding it in place was well and truly stuck, not much else could be done than making it in two pieces. In fact, this turned out quite well, and it made the turning job a lot easier.
Now all that remains is sourcing a number of springs that had rusted away - one for the thumb button, to make it spring out when the crank is operated, one tiny one for the lock for this thumb button, and then the two crank handle springs.
To complete the story, I made some pictures of the two sisters sitting side by side ... probably for the first time since 1908!
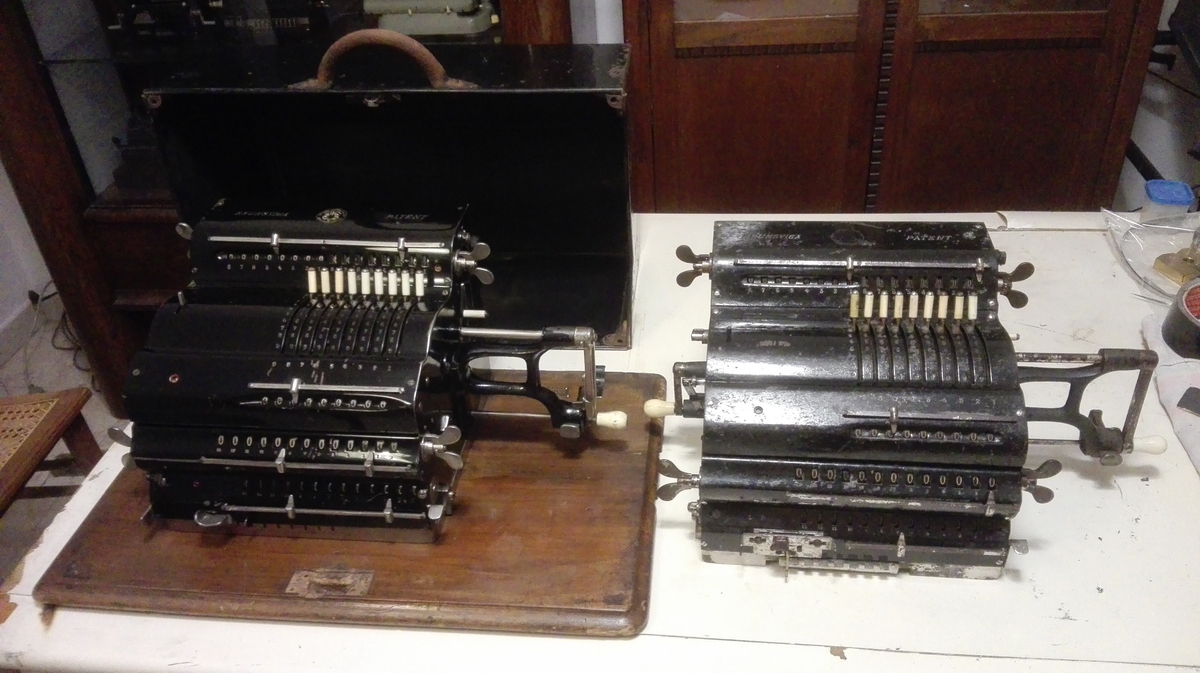
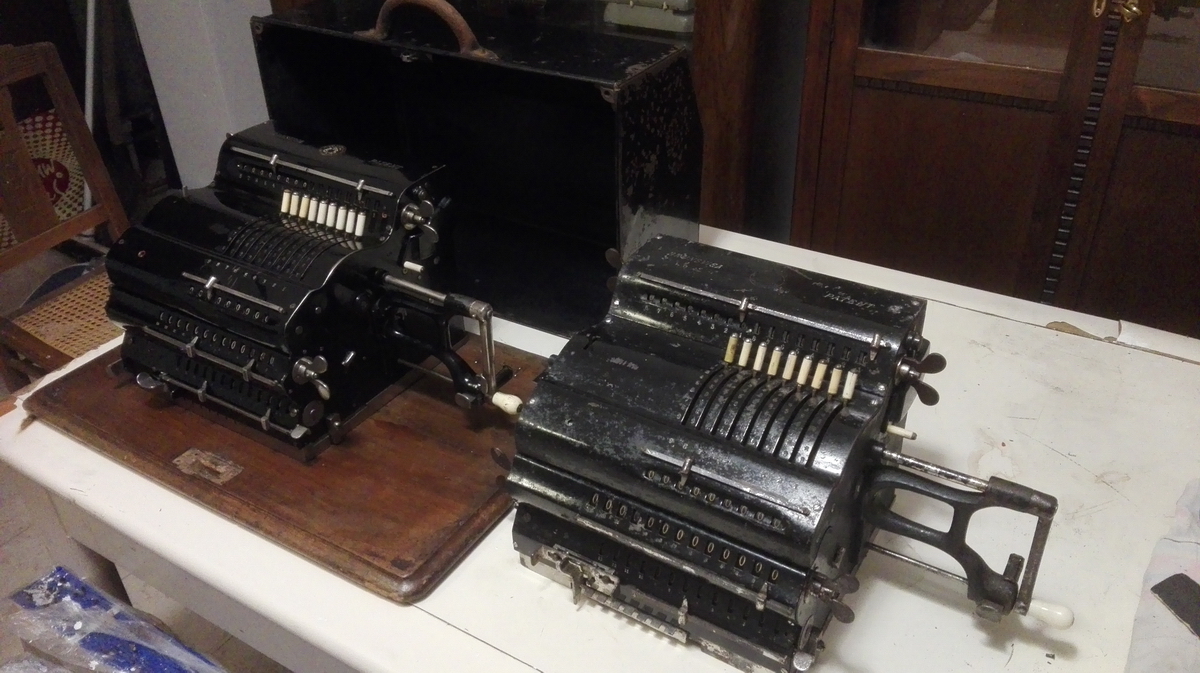
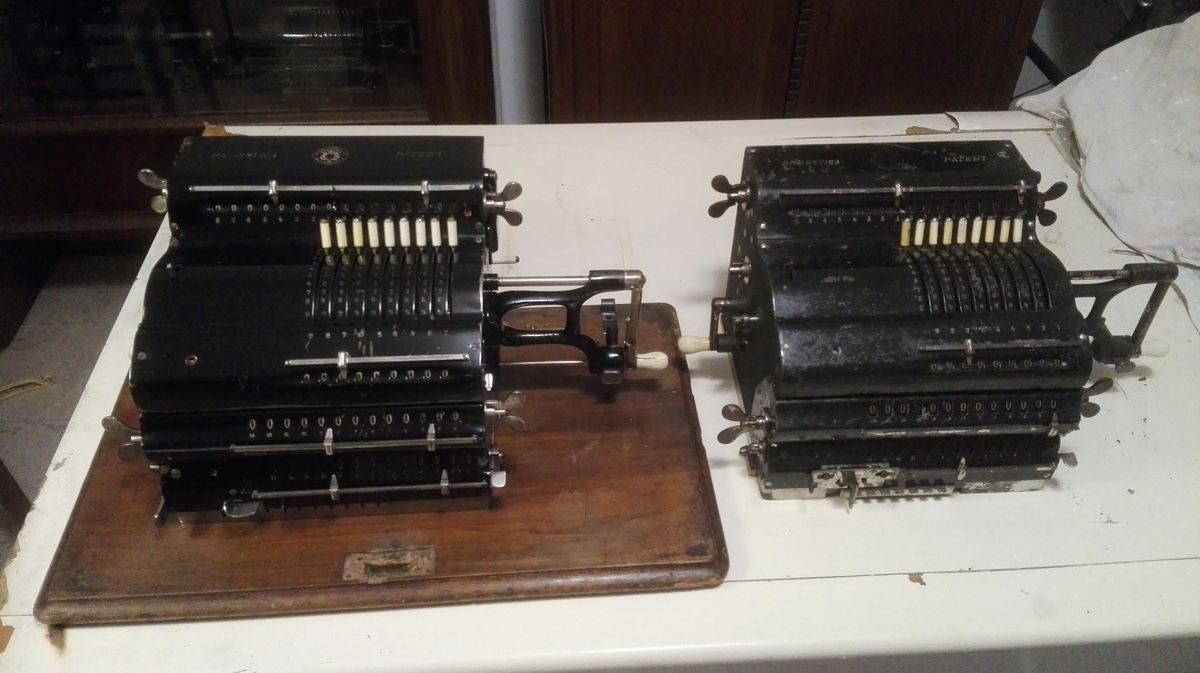
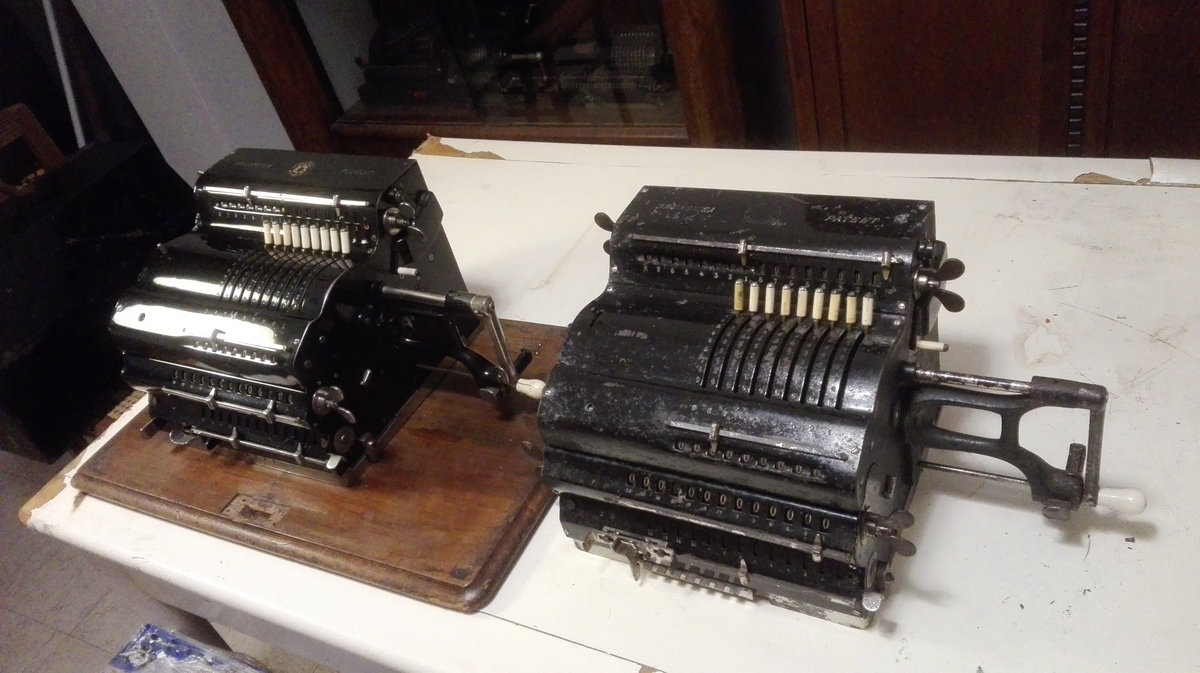
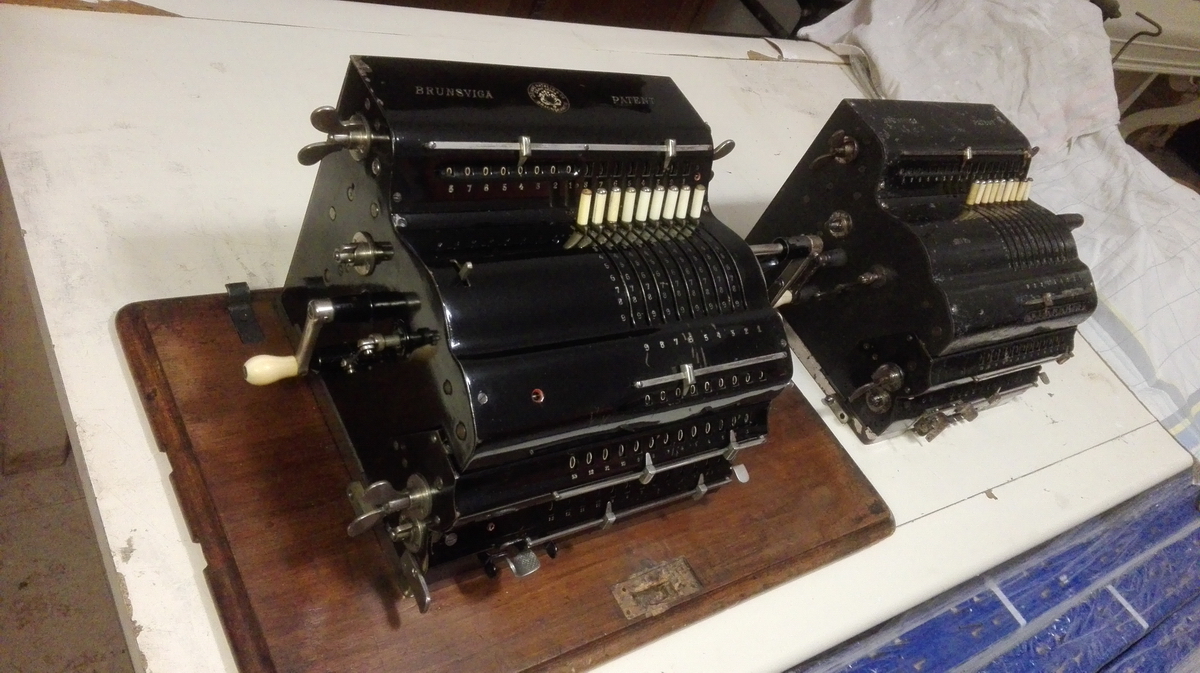
An interesting difference between the machines is the tabulator that the older machine has, but the newer one doesn't. There is also a difference in the locking mechanism for the setting levers - on the newer machine it needs to be positively disconnected, on the other machine it disconnects itself as soon as the crank is pulled out. Why was this changed ? Who knows ... clearly these have been development machines for nearly all of the production run.
